

A tiny scratch on your sofa or skin can be the first sign that your cat’s claws need attention. Many cat parents feel nervous about nail trimming because one wrong cut can cause pain or bleeding.
As a veterinarian, I always tell pet owners that the goal is not to rush the process, but to keep the cat calm and trim only the sharp tip.
Learning how to cut your cat’s nails safely can protect your cat’s paws, reduce snagging, and make home grooming less stressful.
In this blog post, you’ll learn when trimming is needed, what tools to use, how to find the quick, and how to make the whole process easier for nervous cats.
Why Regular Nail Trimming is Important for Cats
Cutting your cat’s nails is not just about saving furniture or avoiding scratches. It also helps protect your cat’s paws.
Indoor cats often do not wear their claws down naturally, so the nails can grow too long, curve inward, and press into the paw pad.
This can cause pain, discomfort, or even infection. The dewclaw, the small nail set back from the others on the inner leg, needs special attention because it never touches the ground and wears down even less than the rest.
Long nails can also catch on carpets, blankets, or upholstery and may break painfully.
Senior cats tend to need closer checks because their nails often grow thicker as they age and their self-grooming slows down.
Kittens, on the other hand, have fine, sharp nails that benefit from early handling even before they need much actual trimming.
What Do You Need Before You Start
Having the right tools ready makes nail trimming safer, calmer, and easier before you touch your cat’s paw. Preparing everything first helps avoid stress and keeps your cat from slipping away mid-trim.
- Cat-specific nail clippers: Use guillotine-style or scissor-style clippers made for cats. Both can work well, so choose the one that feels easier to control.
- Avoid human nail clippers: Human clippers are shaped for flat nails and may crack, split, or crush a cat’s rounded claw.
- Styptic powder: Keep this nearby in case you accidentally nick the cuticle. It helps stop minor bleeding quickly. Baby powder or flour can work in a pinch, according to PAWS Chicago, but styptic powder is the reliable option.
- High-value treats: Use something your cat loves, such as plain cooked chicken, lick-mat paste, or a soft treat, to reward calm behavior.
- Towel: A towel can help wrap a resistant cat gently, but only use it when needed and avoid squeezing too tightly.
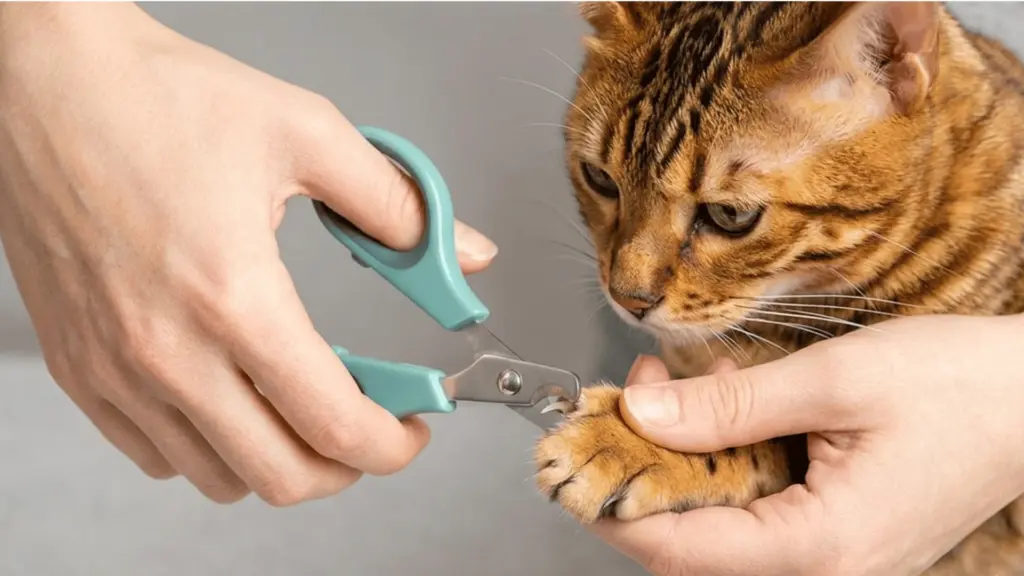
How to Cut a Cat’s Nails: Step-by-Step Process
The process itself is straightforward once you know what you’re looking at. The goal is to trim only the sharp tip without touching the cuticle, which can hurt and bleed.
Step 1: Get Your Cat Used to Paw Handling First
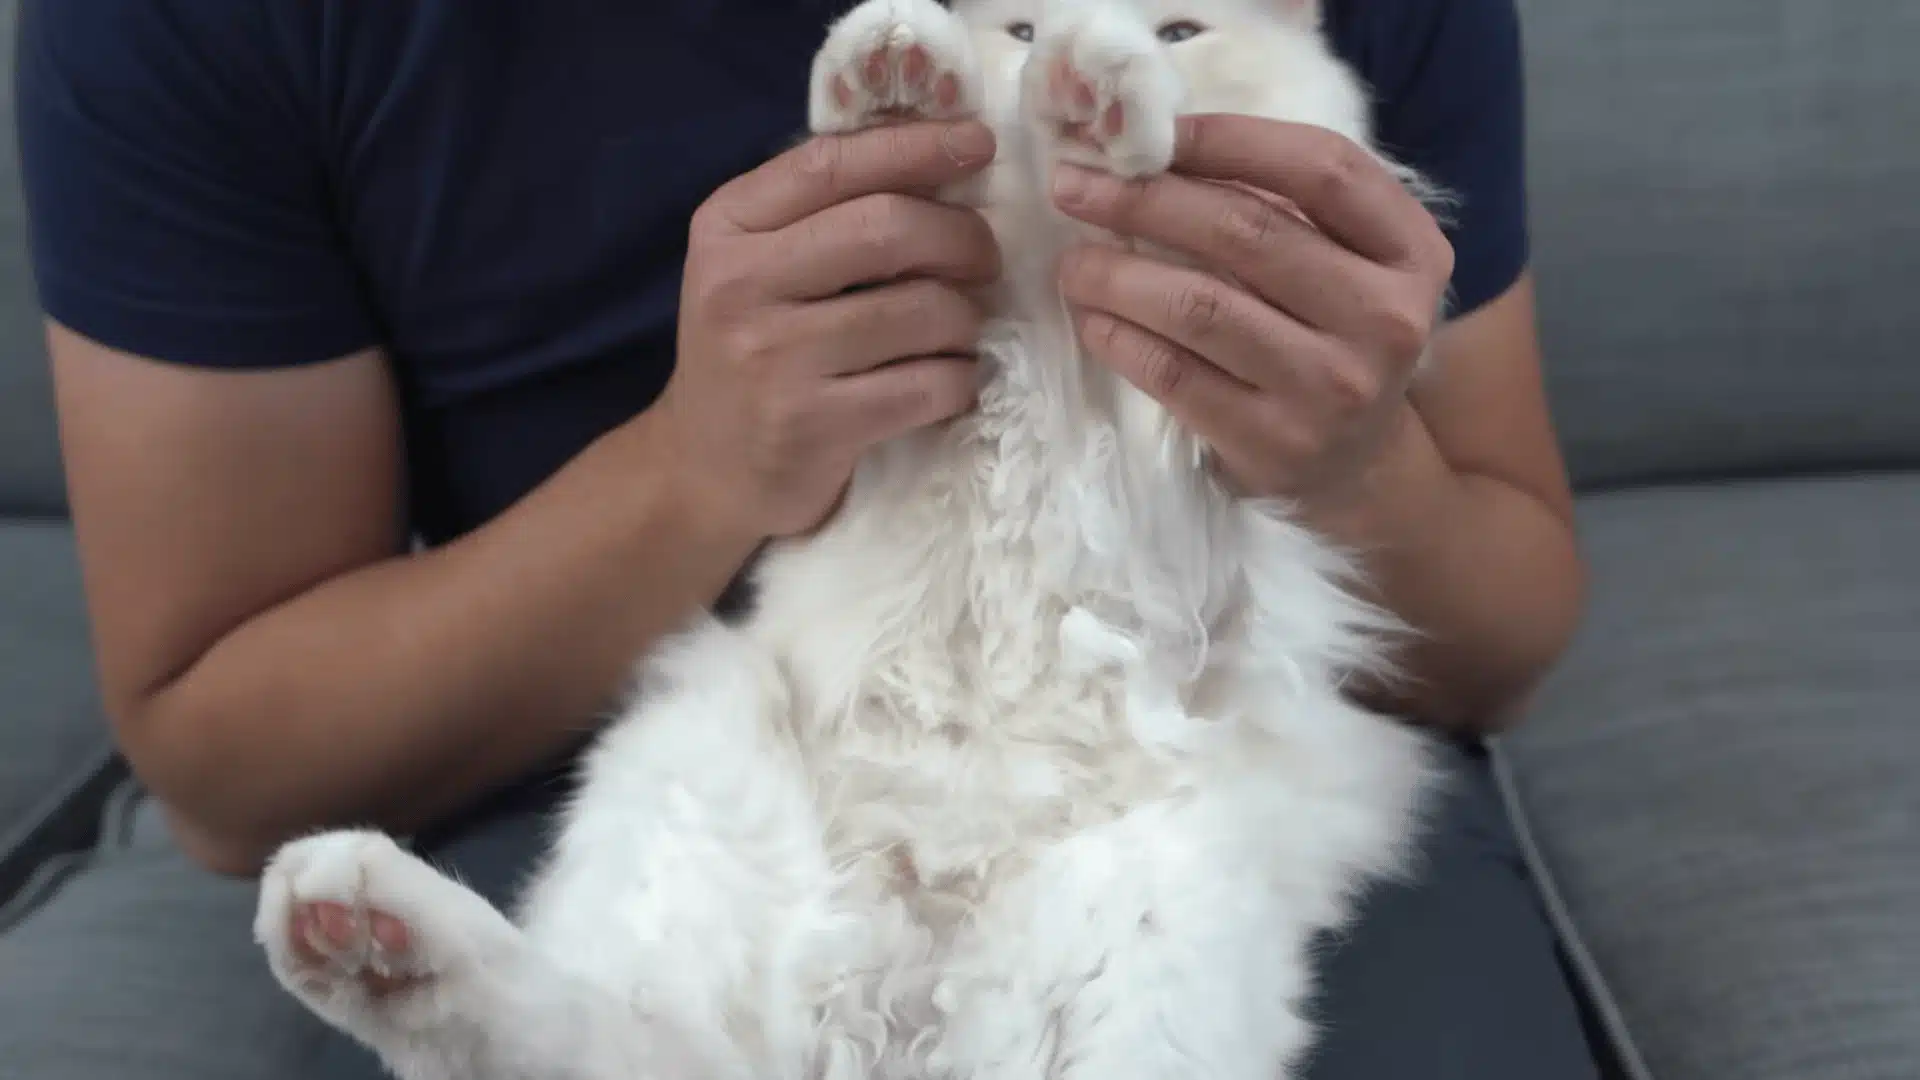
Start by helping your cat feel comfortable with paw handling before bringing in the clippers. Hold one paw gently between your fingers and rub it for two to three seconds.
If your cat squirms, stop and give them a short break. Once they are calm, try again. When your cat accepts paw touching, gently press the paw until one nail extends.
Release the paw right away and give a treat. Repeat this two or three times a day.
Step 2: Introduce the Clippers
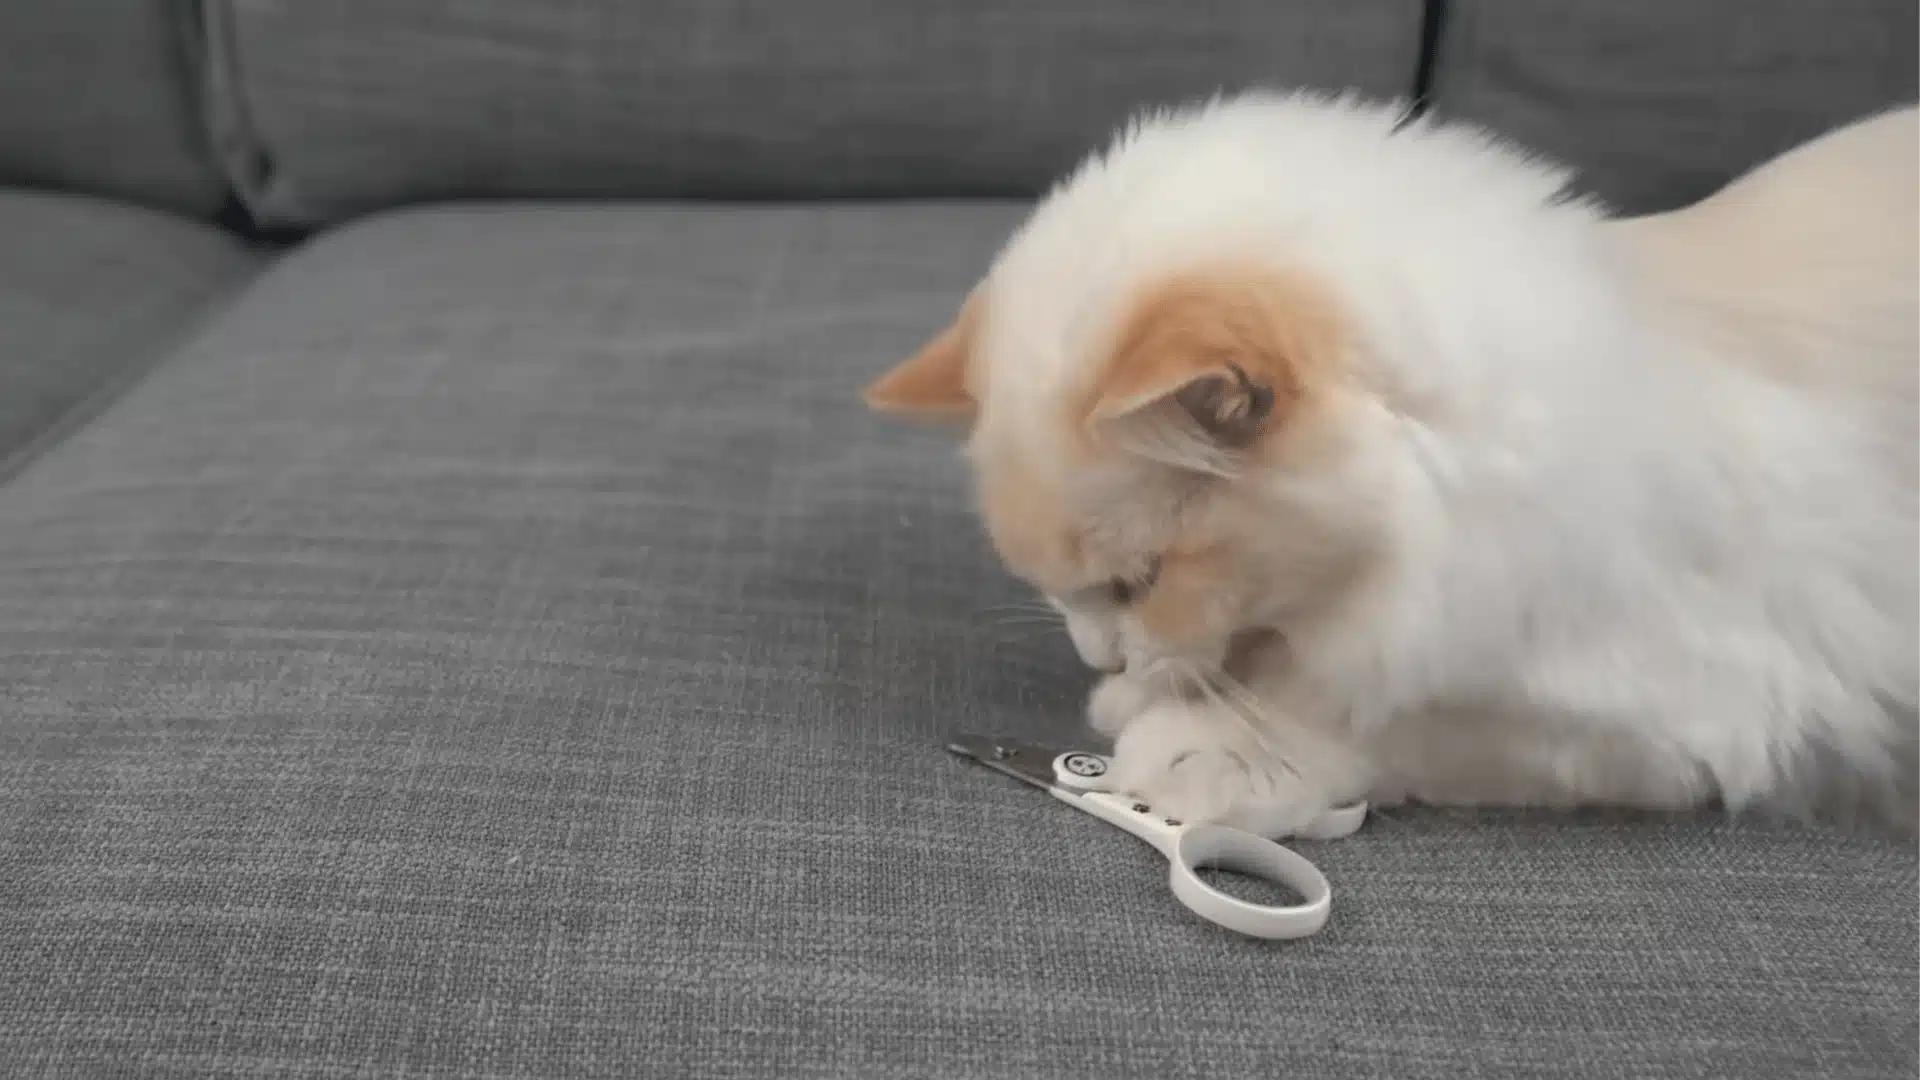
Unfamiliar objects can stress cats, so leave the clippers out where your cat can sniff and investigate them.
Choose a sharp, good-quality nail clipper that can cut quickly and cleanly. Some cats also dislike the sound of clippers.
To help with this, place dry spaghetti in the clipper and cut it near your cat’s paw. Give a reward immediately after the sound so your cat connects it with something positive.
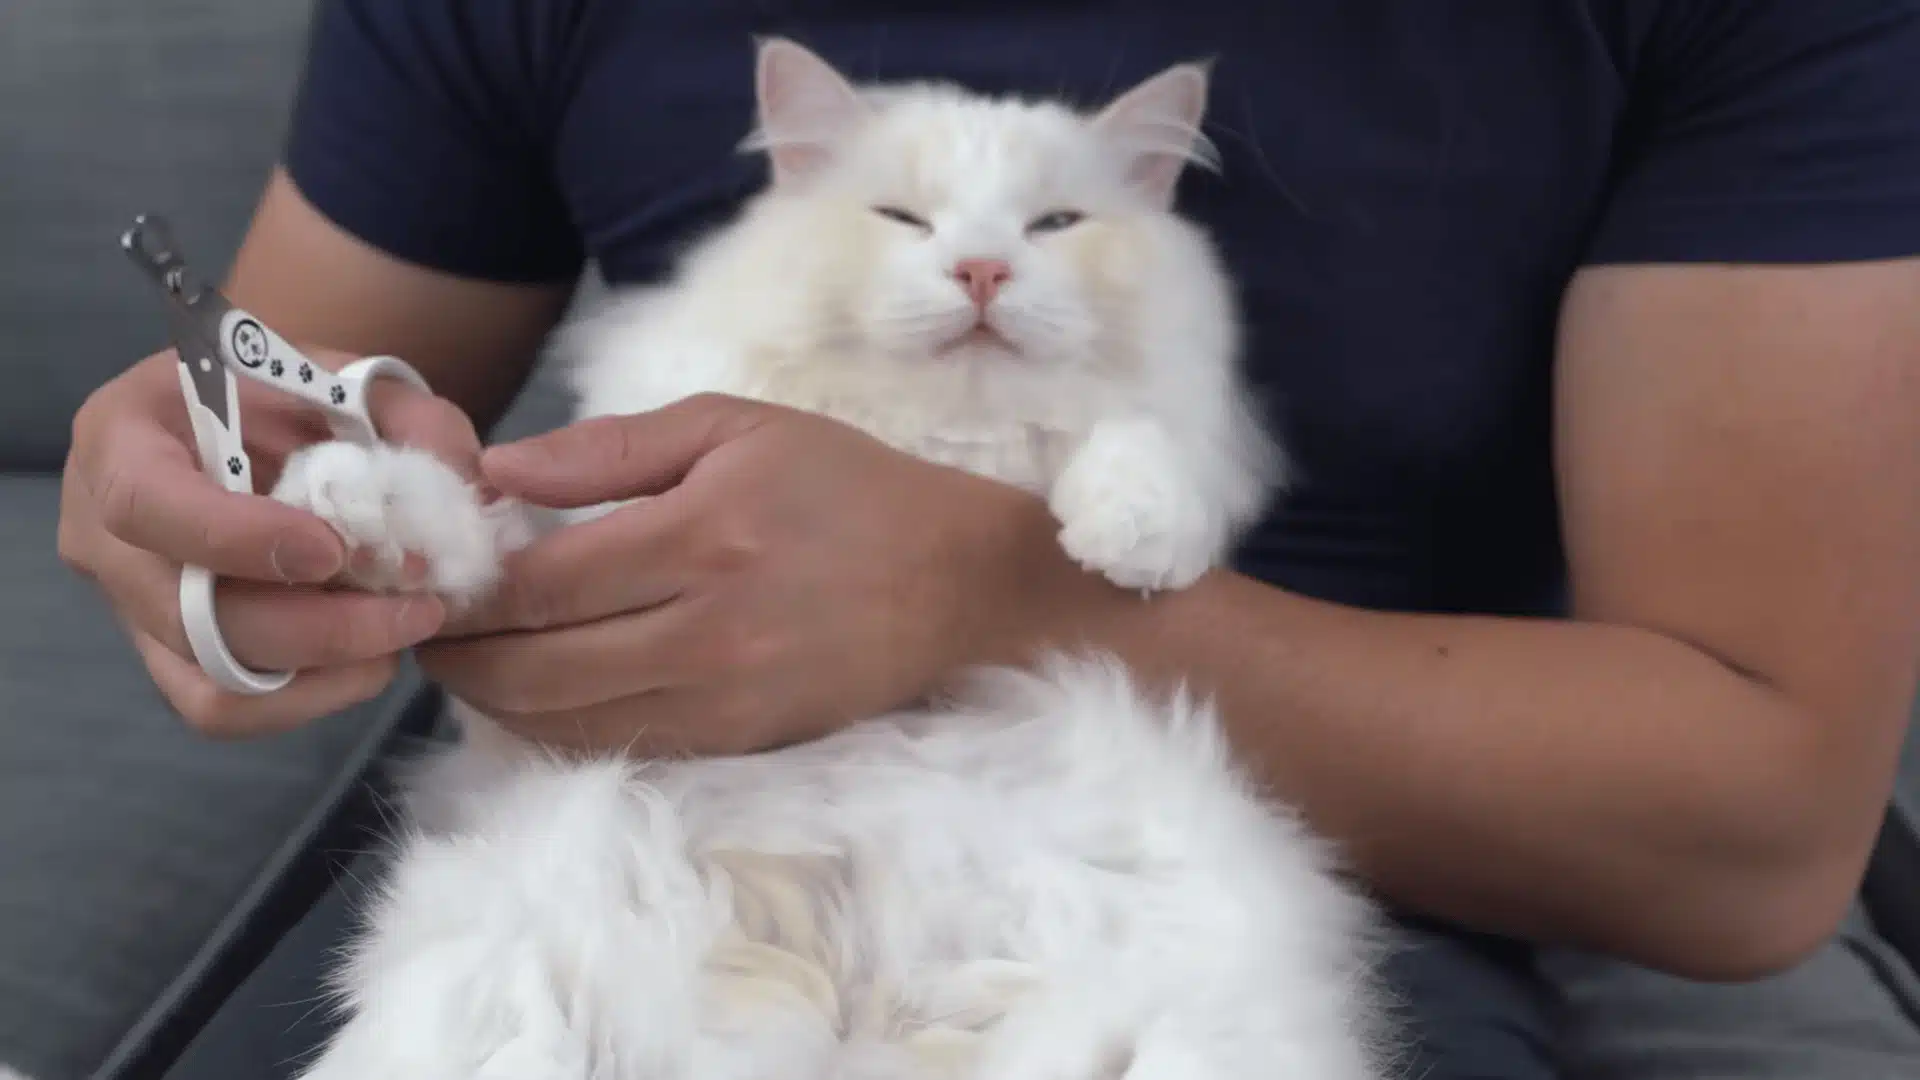
Step 3: Position Your Cat Before Clipping
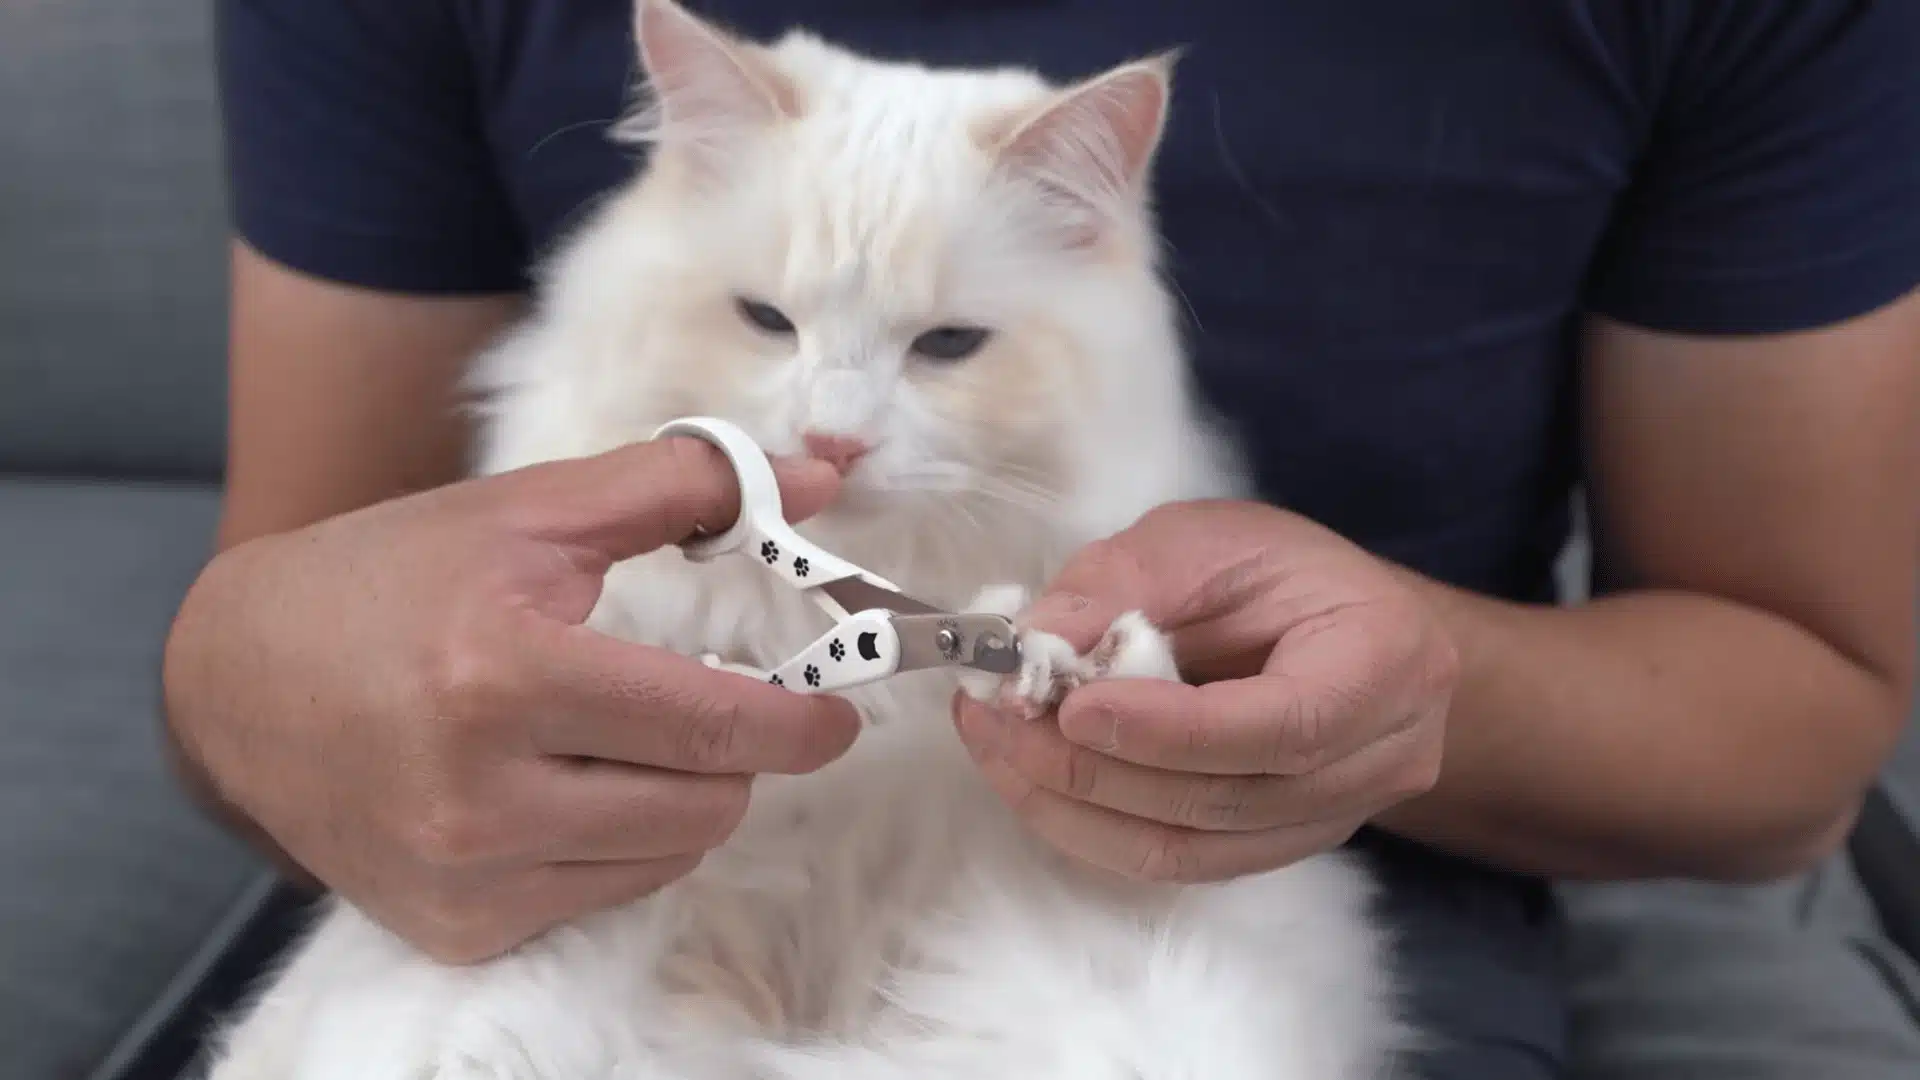
Once your cat is used to paw handling and the clipper, place your cat in your lap facing away from you. Hold one paw gently in your hand and press the pad until the claw is clearly visible.
This position helps you see the nail better and gives more control. Stay calm and avoid rushing, especially if your cat only gives you a few seconds before becoming uncomfortable.
Step 4: Trim Only the Sharp Point
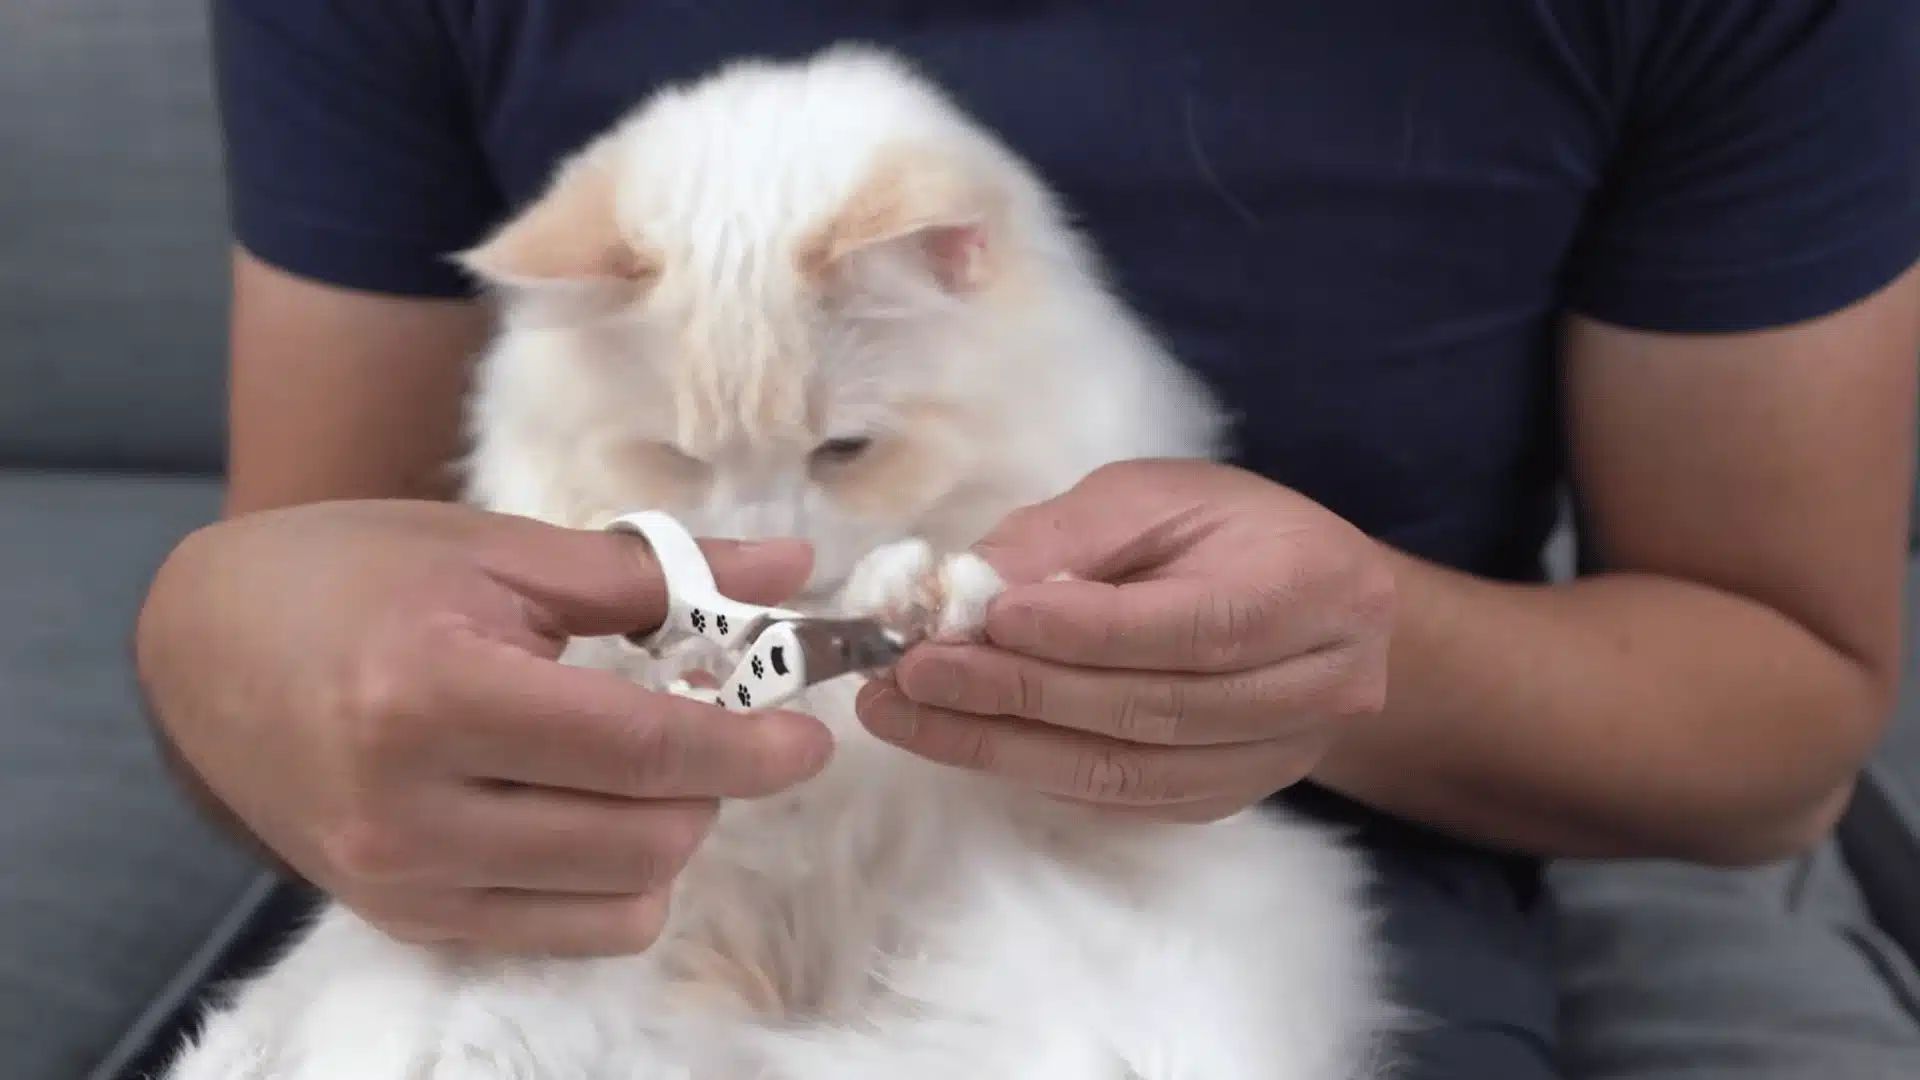
Cut only the sharp point of the claw and avoid the quick. The quick is the darker section inside the mostly clear nail where nerves and blood vessels are found.
Cutting it can cause bleeding and discomfort. It is always better to leave more claw than cut too deep.
Use steady hands, trim in good light, and stop if your cat pulls away, tenses, or starts to growl again. After trimming one nail, release the paw right away and reward your cat with a treat.
Step 5: Trim a Few Nails at a Time
If your cat stays relaxed, move on to the next nail. Many cats complain after two or three nails, and that is your sign to stop.
Let your cat go and continue later if needed. Several short sessions may be necessary to finish all the nails.
Always reward your cat after trimming so they learn that nail clipping is not stressful and can lead to something positive.
This tutorial is based on a helpful video by The Cat Butler. You can check out the original video on their YouTube channel here or watch it below.
How to Trim Cat Claws When Your Cat Won’t Cooperate?
Some cats need trust-building before trimming, so start slowly and make paw handling feel safe before using clippers.
If your cat pulls away, do not force the trim. Begin with short paw-handling sessions away from nail cutting. Hold one paw gently for two or three seconds, release it, and give a treat. Repeat this for several days until your cat feels calmer.
- Touch the paws twice a day for a few seconds.
- Let your cat sniff and inspect the clippers.
- Hold the clippers near the paw without cutting.
- Use a towel wrap only for very resistant cats.
A two-person setup can also help, with one person offering treats while the other trims. Try trimming after a meal when your cat feels sleepy and relaxed.
What to Do if You Accidentally Cut the Quick?
It happens, even to experienced owners. If you see a drop of blood, the first thing to do is stay calm. Your cat can feel your stress, and panicking makes the situation worse for both of you.
Here’s what to do:
- Apply a small amount of styptic powder to your finger or a cotton swab and press it gently but firmly against the bleeding nail for 30 seconds
- If you don’t have styptic powder, baby powder, flour, or a clean cloth, gentle pressure can help
- Don’t wipe away the clot that forms once bleeding stops
- Give your cat a treat, let them go, and come back to the remaining nails another day
Cutting the quick is a minor injury. It hurts briefly and may bleed a little, but it heals quickly.
If bleeding doesn’t stop within a few minutes with styptic powder, contact your vet.
Most of the time, one accidental quick cut won’t set your cat’s trust back significantly, especially if you stay relaxed and follow it with something positive.
How Often Should You Trim Cat Nails?
The short answer is every two to three weeks for most indoor cats. The longer answer depends on a few things.
| Cat type | Recommended frequency |
|---|---|
| Indoor adult cat | Every 2-3 weeks |
| Indoor/outdoor adult cat | Every 4-6 weeks |
| Fully outdoor cat | Every 6-8 weeks (check monthly) |
| Kitten | Every 1-2 weeks (builds the habit early) |
| Senior cat | Every 2-3 weeks (nails thicken, less self-grooming) |
| Cat with limited mobility | Every 2-4 weeks (uneven wear, check frequently) |
If you have a Sphynx cat, note that their nails can accumulate more visible debris around the base due to the absence of fur, so regular trimming and gentle cleaning go hand in hand.
Kittens benefit from more frequent, shorter sessions early on, even if their tiny claws don’t actually need trimming yet.
The point is to make nail handling a normal, unremarkable part of their routine before they’re big enough to put up a real fight.
Common Mistakes to Avoid While Cutting Your Cat’s Nails
Cutting your cat’s nails can become stressful if you rush, cut too close, or ignore your cat’s comfort level. Most mistakes happen when the session feels forced instead of calm.
- Using dull clippers: Dull blades crush and split the nail instead of cutting cleanly, which is uncomfortable for your cat and makes them dread the next session. Replace or sharpen clippers when they stop making a clean snip.
- Cutting too much at once: The goal is the sharp tip, not a major shortening. If you’re unsure how far to go, take less. You can always trim more in a few days.
- Skipping the dewclaws: Out of sight, out of mind, until they grow into the paw pad. Check them every session.
- Trimming a stressed cat: If your cat came in from outside, just had a bath, or is already agitated, skip it. A cat in that state is much more likely to react badly, and it creates a negative association you’ll have to undo.
- Forcing a full session: If your cat is done after three nails, let them be done. Pushing through when they’re clearly checked out just makes the next session harder. Short and positive beats thorough and traumatic every time.
Conclusion
Cutting your cat’s nails at home sounds harder than it is, and it gets easier every time. The first session might be a little awkward. The fifth one probably won’t be.
The key things to carry with you: use the right tools, never cut near the quick, keep sessions short, and reward generously.
A cat who gets a tasty treat at every paw learns quickly that the whole ordeal isn’t something to run from.
Your furniture, your arms, and your cat’s paw health will all thank you for making this a regular habit. If you’ve got a trick that works for your specific cat, we’d love to hear it.
Drop it in the comments below and help out a fellow cat parent who’s still figuring it out.
Frequently Asked Questions
Can I Use Human Nail Clippers on My Cat?
It’s not a good idea. Human clippers are designed for flat nails and apply pressure from the wrong angle on a cat’s rounded claw. This can cause the nail to crack, split, or compress before it cuts through, which is painful.
Is It Okay to Just Let My Indoor Cat Use a Scratching Post Instead of Trimming?
Scratching posts help cats shed the outer layer of their claws and keep them sharp, but they don’t shorten the nails.
What’s the Best Age to Start Trimming a Kitten’s Nails?
As early as possible, even if the nails don’t need much trimming yet. The goal at that stage is just getting them comfortable with having their paws handled and the clippers nearby.