

A messy coat, long nails clicking on the floor, and that not-so-fresh smell. Sounds familiar?
Most dog owners deal with this at some point. Professional grooming costs add up fast, and booking appointments is not always easy.
The good news is that learning how to groom a dog at home can save you money and keep your pet comfortable between salon visits.
With years of veterinary practice, I have treated thousands of dogs with skin issues, overgrown nails, and ear infections that could have been caught earlier with a consistent grooming routine.
In this post, you will find step-by-step grooming instructions, tips for different coat types, and common mistakes to watch out for.
I have also included advice on grooming anxious dogs and adjustments for senior pets, two areas most grooming resources skip entirely.
Everything is broken down simply so you can start grooming your dog with confidence today.
Why Grooming at Home Matters?
Regular dog grooming is not just about looks. It directly affects a dog’s health, comfort, and overall well-being.
Brushing removes dirt, loose fur, and tiny debris that can cause skin irritation over time. Nail trimming prevents painful overgrowth that changes how a dog walks.
Cleaning ears and teeth reduces the risk of infections and gum disease.
According to the American Kennel Club (AKC), routine grooming also helps owners spot early signs of health problems, such as lumps, parasites, or skin conditions.
Beyond health, grooming at home builds trust between a dog and its owner. Knowing how to groom a dog properly means fewer stressful trips to the salon and more bonding time at home.
Tools Needed to Groom a Dog
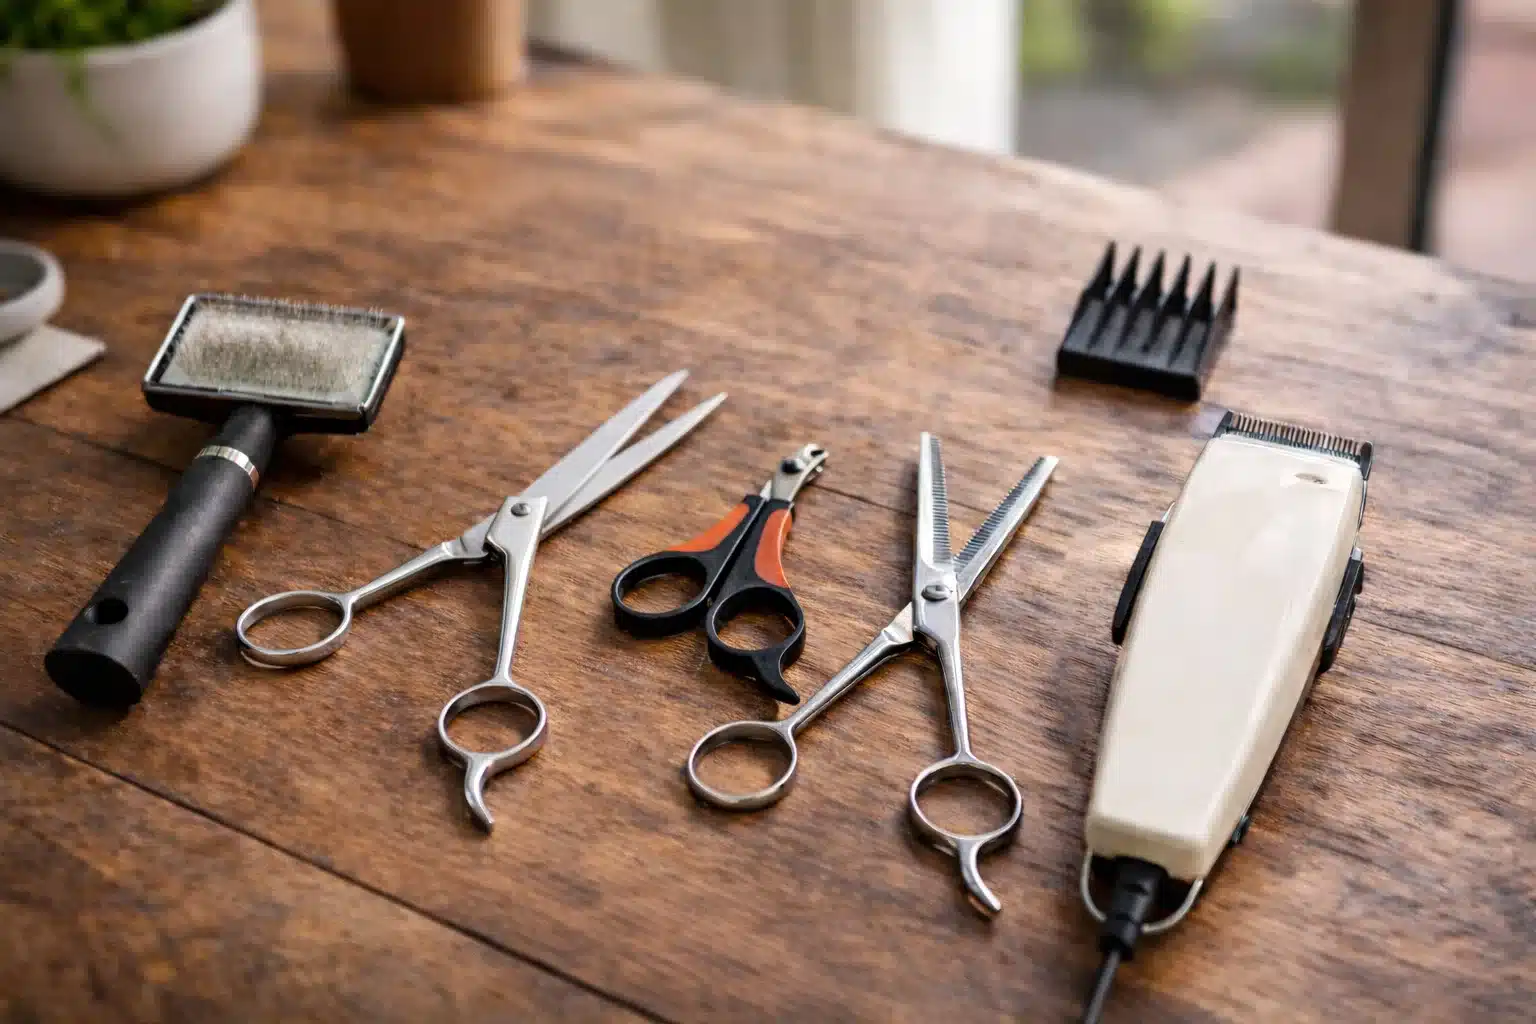
Before starting any grooming session, having the right tools ready makes the process smoother and safer for both you and your dog.
According to the American Kennel Club, routine grooming also helps owners spot early signs of health problems, such as lumps, parasites, or skin conditions.
Start with a well-stocked grooming kit, including a high-quality bristle brush that removes loose hairs and distributes natural oils.
- Choose dog-safe shampoo and conditioner to maintain skin pH and address sensitivities. Avoid scented or human shampoos, as the pH difference can irritate a dog’s skin and strip protective oils. For nail grooming, use ergonomic clippers or a quiet electric grinder for careful trimming.
- Don’t forget dental health; invest in a dog toothbrush and pet-safe toothpaste for regular care.
- Keep absorbent towels handy for drying off, and use a non-slip grooming mat for safety. Styptic powder is a must-have in case a nail trimmer clips the quick and causes bleeding.
- For dogs with floppy or hairy ears, a vet-approved ear cleaning solution and cotton balls are also essential additions to the kit.
One thing I always tell new dog owners in my clinic: keep all your grooming supplies in one bag or bin. Searching for scissors while your dog is wet and restless makes a simple bath stressful for both of you.
How to Groom a Dog Step by Step?
A regular grooming routine is vital for dogs’ health. Choose a quiet, well-lit area with a non-slip mat and have treats ready. Be patient, especially with dogs new to grooming, to create a calming experience.
Step 1: Brushing the Coat
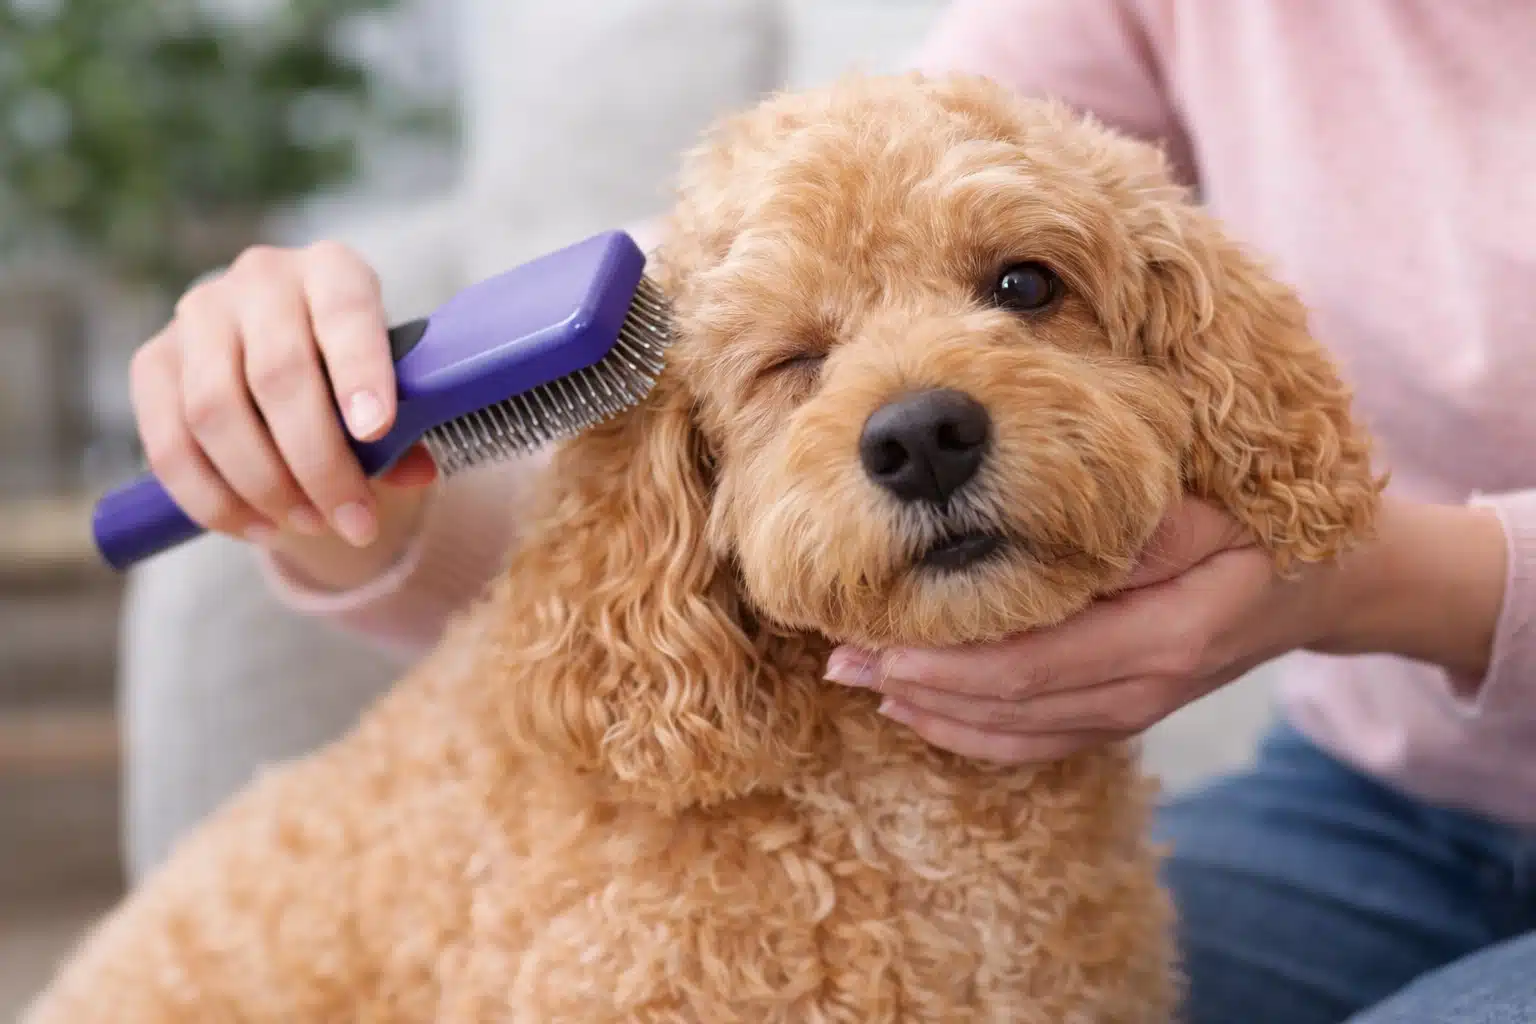
Brushing should always be the first step in grooming. It removes tangles, loose hair, and dirt before a bath.
Use a slicker brush for long-haired breeds (like Shih Tzus), a bristle brush for short-haired breeds (like Beagles), and an undercoat rake for double-coated dogs during shedding.
Brush in the direction of hair growth, and be gentle around sensitive areas.
Regular brushing, ideally a few times a week for short-haired dogs and daily for long-haired ones, helps prevent mats and spreads natural oils for a shiny coat.
Learning how to groom a dog properly starts with this step, because brushing is also your chance to run your hands over the body and feel for anything unusual.
Choosing the right brush for your dog’s coat type makes this step significantly more effective and more comfortable for your dog.
I once found an embedded tick behind a Labrador’s ear during a routine brush in my clinic.
The owner had missed it for nearly a week because the dog’s dense undercoat had completely hidden it. That is why I treat every brushing session as a mini health check, not just coat maintenance.
Step 2: Bathing the Right Way
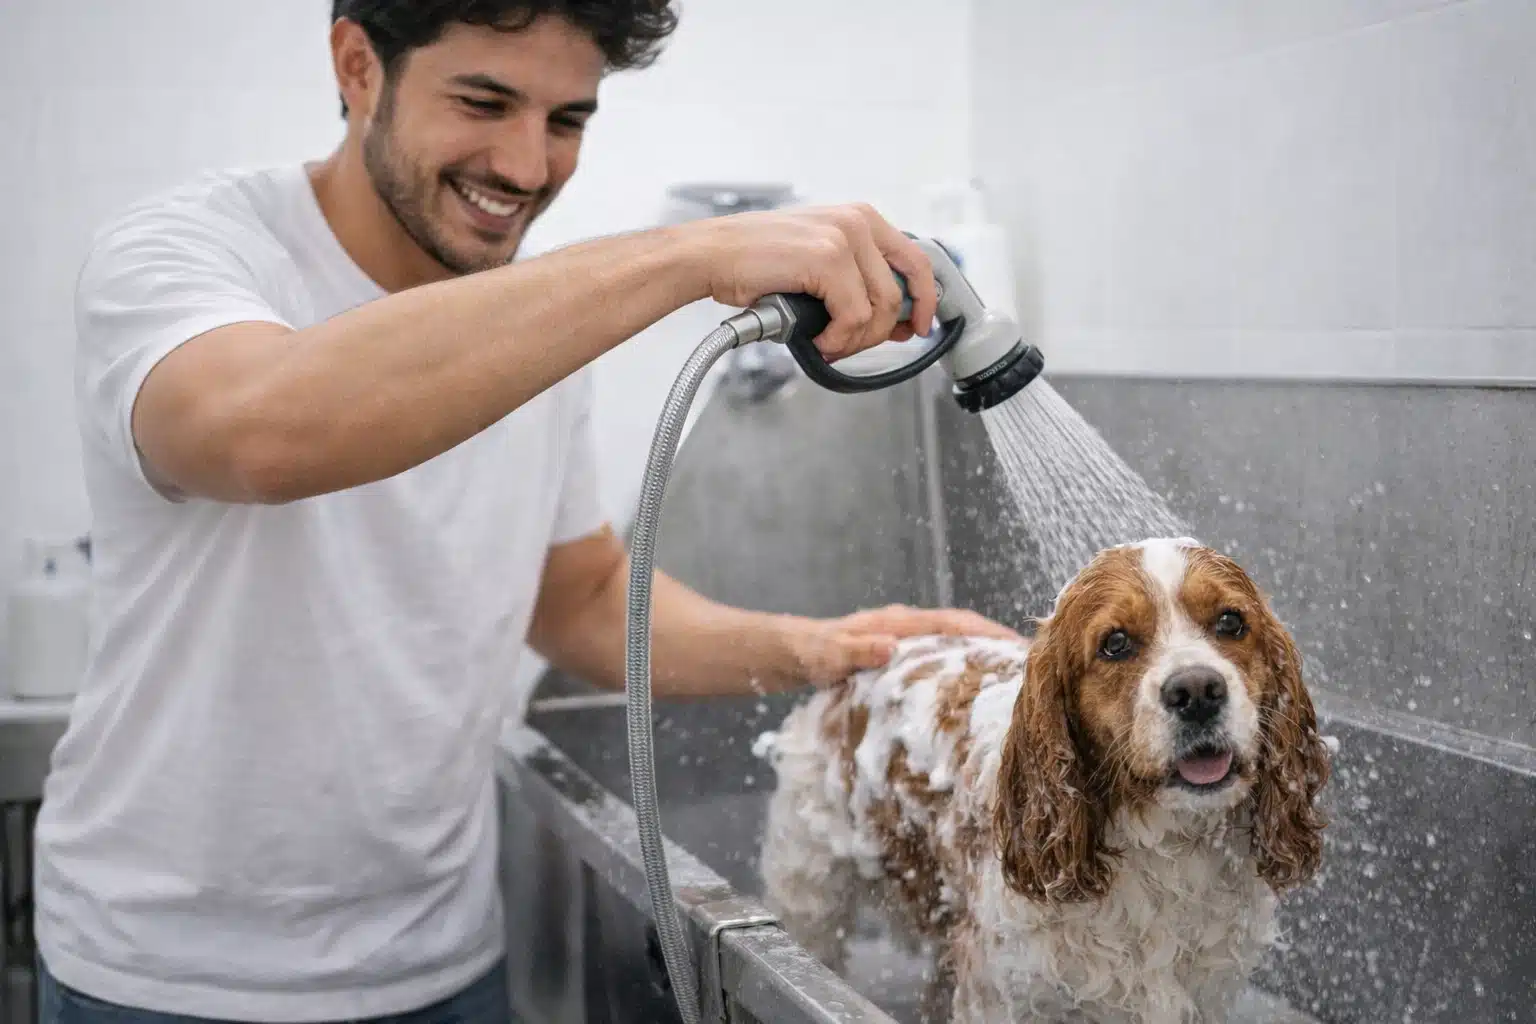
Bathing dogs too often can strip their skin of natural oils, so they typically need a bath every 4 to 8 weeks, depending on coat type and activity level.
Begin by wetting their coat with lukewarm water.
If you want extra protection, ask your vet about a sterile eye lubricant to apply before the bath. This prevents shampoo from irritating the eyes if water splashes forward.
- Apply dog-specific shampoo from the neck to the tail, massaging gently.
- When bathing a small dog, support them gently in the tub so they feel secure and do not panic. A full body massage while lathering also helps anxious dogs relax and associate bath time with something positive.
- Rinse completely to prevent itching and flaking.
- After towel-drying, use a blow dryer on a low, cool setting, if necessary. Hold the dryer at least 6 inches from the skin and move it back and forth to prevent burns. Never aim it at one spot for more than a few seconds.
- Clean facial wrinkles with a damp cloth for breeds like Pugs and Bulldogs.
If you are unsure which products are safe to use during bath time, a guide to dog-safe bathing products can help you avoid ingredients that can irritate sensitive skin.
Step 3: Trimming Nails Safely
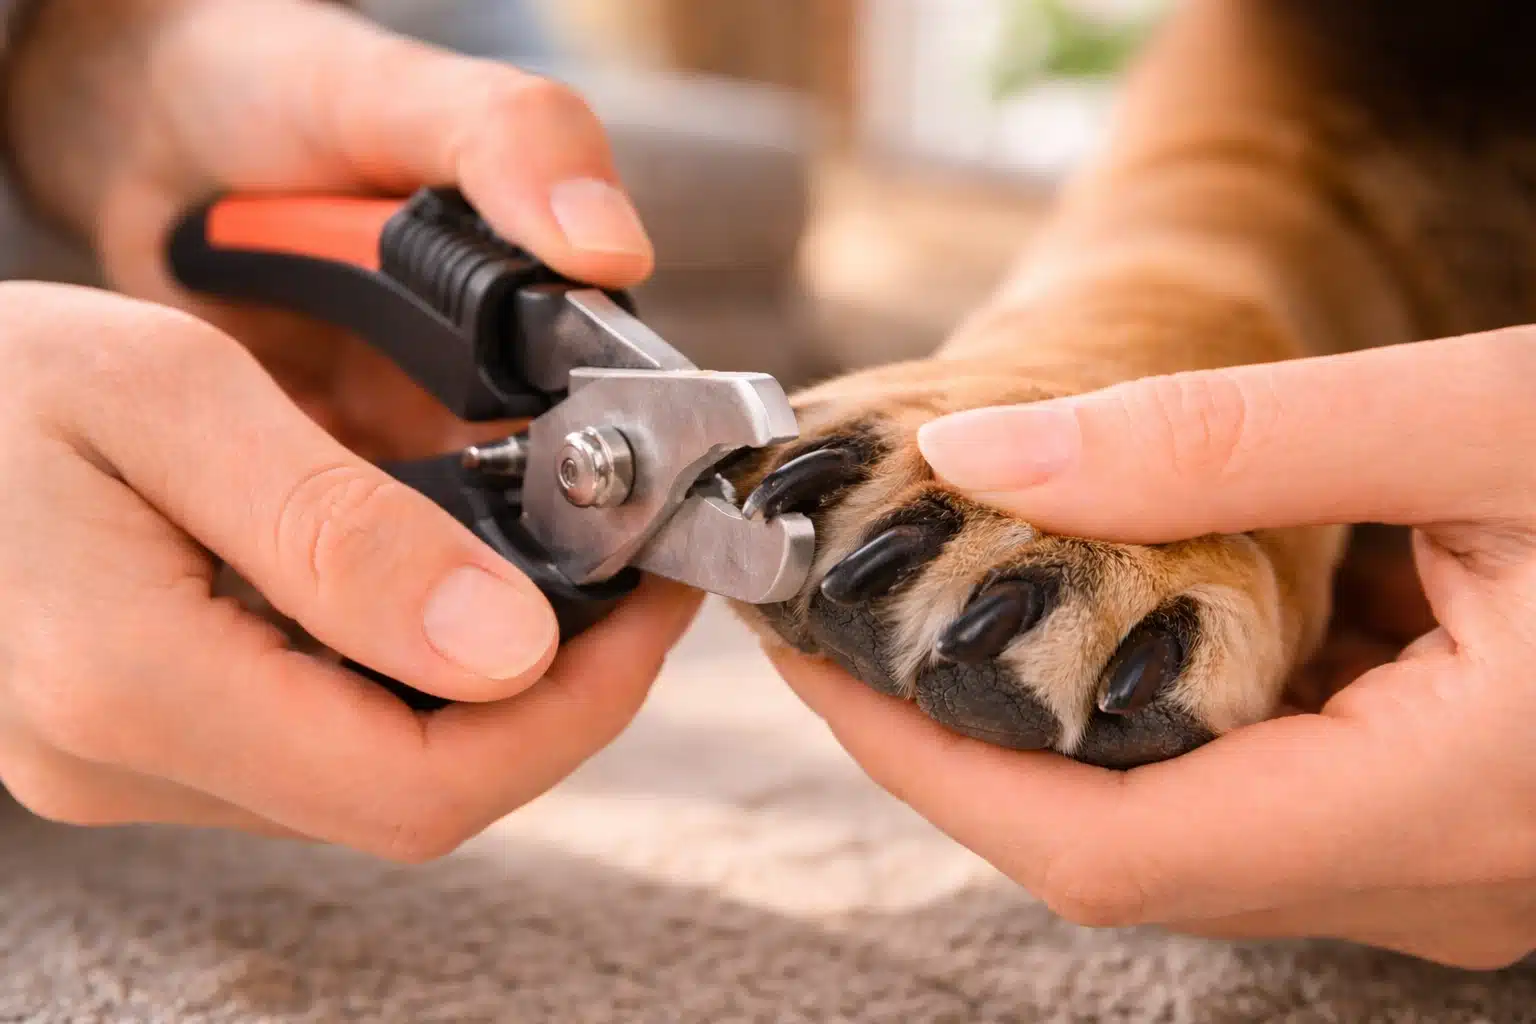
Overgrown nails can affect a dog’s posture and cause pain while walking, so most dogs need a trim every 3 to 4 weeks.
- Use appropriate clippers or a nail grinder, trimming only the curved tip to avoid cutting into the quick.
- For dark nails, take small amounts off until a dark circle appears. Keep styptic powder within arm’s reach for accidents.
- To help nervous dogs adjust, trim 1 to 2 nails per session, pairing the experience with treats and praise.
A technique I use in my practice for dogs with dark nails: instead of looking at the nail from the side, check the cross-section head-on after each small cut.
When you see a pale, chalky ring with a darker dot forming in the center, stop. That darker dot signals you are approaching the quick.
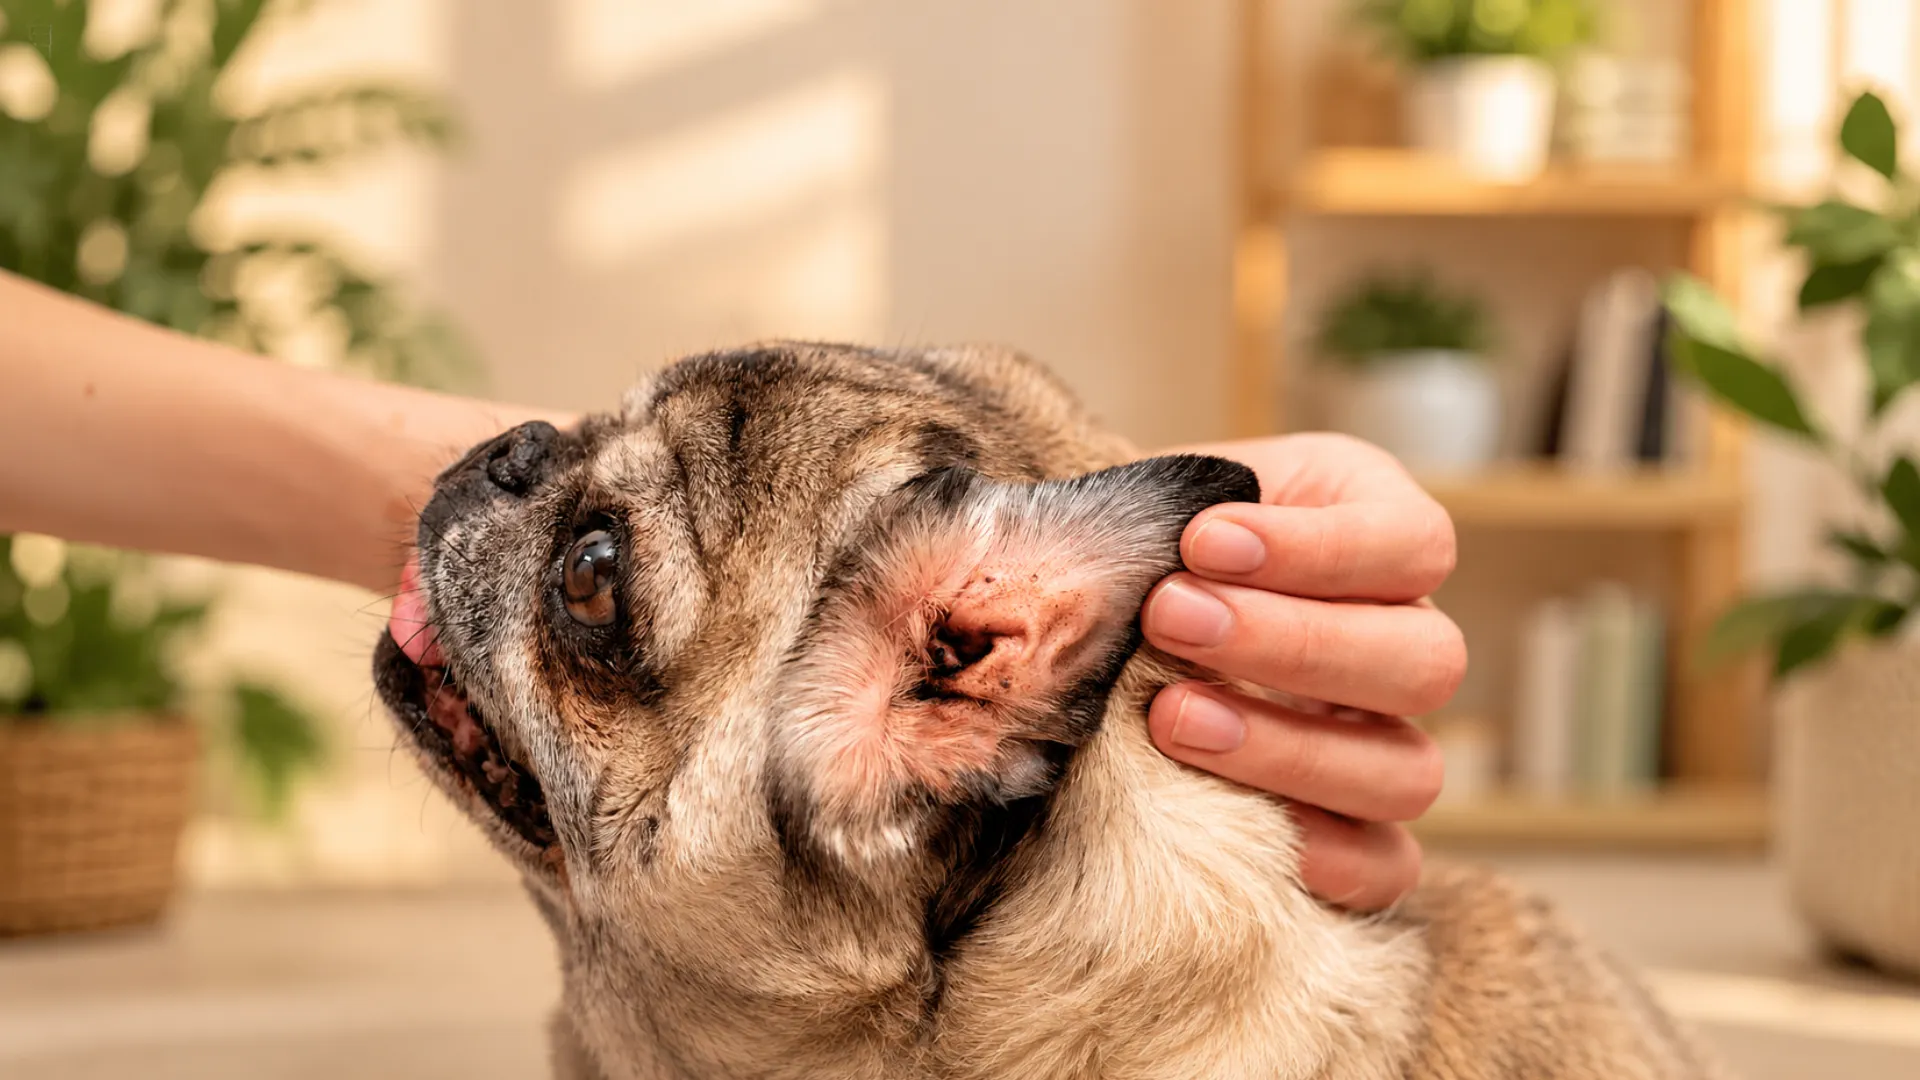
Step 4: Cleaning Ears and Eyes
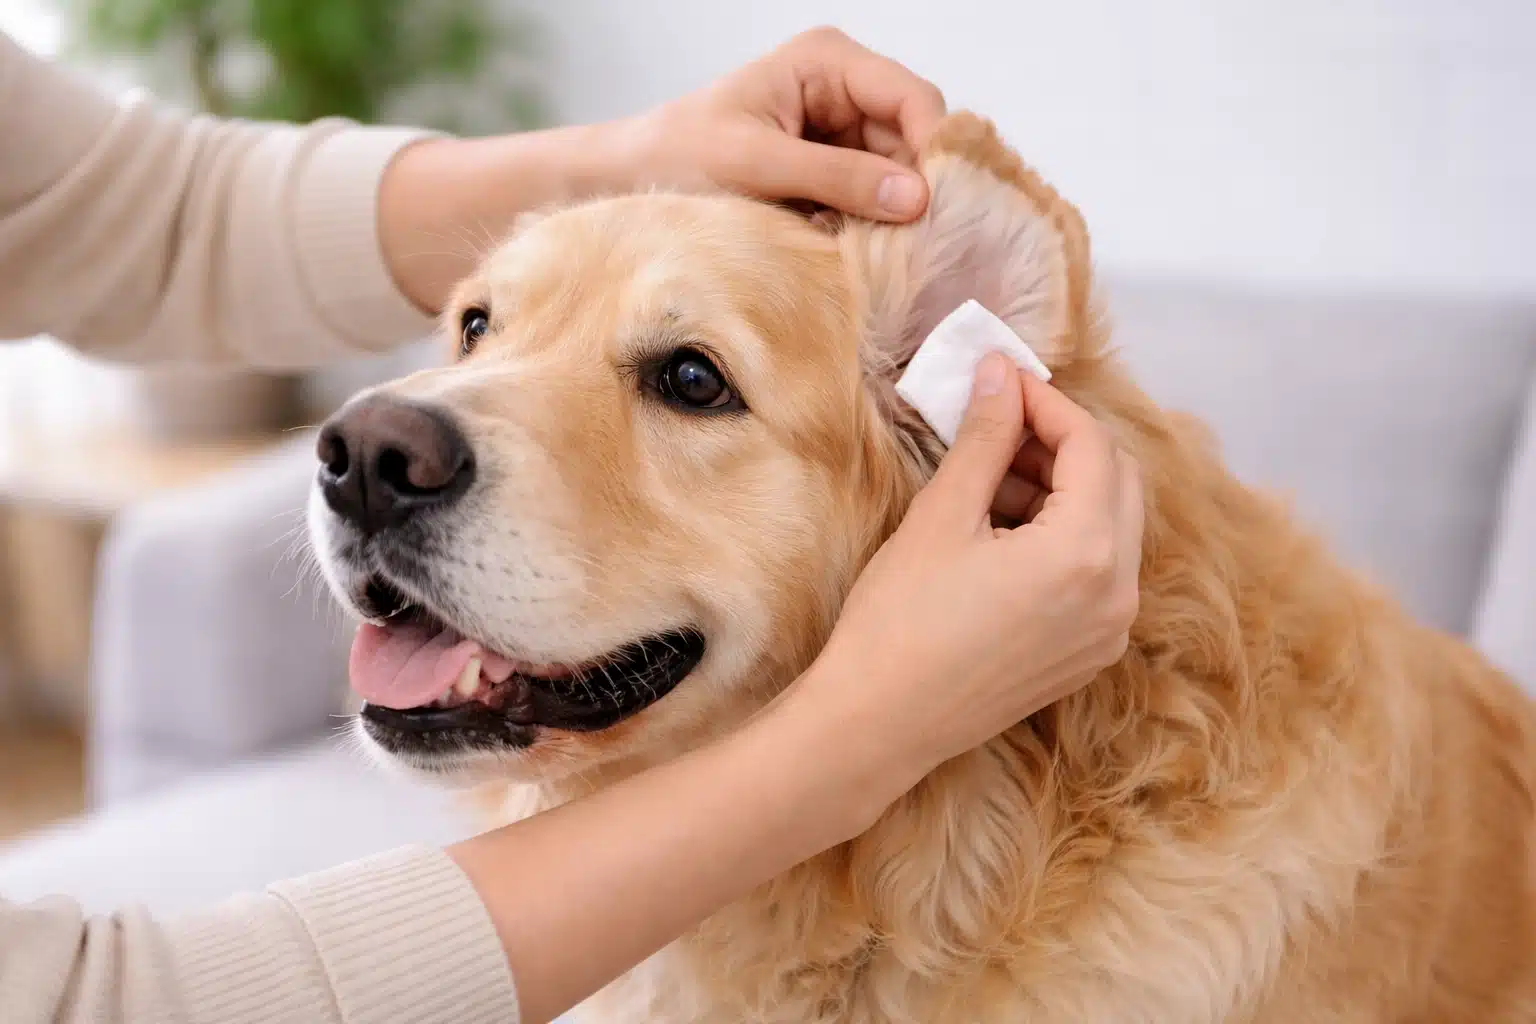
Ear infections are common in floppy-eared dogs like Cocker Spaniels and Basset Hounds. A quick weekly check can help prevent issues.
Use a vet-approved ear-cleaning solution on a cotton ball to gently clean the outer ear flap, avoiding the ear canal. If you notice redness, a bad smell, or excessive scratching, contact your vet.
For eye care, use a damp cotton ball to wipe discharge from the inner corner of the eye outward. This helps prevent tear stains and bacterial growth.
Knowing how to groom a dog includes these smaller steps that are easy to skip but make a real difference in long-term health.
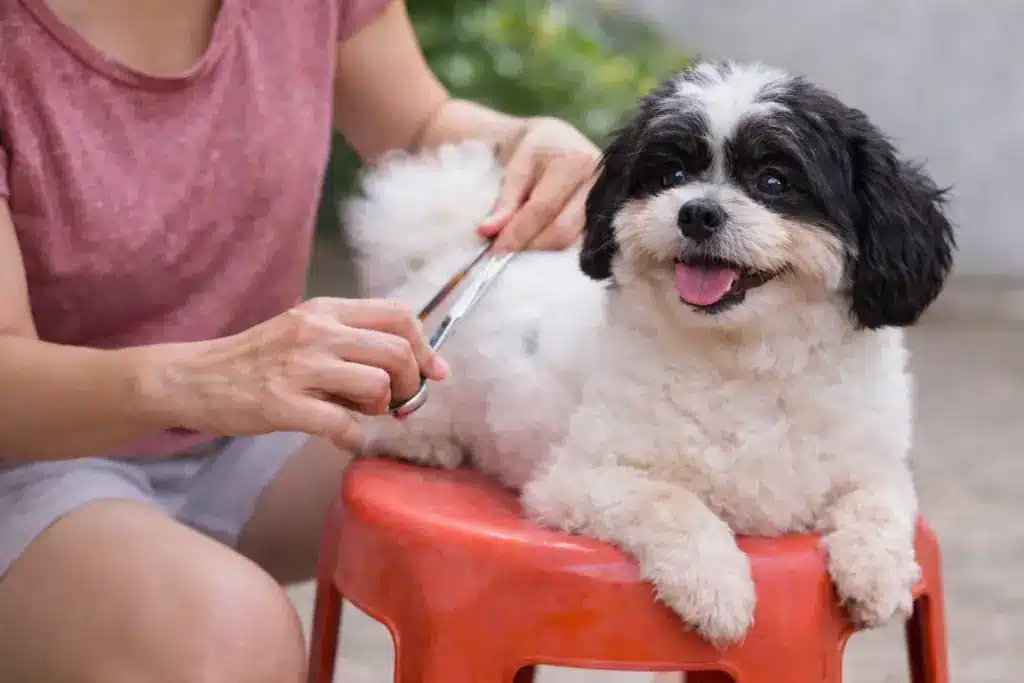
Step 5: Cutting and Trimming Hair
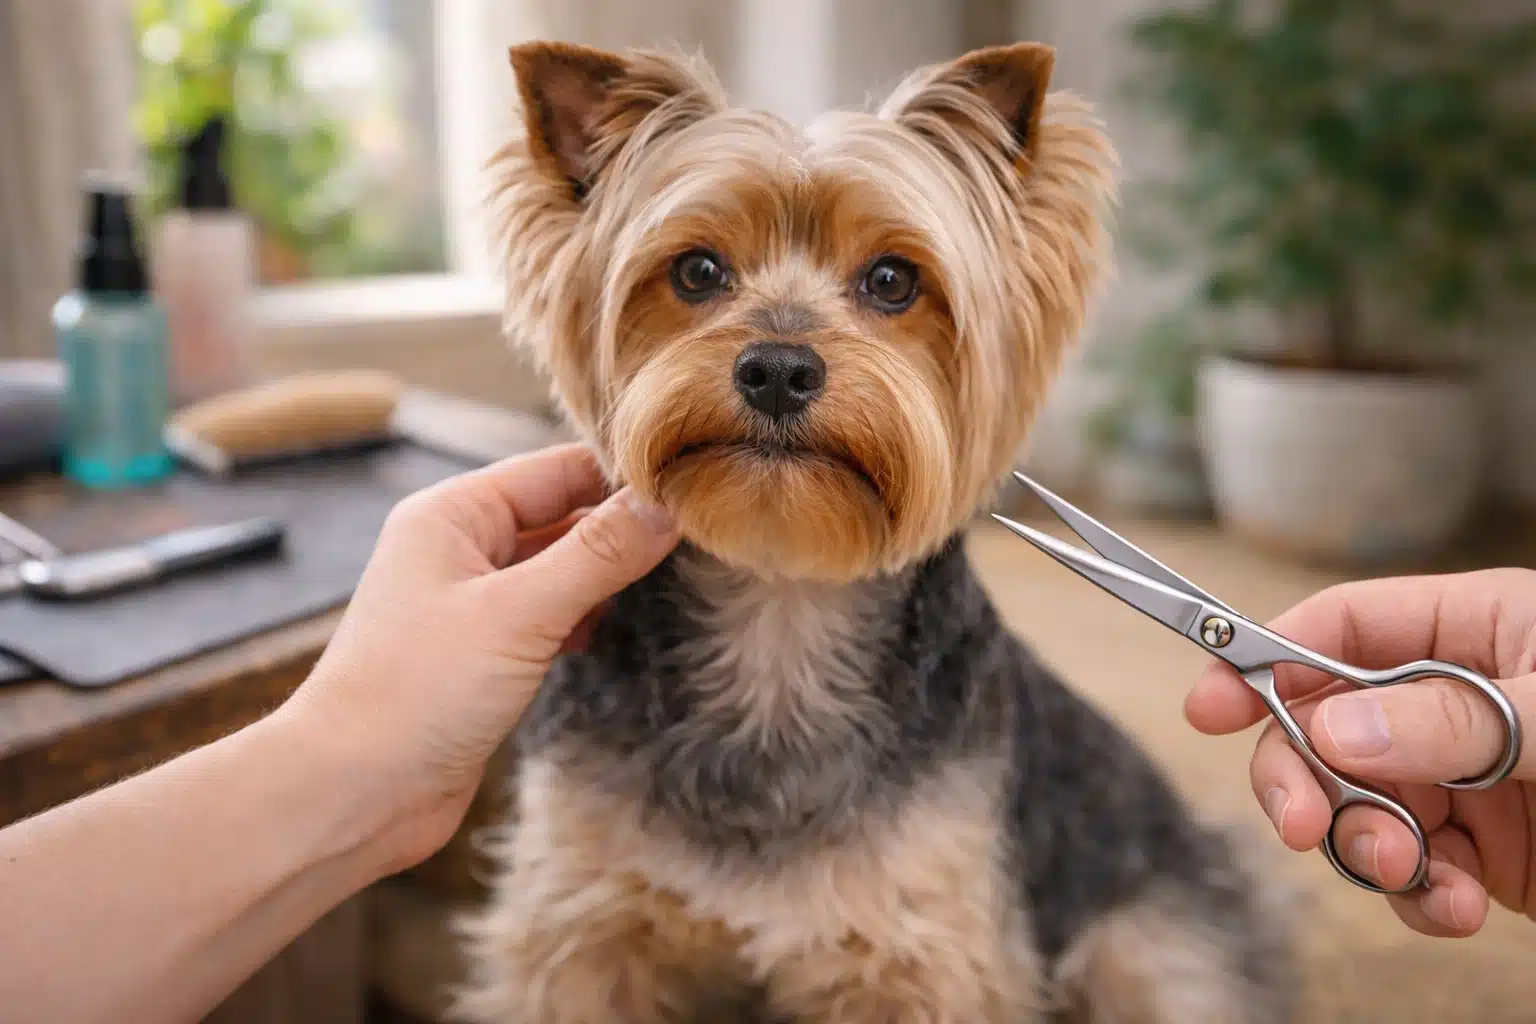
Hair trimming at home requires a careful approach.
Use clippers with guide combs for safety. Make sure the dog is dry and brushed, paying attention to the eyes, paws, and sanitary areas.
A number 10 blade is good for sensitive areas, while a number 4 blade is better for an overall trim. Clip in the direction of hair growth with the blade flat against the coat.
Pay particular attention to the hair between a dog’s paw pads. Overgrown fur in this area can collect dirt and debris, cause slipping on hard floors, and hide small cuts or foreign objects.
Use small, rounded-tip scissors or a number 10 blade to carefully trim this hair flush with the pads.
According to the Humane World for Animals, gradual exposure over several months may be needed before some dogs are fully comfortable with clippers.
A note for owners of double-coated breeds such as Huskies, Labradors, and Golden Retrievers: avoid shaving the coat down to the skin.
The double coat provides natural insulation in both warm and cold weather. Shaving it disrupts that natural function and can cause the coat to grow back unevenly or incorrectly.
Trim or thin the coat rather than shave it, and consult a professional groomer if significant coat reduction is needed.
Step 6: Brushing Your Dog’s Teeth
Dental care significantly impacts long-term health.
The AVMA identifies periodontal disease as the most common condition in adult dogs, with poor hygiene risking tooth loss and damage to the heart, liver, and kidneys.
Introduce toothpaste on your finger first, then progress to a soft dog toothbrush, brushing outer surfaces in circular motions along the gum line.
Aim for brushing at least three times per week, though daily is ideal.
According to the Humane World for Animals, plaque hardens into tartar within just a few days, and tartar can only be removed during a professional cleaning by a veterinarian.
Never use human toothpaste; xylitol and fluoride are toxic to dogs.
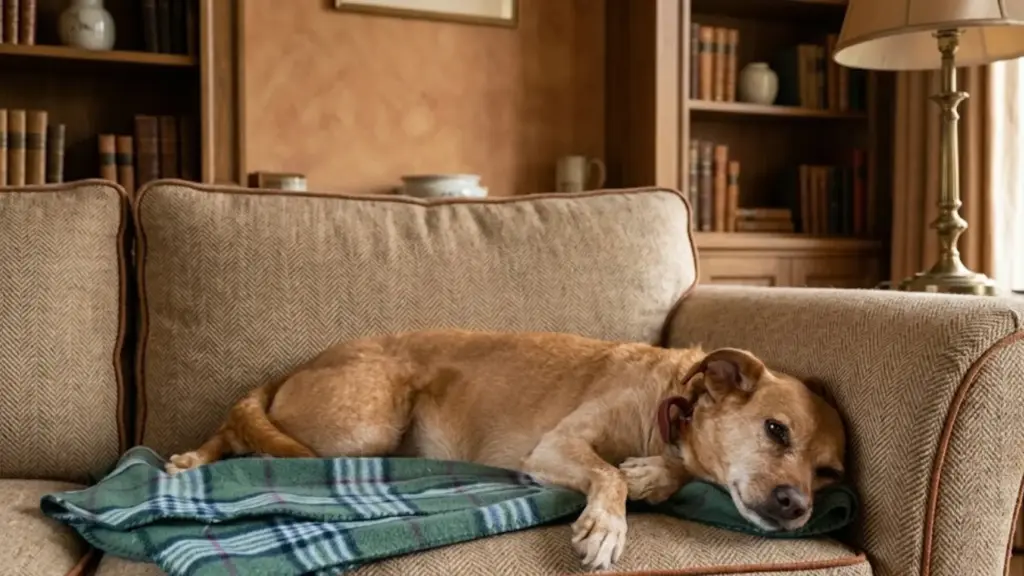
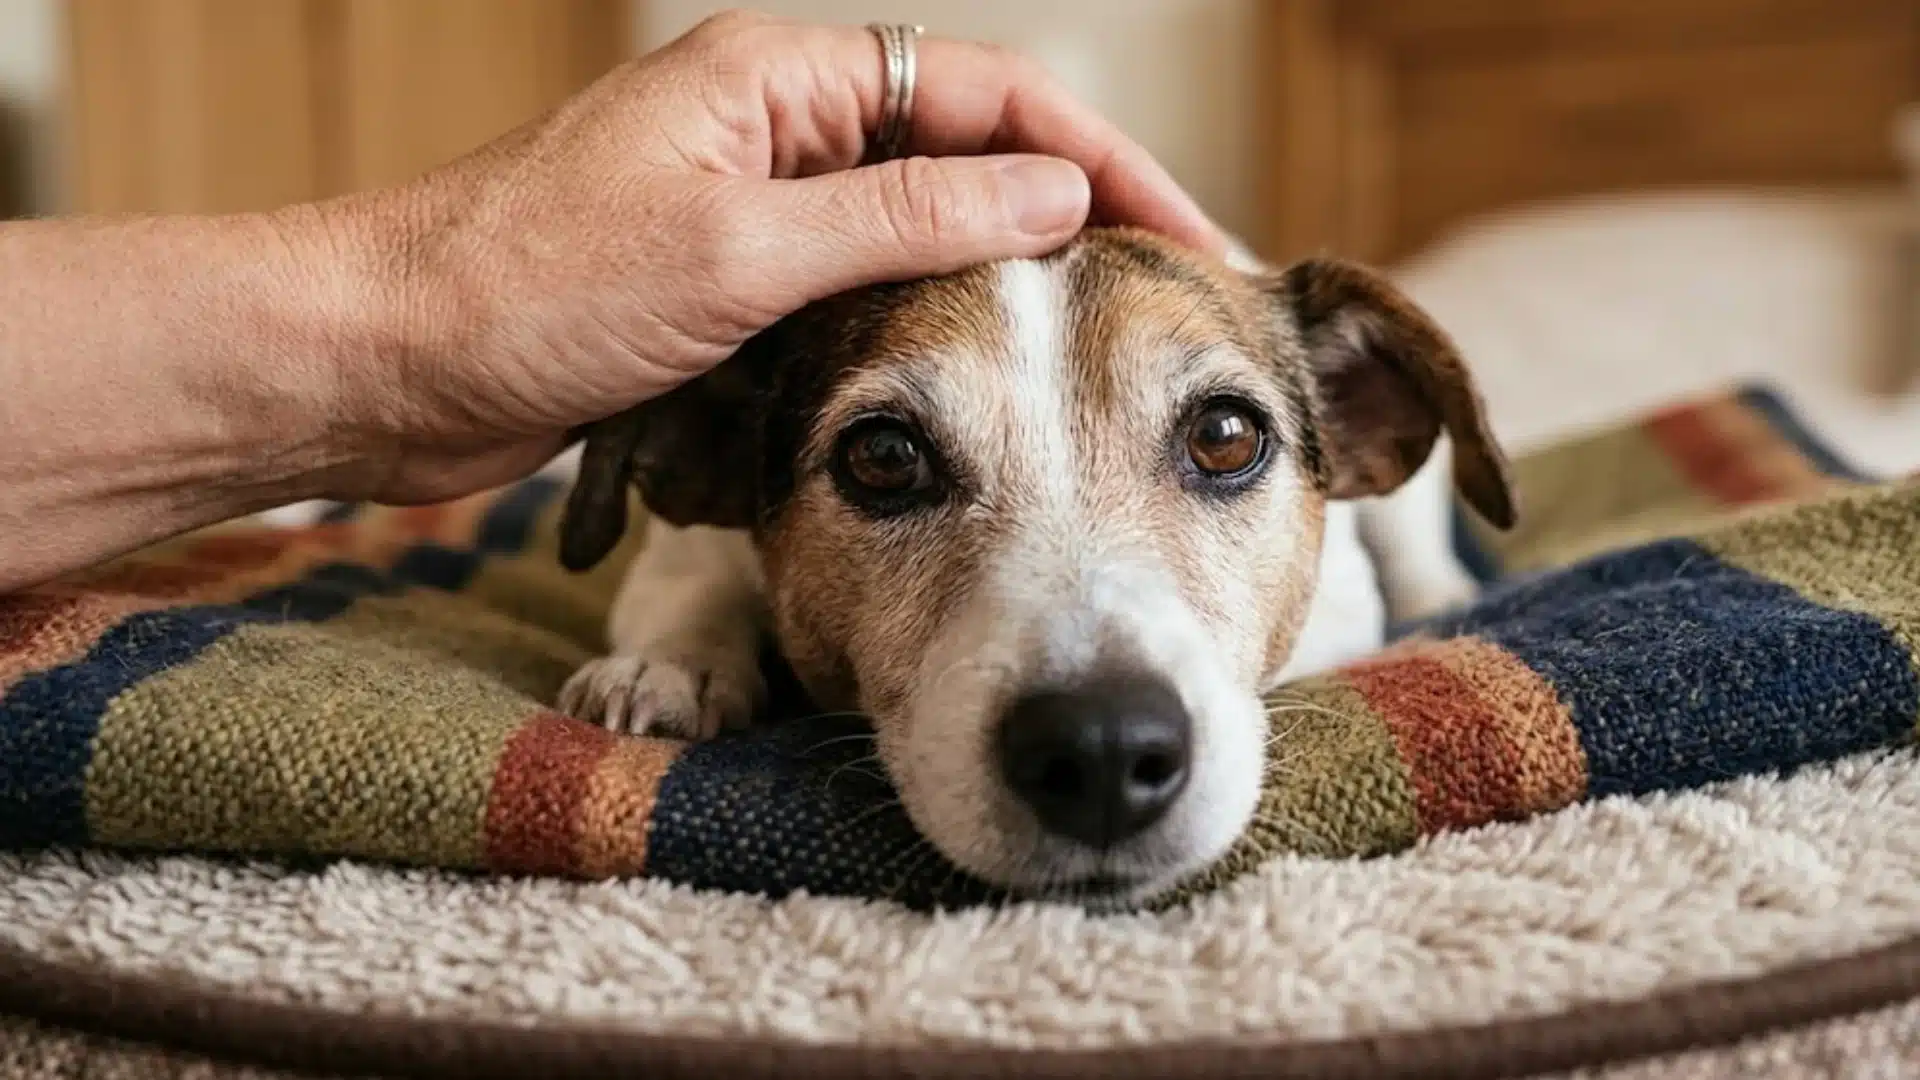
Grooming Anxious and Senior Dogs
Anxious dogs and senior dogs require a modified approach that most step-by-step grooming guides do not address. Treating them the same as a calm, healthy adult dog leads to more stress, not less.
For anxious dogs, the goal is desensitization over time, not completion in one session.
- Introduce tools one at a time, days or weeks apart, before using them.
- Let the dog sniff the brush, clippers, or dryer without turning them on. Reward calm behavior consistently.
- Keep initial grooming sessions to 5 minutes or less, and gradually build duration.
- Using calming aids such as pheromone sprays or a lick mat smeared with peanut butter can redirect attention and lower arousal during the session.
For senior dogs, joint stiffness and arthritis make prolonged standing uncomfortable.
- Use a grooming table or a folded blanket on the floor so the dog can lie down.
- Keep sessions shorter than you would for a younger dog, and avoid any position that requires the dog to hold still against their comfort.
- Be especially gentle around the hips, elbows, and spine, which are common sites of age-related sensitivity.
Grooming Tips: Different Coat Types
Not all coats need the same care. Matching grooming habits to a dog’s coat type prevents damage and keeps their fur in top shape.
| Coat Type | Breeds | Brushing Frequency | Grooming Notes |
|---|---|---|---|
| Short and Smooth | Beagle, Boxer, Dachshund | 1 to 2 times per week | A rubber brush or a grooming mitt works best |
| Long and Silky | Yorkshire Terrier, Maltese | Daily | Slicker brush, then bristle brush |
| Double Coat | Labrador, Husky, Golden Retriever | 2 to 3 times per week | Use an undercoat rake during shedding season |
| Curly | Poodle, Bichon Frise | Daily | Slicker brush and comb to prevent matting |
| Wiry | Terriers, Schnauzers | 2 to 3 times per week | May need hand-stripping to maintain texture |
Common Grooming Mistakes to Avoid
Even well-meaning owners can make errors during grooming. Avoiding these keeps the experience safe and positive for the dog.
- Skipping brushing before baths: Water makes tangles worse and creates tighter mats that are harder to remove.
- Using human products: Shampoos and conditioners made for people can irritate a dog’s skin because of pH differences.
- Cutting nails too short: Hitting the quick causes pain and bleeding. Trim small amounts and check frequently.
- Forcing a nervous dog: Restraining a scared dog leads to stress and potential bites. Take breaks and use treats to build positive associations.
- Bathing too often: Over-bathing dries out the skin and strips the coat of protective oils.
- Neglecting tool hygiene: Dirty clipper blades and unwashed brushes can transfer bacteria between grooming sessions. Clean and dry your tools after every use, and replace or sharpen blades at least once a year.
When to See a Professional Groomer?
Book a professional groomer for severe mats close to the skin, or if you’re uncomfortable trimming around the eyes, ears, or paws.
If your dog becomes extremely stressed or aggressive during home sessions, forcing it can erode trust and worsen future grooming.
Always watch for signs that require veterinary attention, such as unusual lumps, persistent redness, inflamed skin, or a foul-smelling ear.
Leave anal sac expression entirely to a groomer or vet, as doing it incorrectly risks injury or painful impaction.
For best results, combine regular home maintenance with a professional groom every 6 to 12 weeks.
Conclusion
Taking care of your dog’s grooming at home does not have to feel overwhelming. With the right tools, a calm setup, and a simple routine, it becomes a normal part of pet ownership.
I have found that starting small and staying consistent makes the biggest difference. A few minutes of brushing, a quick ear check, and regular nail trims go a long way in keeping a dog healthy and comfortable.
Building in a teeth brushing habit and staying aware of when to call in a professional rounds out a grooming routine that genuinely supports a dog’s long-term health
Learning how to groom a dog at home also saves money and builds a stronger bond with your pet over time. The key is to stay patient and let your dog set the pace.
Try one grooming task this week and build from there. Drop a comment below and share what grooming tips work best for you and your pup!