

Ear problems are one of the most common health issues dogs deal with. Dirt, wax, and moisture can build up fast, especially in floppy or hairy ears.
When that buildup sits too long, it can lead to itching, redness, bad odor, and even painful infections.
Many pet parents ignore early signs because they are not sure what is normal and what is not. Learning how to clean a dog’s ears the right way can prevent those problems before they start.
This guide breaks everything down in simple steps. It explains when to clean, what supplies to use, what mistakes to avoid, and when a vet visit makes more sense.
You will also get practical advice based on veterinary best practices, so ear care feels manageable and safe at home.
Why Dog Ear Cleaning Is Important
Dogs can develop several ear problems when dirt and moisture build up. Ear infections are common and may be caused by bacteria or yeast.
Mites are another issue, especially in puppies, as they cause intense itching and dark discharge. Wax buildup is also frequent, particularly in dogs with narrow or hairy ear canals.
There are clear signs that the ears need attention. Scratching often, head shaking, redness, swelling, strong odor, and thick discharge are warning signals.
Some dogs may even show pain when the ear is touched. Certain breeds face a higher risk, because floppy-eared dogs like Cocker Spaniels and Basset Hounds trap moisture easily.
Breeds with heavy hair inside the ear canal are also more likely to develop recurring problems.
How Often Should You Clean Your Dog’s Ears
There is no fixed schedule that fits every dog. In general, most healthy dogs need ear cleaning once every two to four weeks.
Some may need it less often if their ears stay clean and dry. Over-cleaning can irritate the ear canal, so balance matters.
Several factors affect how often care is needed. Activity level also matters, as dogs that swim often or spend time outdoors can collect dirt faster.
Ear shape and hair growth inside the canal can also increase wax buildup. Regular checks help determine the right routine.
Step-by-Step Guide: How to Clean Dogs Ears at Home
These steps reflect the exact process demonstrated in the transcript, focusing on preparation, proper restraint, flushing, massage, and thorough cleaning.
Step 1: Prepare the Cleaning Solution
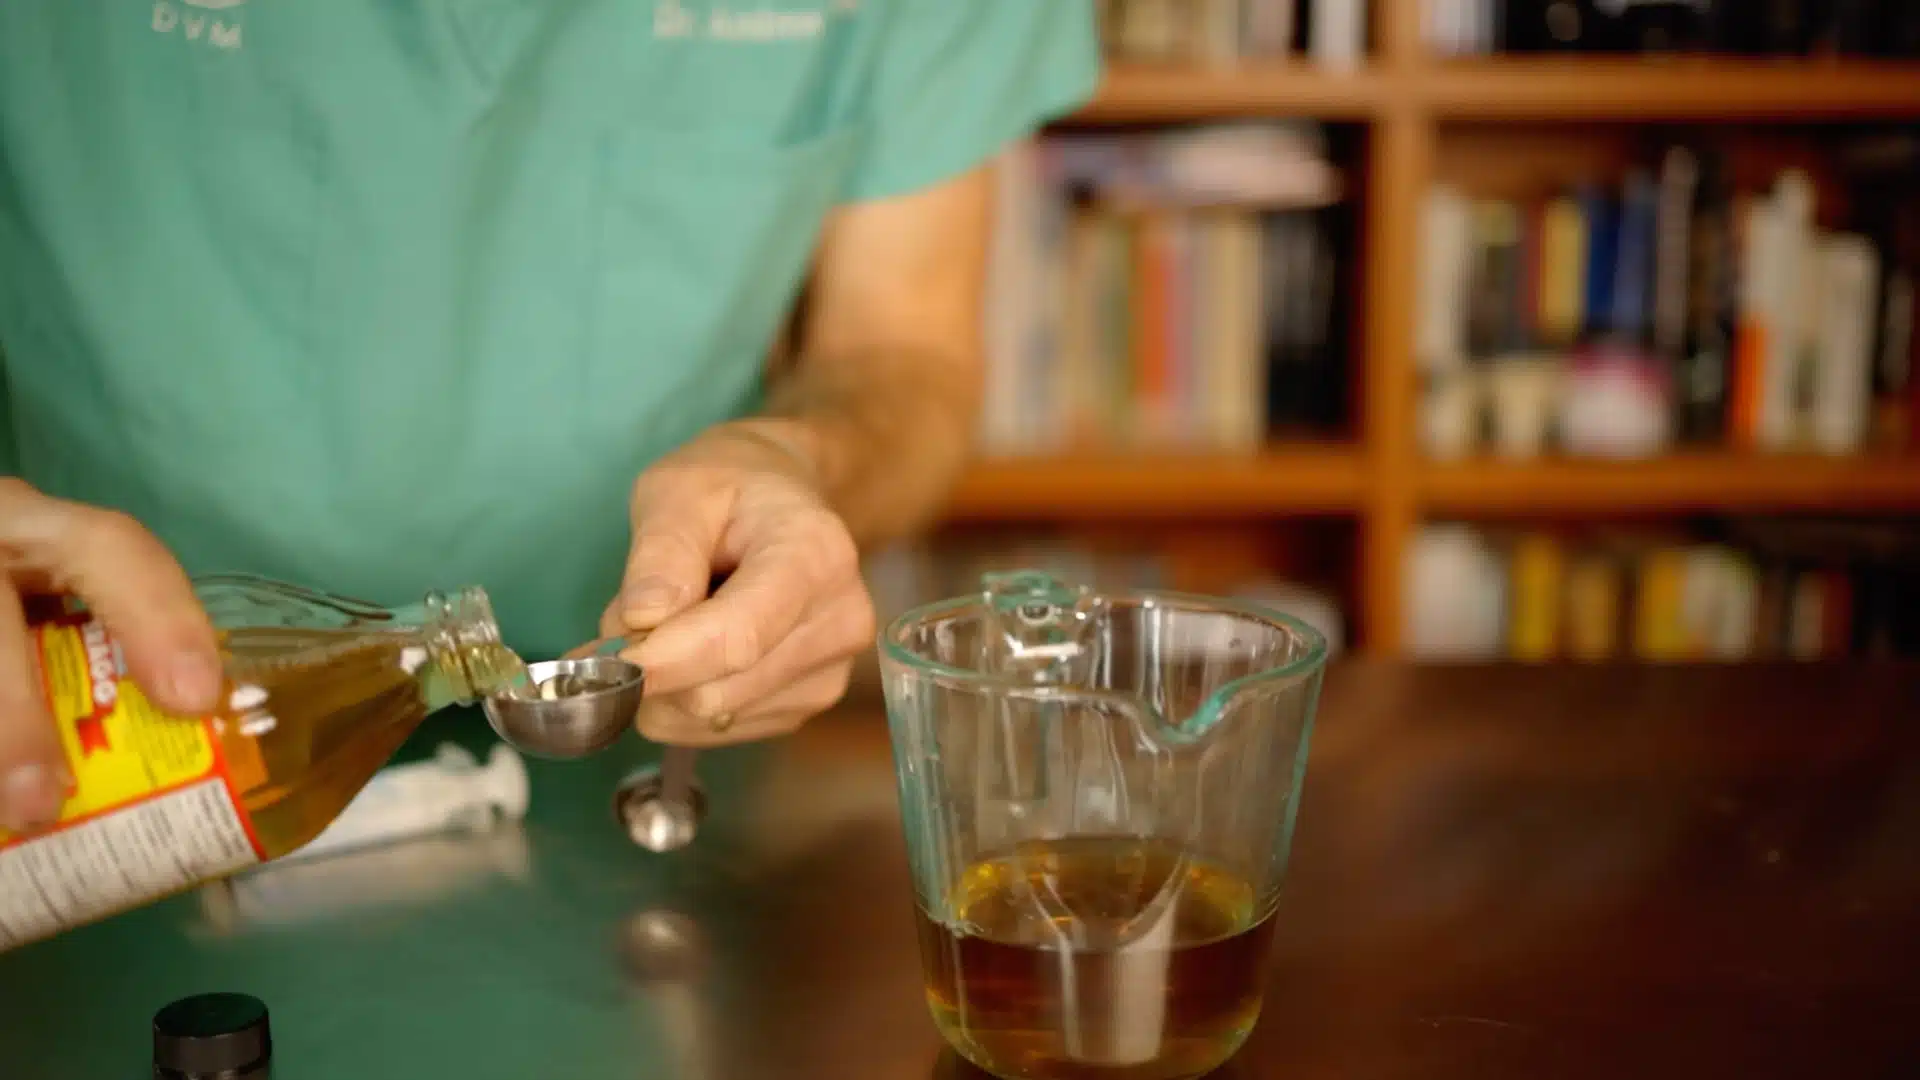
Begin by preparing the homemade ear rinse. Pour one cup of nettle leaf tea into a measuring cup, then add two tablespoons of apple cider vinegar and one tablespoon of castile soap.
Mix everything well so the ingredients combine evenly and form a consistent solution. Once blended, draw up about one tablespoon or 15 ml of the mixture into a syringe.
If a syringe is unavailable, a turkey baster can be used carefully for controlled and steady application.
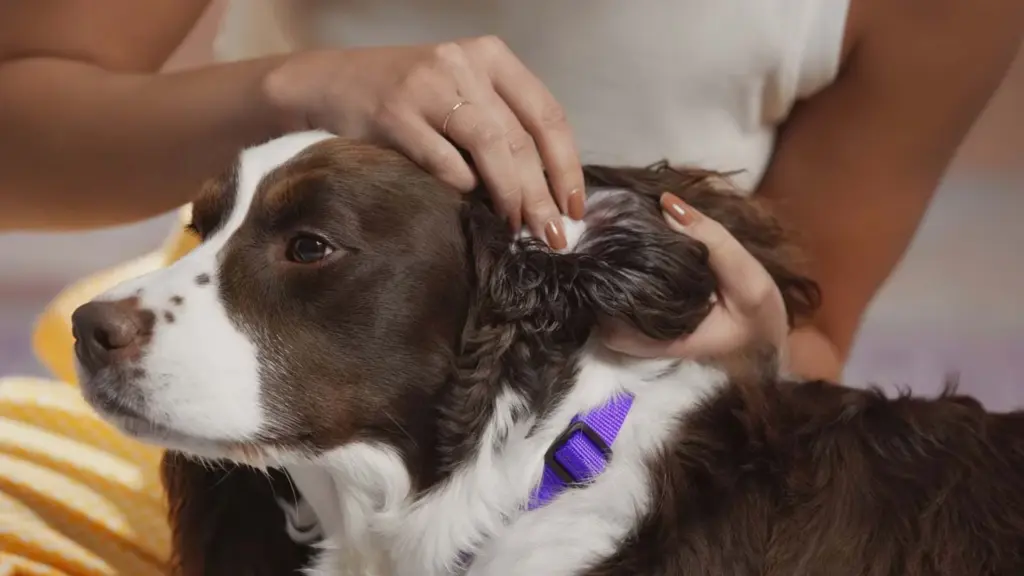
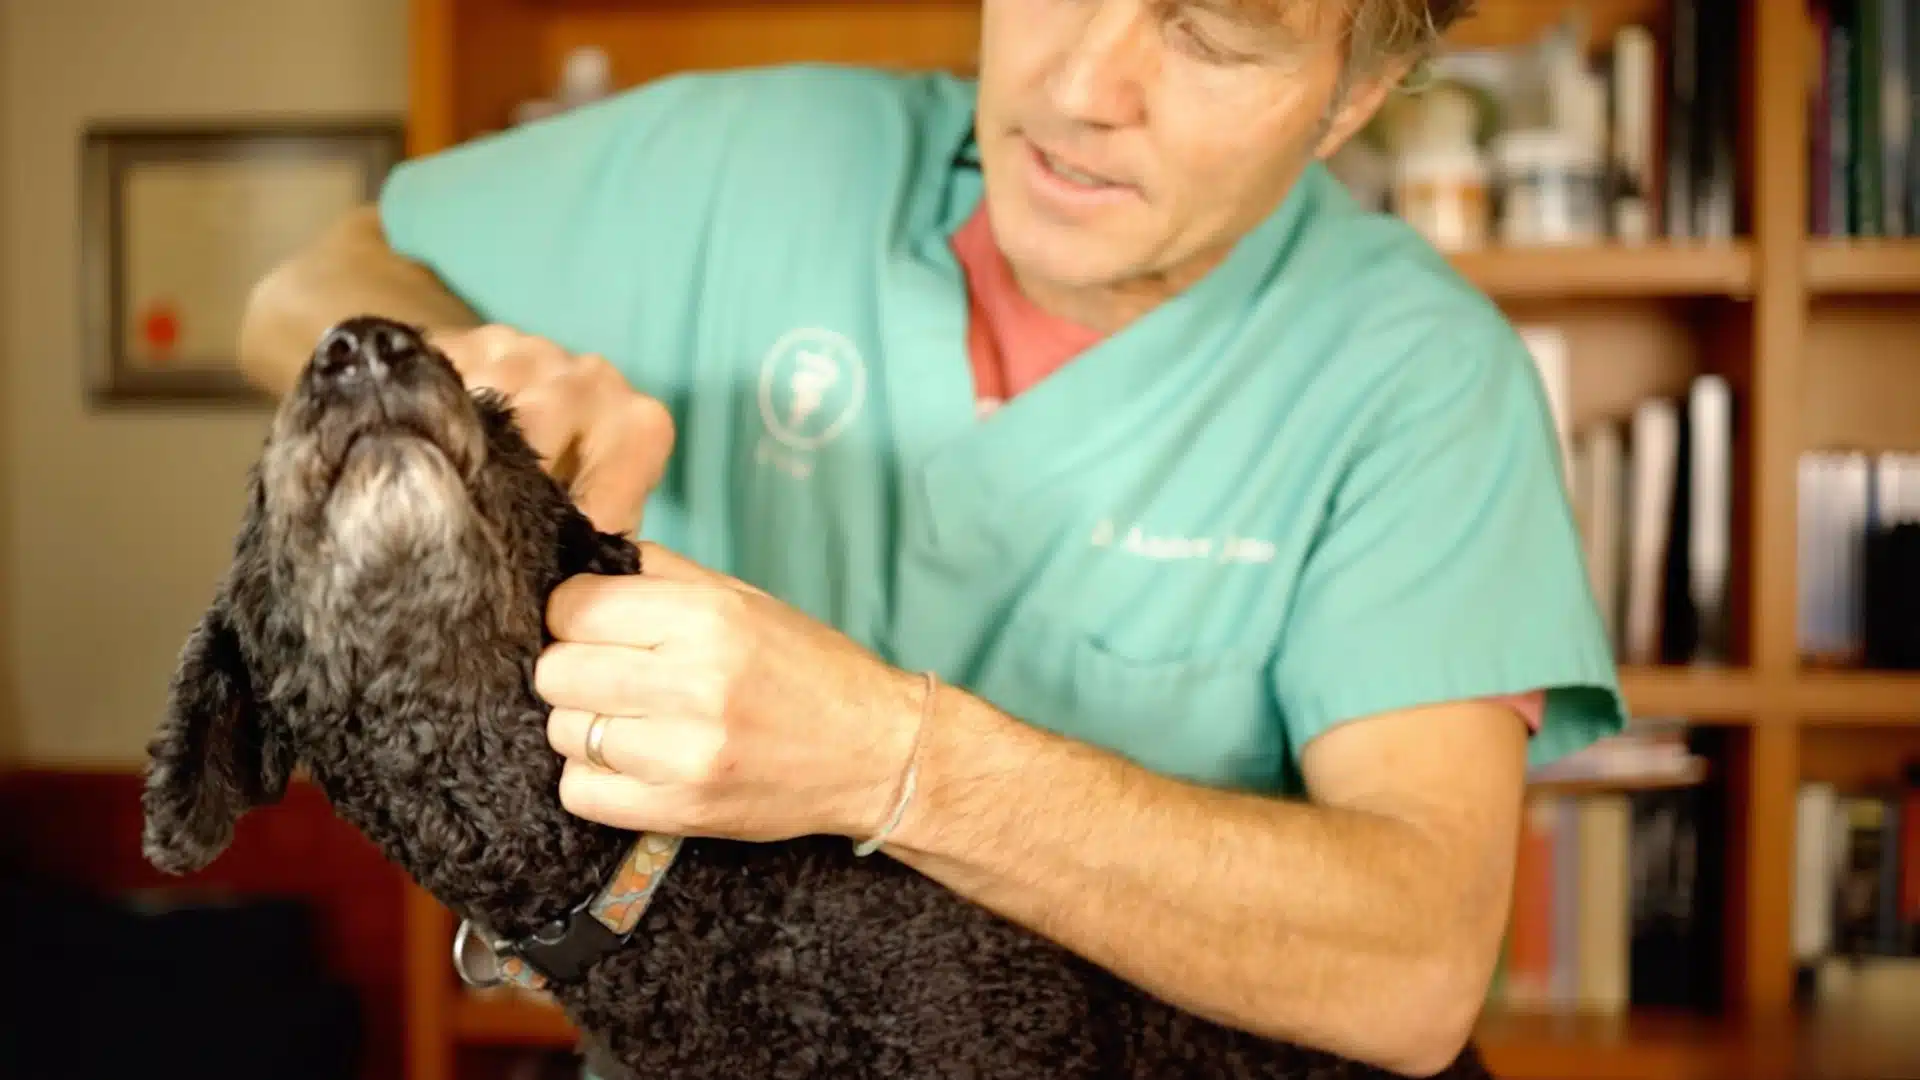
Step 2: Position and Secure the Dog Properly
Place the dog on a stable table or raised surface to make restraint easier and safer. This position gives better access to the ear and reduces sudden movements during the procedure.
Keep a towel nearby because the liquid will likely drip out once applied. Gently lift the ear flap and tilt the head slightly to expose the ear canal clearly.
Maintaining steady but calm control helps prevent stress and keeps the cleaning process manageable and efficient.
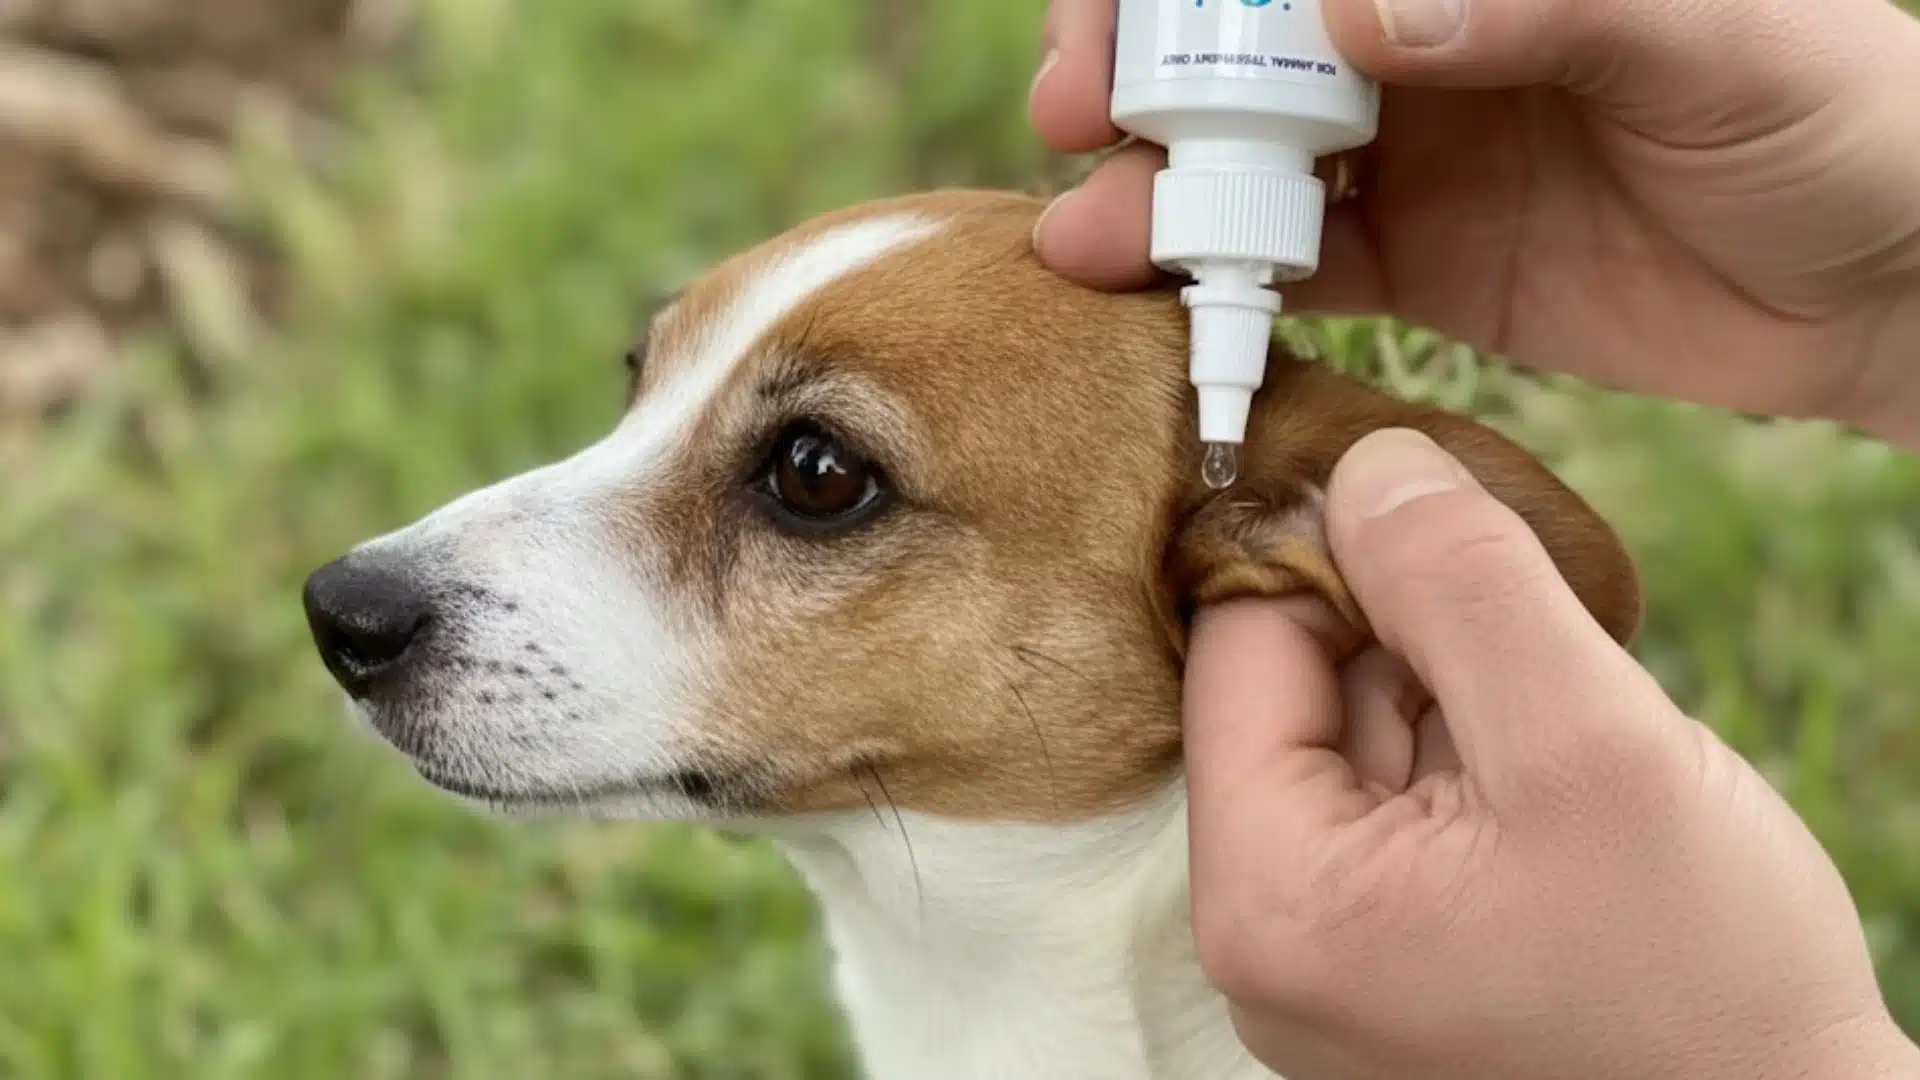
Step 3: Fill the Ear Canal with the Solution

Hold the ear flap upright and carefully position the syringe tip at the entrance of the ear canal without inserting it deeply.
Slowly squeeze the syringe and allow the solution to flow into the canal until you see it begin to overflow slightly. The canal should be filled enough so that the liquid can move freely inside.
Proper filling ensures the solution reaches both the vertical and horizontal sections of the ear canal, helping loosen trapped wax, debris, and discharge effectively.
Step 4: Massage the Ear Canal Thoroughly
Once the ear canal is filled, hold the base of the ear firmly between your thumb and forefinger. Massage the base in a steady circular motion for several seconds.
A noticeable squishing sound usually indicates that the liquid is moving through the canal properly. This step is important because it loosens wax and debris that may be stuck deeper inside.
Insufficient massage may leave buildup behind and reduce overall cleaning effectiveness significantly.
Step 5: Wipe, Clean, and Repeat if Needed
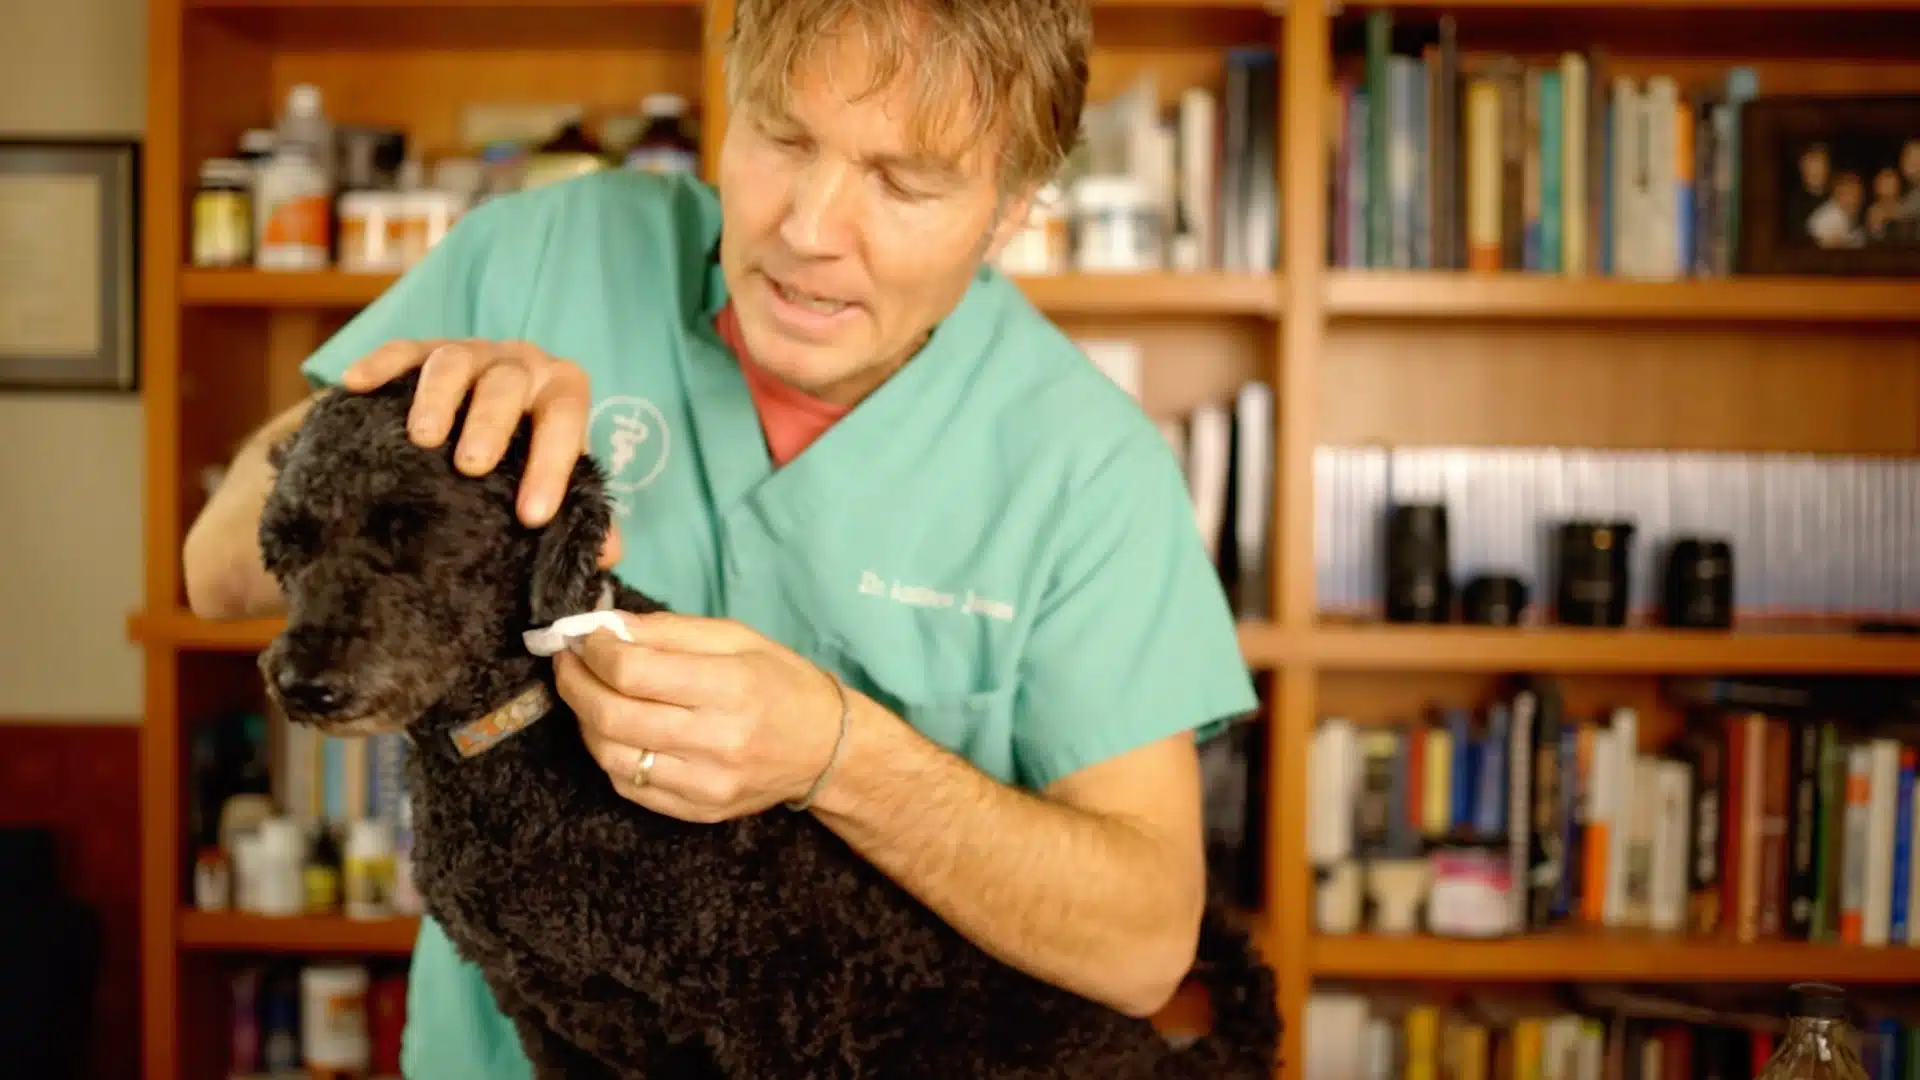
After massaging, allow the excess fluid to drain out naturally from the ear canal. Use cotton swabs to gently wipe away loosened debris and remaining solution from the visible outer canal and inner ear flap.
Insert the swab only as far as you can clearly see and avoid pushing it deeper inside. If debris is still present, repeat the flushing and wiping process.
Continue until the swab comes out clean and the ear appears clear and free from visible buildup.
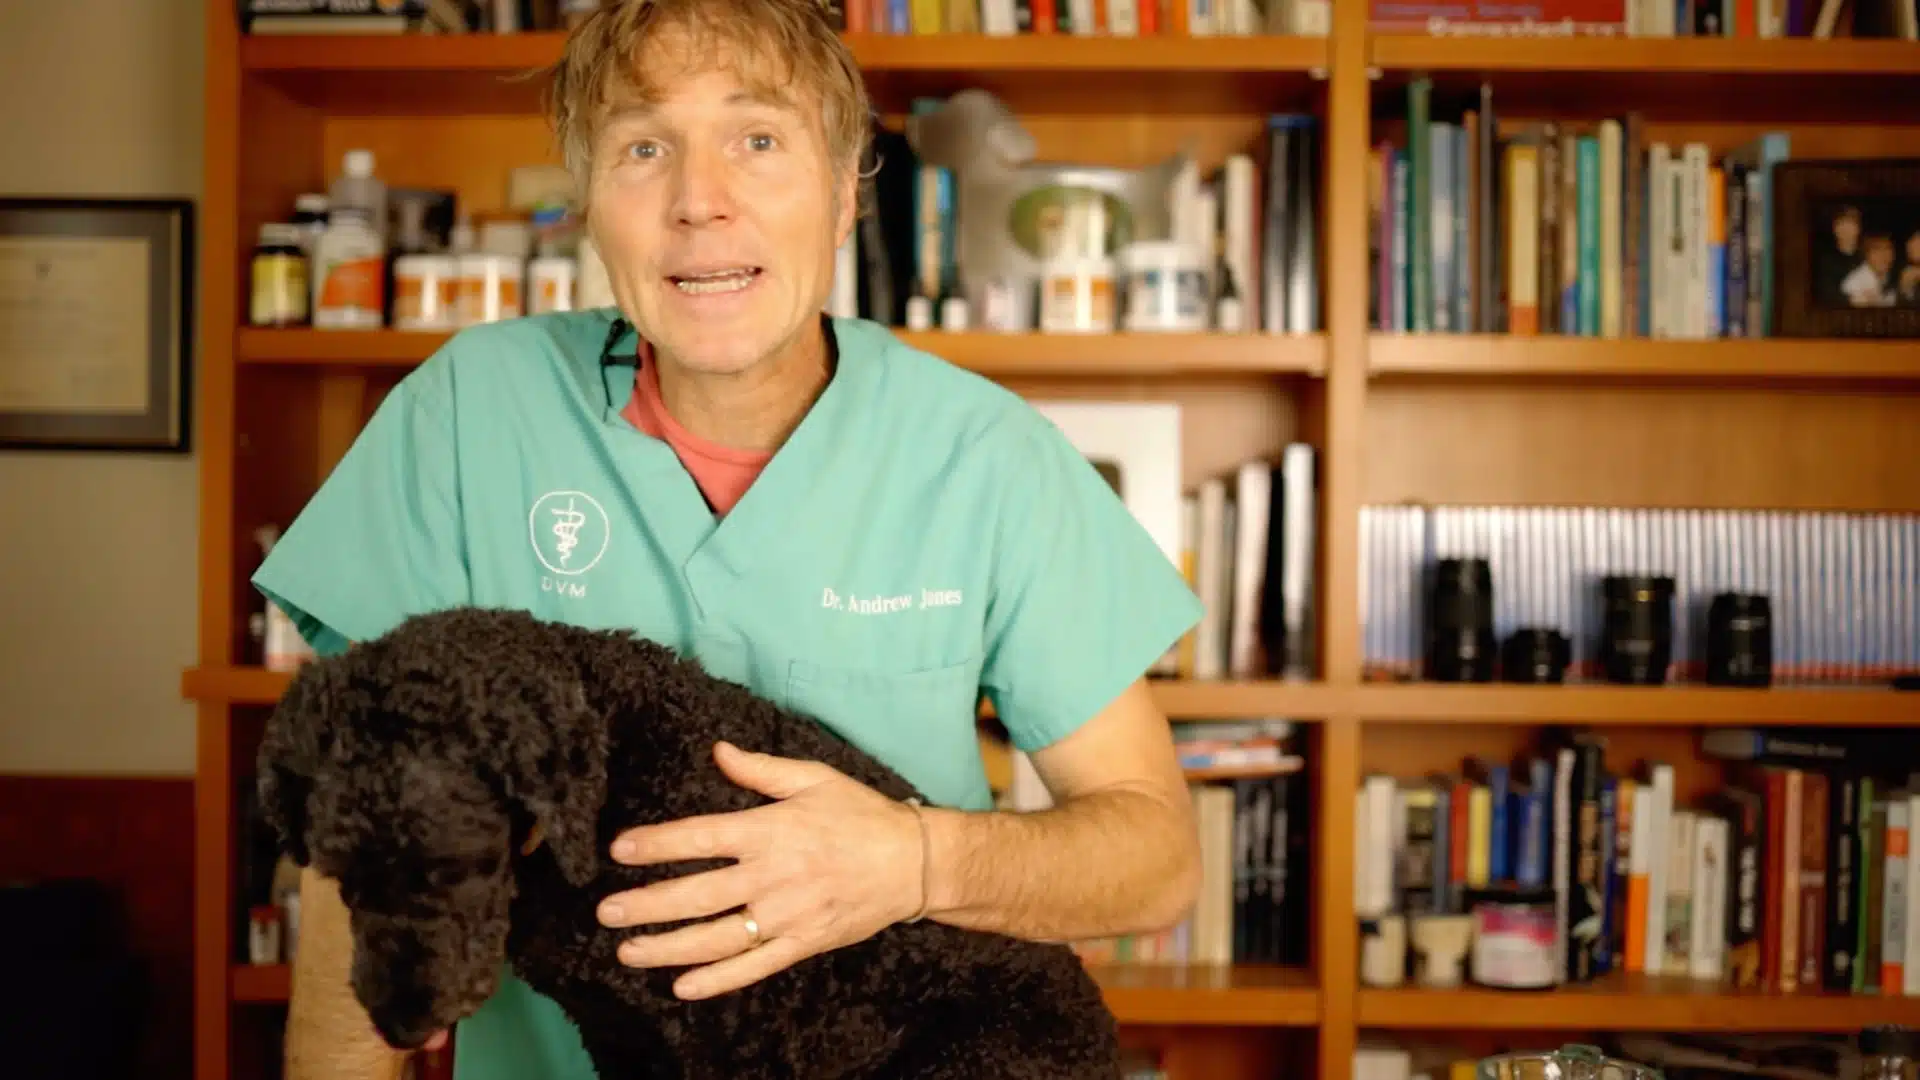
This guide is based on an informative YouTube video by Dr. Andrew Jones from Veterinary Secrets, whose step-by-step demonstration made this tutorial possible.
Veterinarian’s Best Practices for Cleaning Your Dog’s Ears

The American Kennel Club recommends checking your dog’s ears regularly as part of basic grooming. A healthy ear looks pink, smells clean, and shows no signs of redness or swelling.
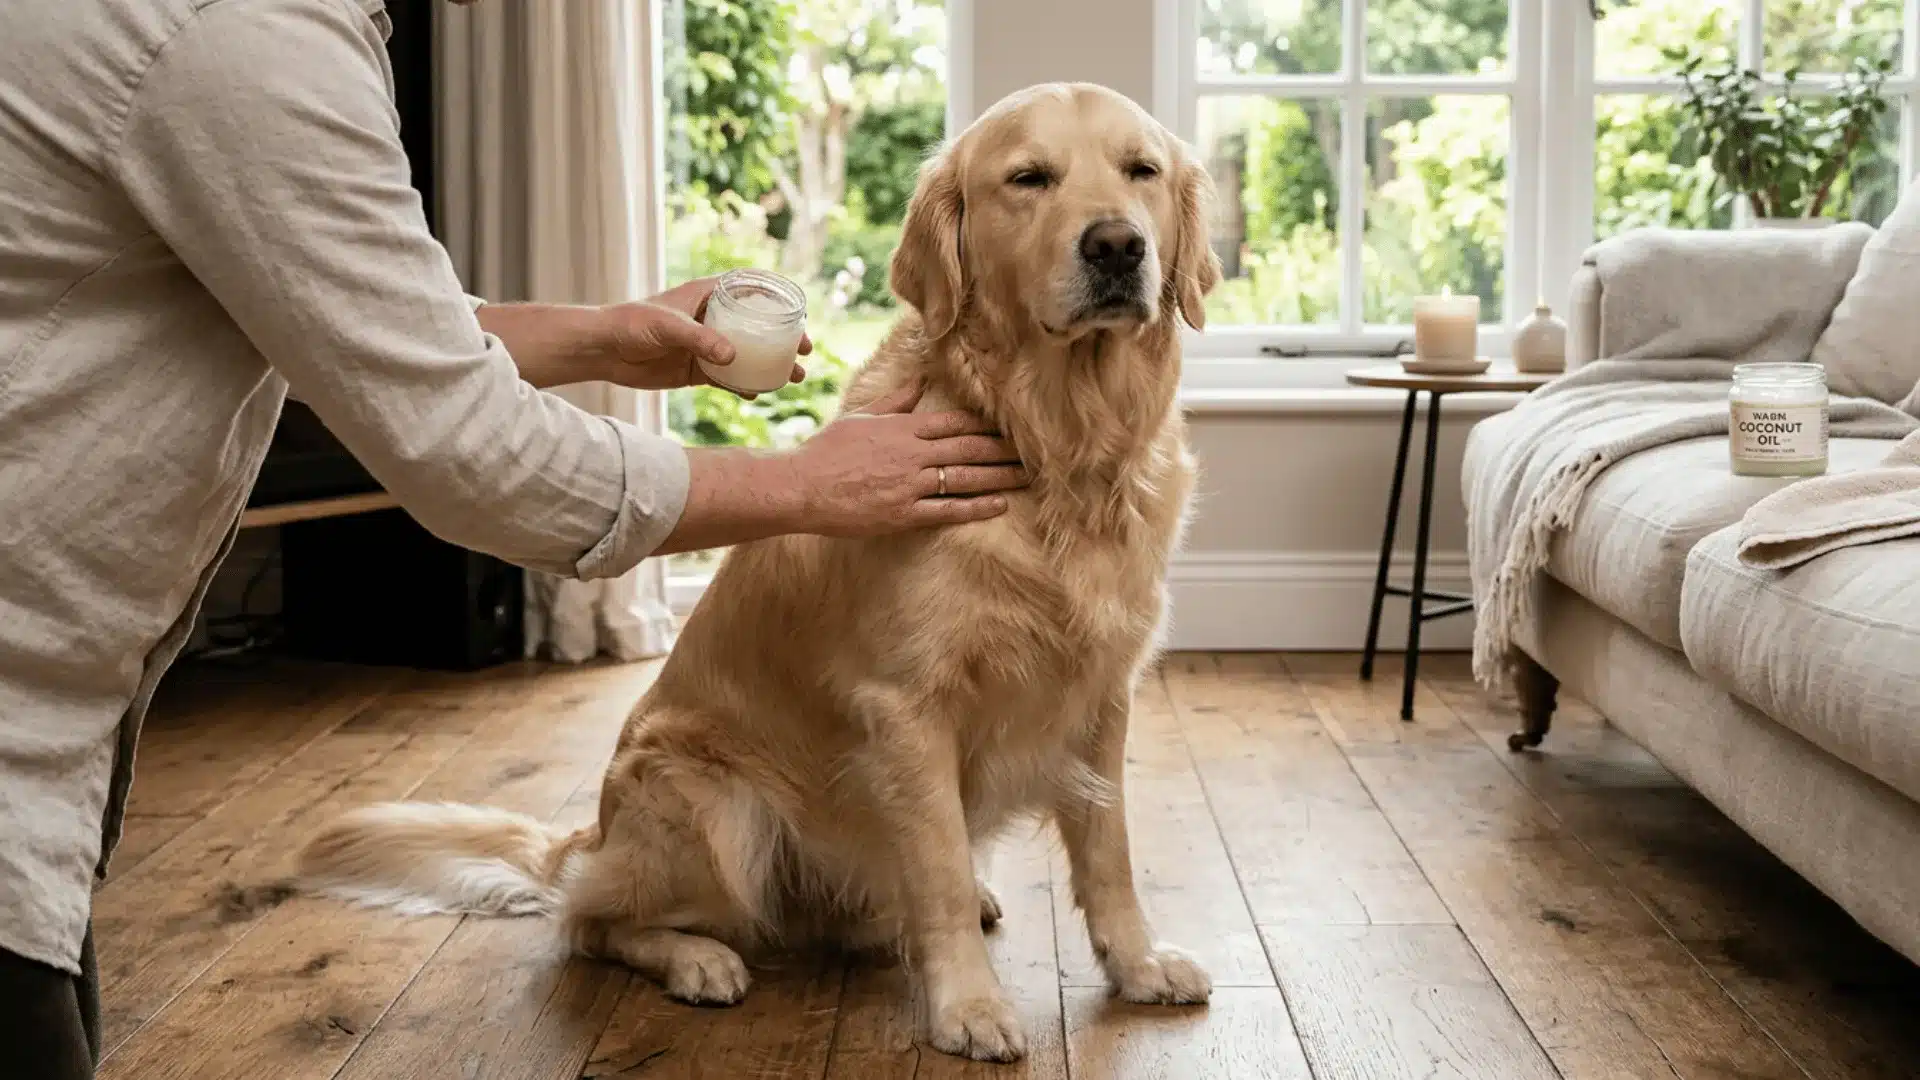
Always use a vet-approved cleaning solution; homemade remedies can irritate the ear or cause damage over time.
In clinics, vets condition dogs slowly to accept ear handling. They use treats and calm touches to build comfort. Starting this early makes the process easier for both the dog and the owner.
Professionals often warn against over-cleaning, using cotton swabs, or cleaning an ear that already looks infected. These mistakes can make things worse.
As a general rule, schedule an ear check during every routine vet visit. Dogs prone to infections or those that swim often may need more frequent professional evaluations.
Dog Ear Cleaning Common Mistakes to Avoid
Common ear-cleaning mistakes can lead to irritation or infection if not handled properly. Awareness of these risks helps maintain better ear health and prevent avoidable discomfort.
- Over-cleaning: Cleaning too often can irritate the ear canal and remove protective natural oils, causing dryness, itching, or infection.
- Using homemade solutions: Incorrect mixtures of vinegar or hydrogen peroxide may irritate the ear or worsen existing issues.
- Non–vet-approved products: Products not made for a dog’s ear structure may be unsafe or ineffective.
- Inserting tools too deeply: Pushing fingers or tools into the ear canal can cause injury or force debris deeper.
- Ignoring early warning signs: Redness, odor, or discharge can quickly develop into a painful infection if left untreated.
Conclusion
Keeping your dog’s ears clean does not have to feel overwhelming. With the right supplies, proper timing, and gentle handling, ear care becomes part of a normal grooming routine.
Regular checks help spot early signs of wax buildup, irritation, or infection before they turn serious.
Learning how to clean a dog’s ears safely means understanding when to clean, how often to do it, and when to stop and seek professional help.
Always move slowly, stay calm, and avoid going deep into the ear canal. If something looks unusual or your dog shows pain, a veterinarian should examine the ear before you continue.
Consistency and patience make a real difference in long-term ear health. Have you noticed any signs that your dog’s ears need attention lately?
Share your experience or questions in the comments below.