

What would you do if your dog suddenly stopped breathing during a meal or while chewing a toy? Choking can happen fast, and waiting too long can lead to serious consequences.
Knowing the right response helps turn panic into action, especially when every second counts.
In this blog, I’ll explain the key warning signs, what to check first, and the safest way to act when an airway blockage is suspected.
You’ll also learn how to position your dog, where to apply pressure, when to use back blows, how to transition to CPR, and when it’s time to stop and head to the emergency vet.
Understanding how to give a dog Heimlich is not about replacing professional care, but it’s about being prepared until help is available. Let’s begin with the basics and safety.
Dr. Pierce’s note: In over 15 years of emergency veterinary practice in Minnesota, I’ve seen owners rush in with choking dogs, some who acted quickly and saved their pet’s life, and others who hesitated because they weren’t sure what to do. That hesitation is what this guide is designed to eliminate.
Why Do Dogs Choke?
Dogs choke when an object blocks the airway, preventing normal airflow in and out of the lungs.
This often happens while chewing or swallowing items that are too large, too hard, or the wrong shape, such as bones, sticks, toys, balls, or treats that break into chunks.
Some dogs gulp their food too quickly, not chewing enough, which increases the risk of food particles becoming lodged in the throat.
Excitement during eating, playing, or object-grabbing can also lead to poor coordination between chewing and swallowing.
Complete vs. Partial Airway Blockage
Not all choking is the same. A partial blockage allows some air to pass; your dog may still be coughing, gagging, or wheezing, but is getting some oxygen.
A complete blockage cuts off airflow entirely: the dog is silent, cannot cough, and gums may begin to turn pale or blue.
If your dog is still coughing forcefully, do NOT immediately perform the Heimlich; let them try to clear the object naturally while you monitor closely.
Performing thrusts on a dog that is still breathing can cause unnecessary injury. Only use physical force when the airway is fully obstructed.
Breed-Specific Risk
Based on my clinical experience, brachycephalic breeds, such as Bulldogs, Pugs, French Bulldogs, and Boston Terriers, are at higher risk of choking than other breeds.
Their naturally narrow airways mean that even a partial obstruction can become life-threatening faster than in a longer-snouted breed. If you own one of these dogs, this guide deserves extra attention.
Smaller breeds with compact airways face a similar challenge, since a narrower throat means even a modest obstruction can escalate quickly.
Certain items may splinter or expand, making them harder to dislodge.
Signs Your Dog is Choking
Urgent choking symptoms can appear suddenly during eating or play, and quick recognition helps prevent oxygen loss and serious injury.
- Pawing at face: Dog repeatedly scratches at mouth or muzzle, showing distress and trying to remove something stuck in the throat or airway.
- Silent gagging: Mouth opens, and retching motions occur, but little or no sound comes out, often because airflow is blocked by an object.
- Trouble breathing: Rapid, strained breathing or gasping may occur, with the chest working hard and the dog unable to inhale normally or get enough air.
- Pale or blue gums: Gum color shifts from healthy pink to pale, gray, or blue, signaling low oxygen levels and a life-threatening emergency requiring immediate help.
- Sudden panic behavior: The dog looks frightened or restless, or collapses, often after chewing toys or bones, indicating a serious blockage that requires immediate action.
Step-by-Step Heimlich Maneuver for Dogs
Quick, calm actions can help clear a dog’s airway during choking emergencies, using safe thrust techniques based on size, position, and breathing signs.
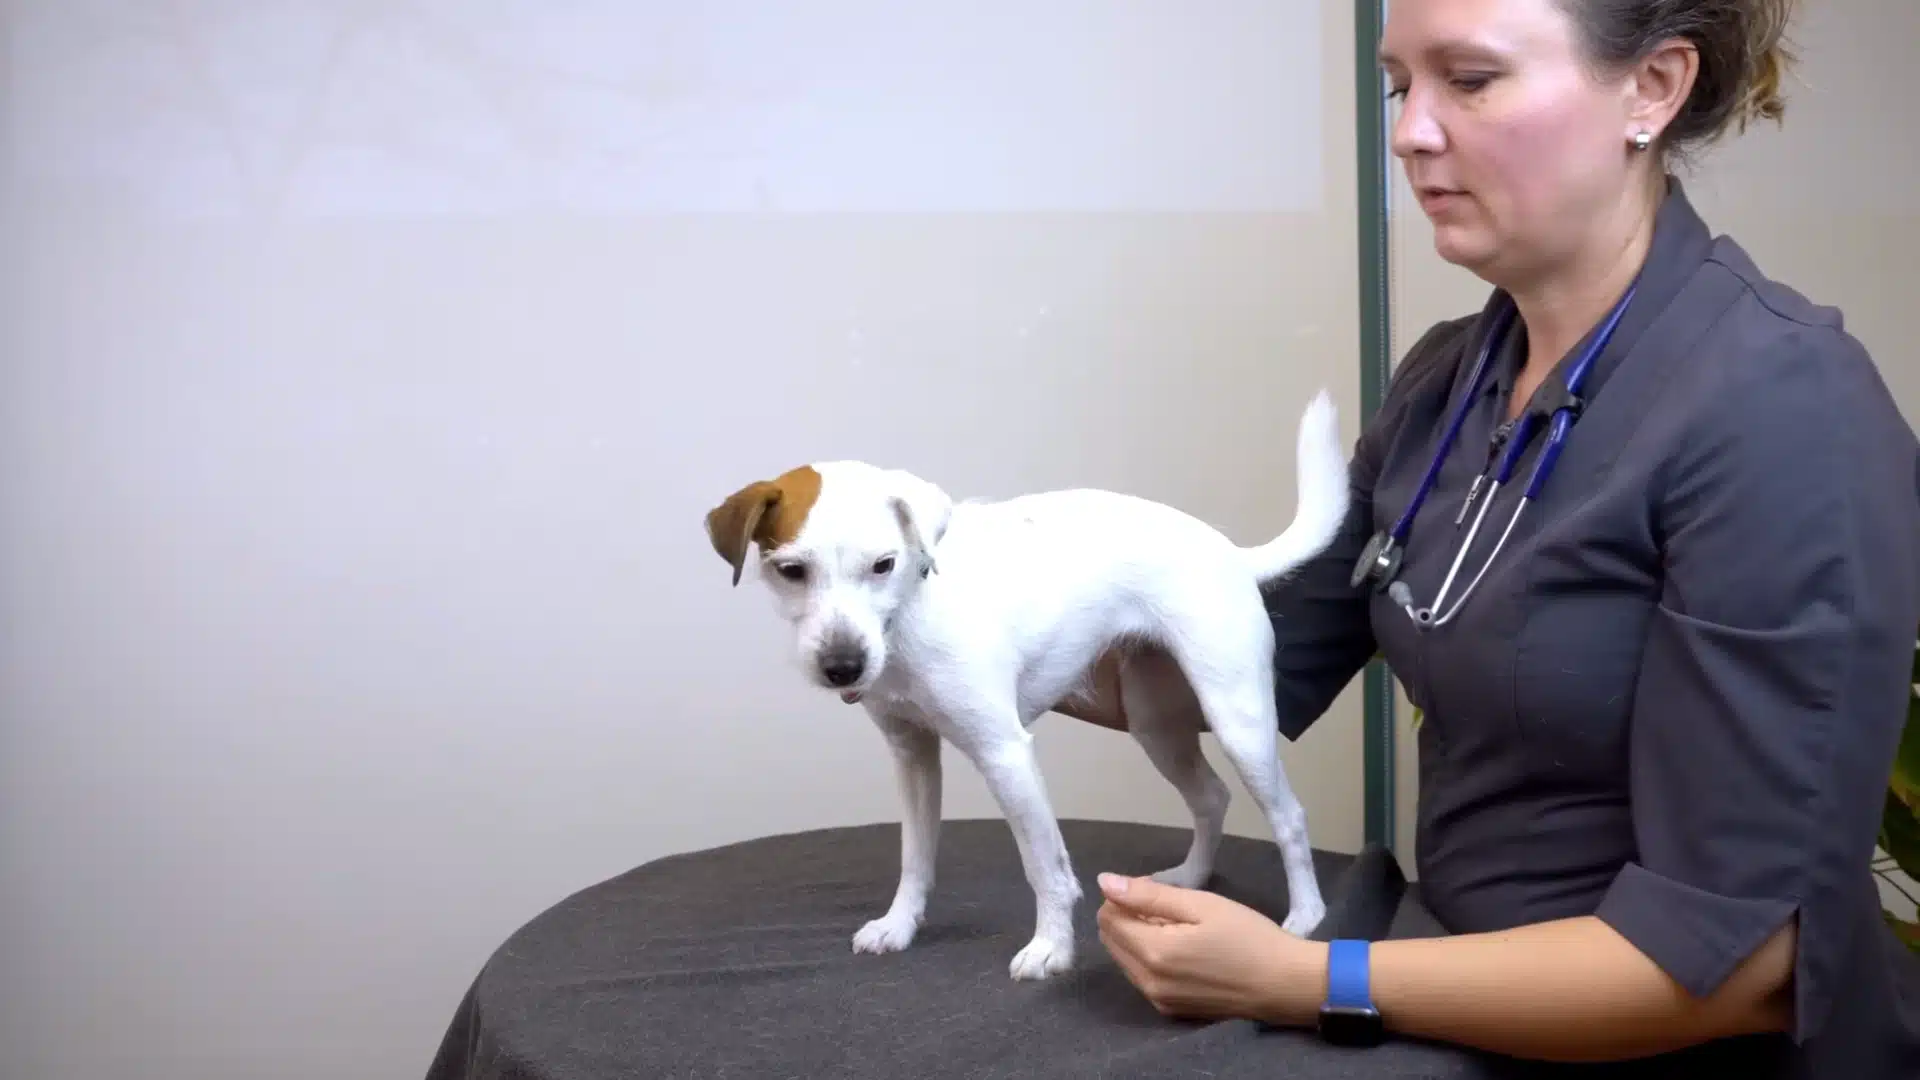
Step 1: Check for Choking
First, confirm the dog is truly choking before attempting any thrusts. Look for signs like panic, pawing at the face, or sudden distress after chewing on something like a bone, toy, or ball.
A choking dog may open its mouth but make little to no sound because airflow is blocked. Carefully check the mouth only if it is safe to do so, and remove anything that is clearly visible and easy to grab.
Do not push an object deeper into the throat. Check gum color: pink suggests oxygen is still present, while pale or bluish gums signal a serious emergency.
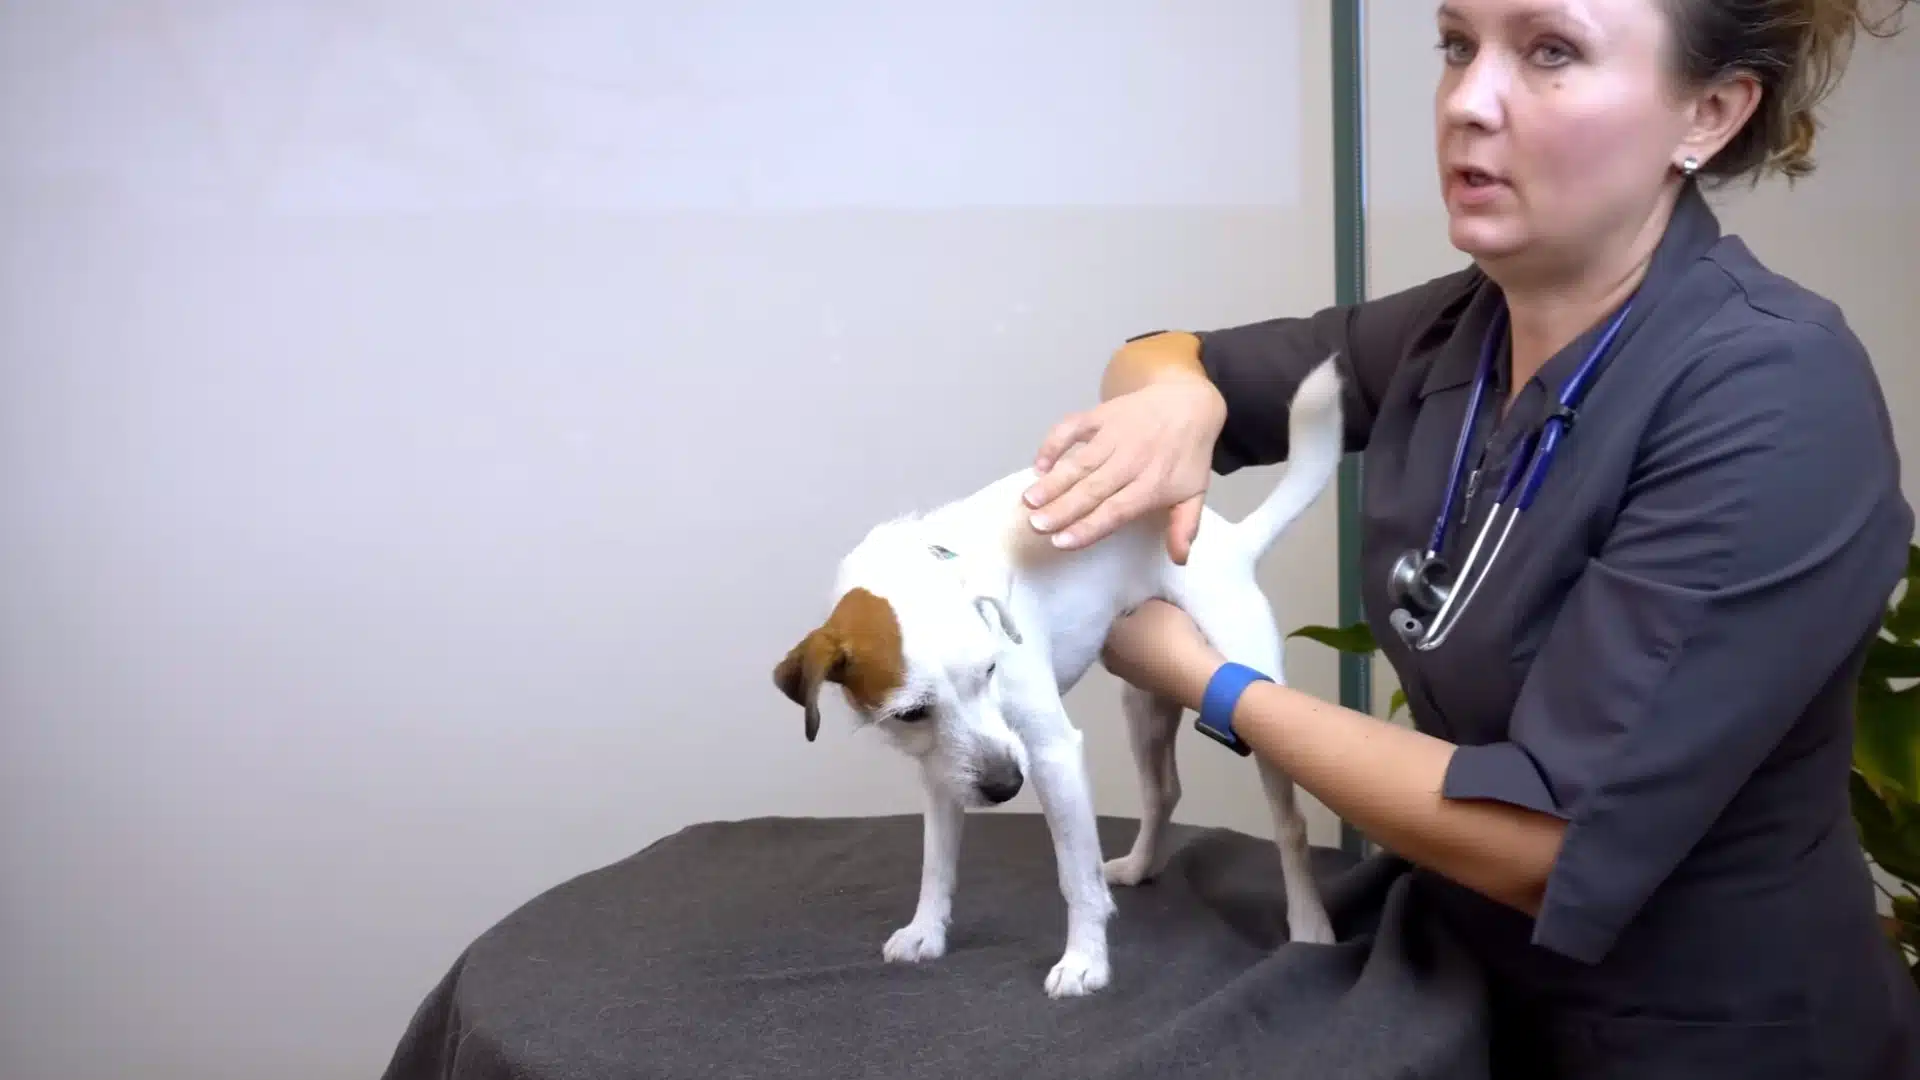
Step 2: Find Rib-End Spot
Locate the spot where the ribcage ends and the softer abdomen begins. This is the key landmark for performing the Heimlich maneuver on dogs.
Many dogs have a noticeable “tuck” behind the ribs, especially smaller or leaner breeds. This area is where pressure should be applied to create a burst of air upward toward the throat.
Positioning matters because pressing too high can hit the ribs, while pressing too low reduces effectiveness. Keep the dog steady and as calm as possible.
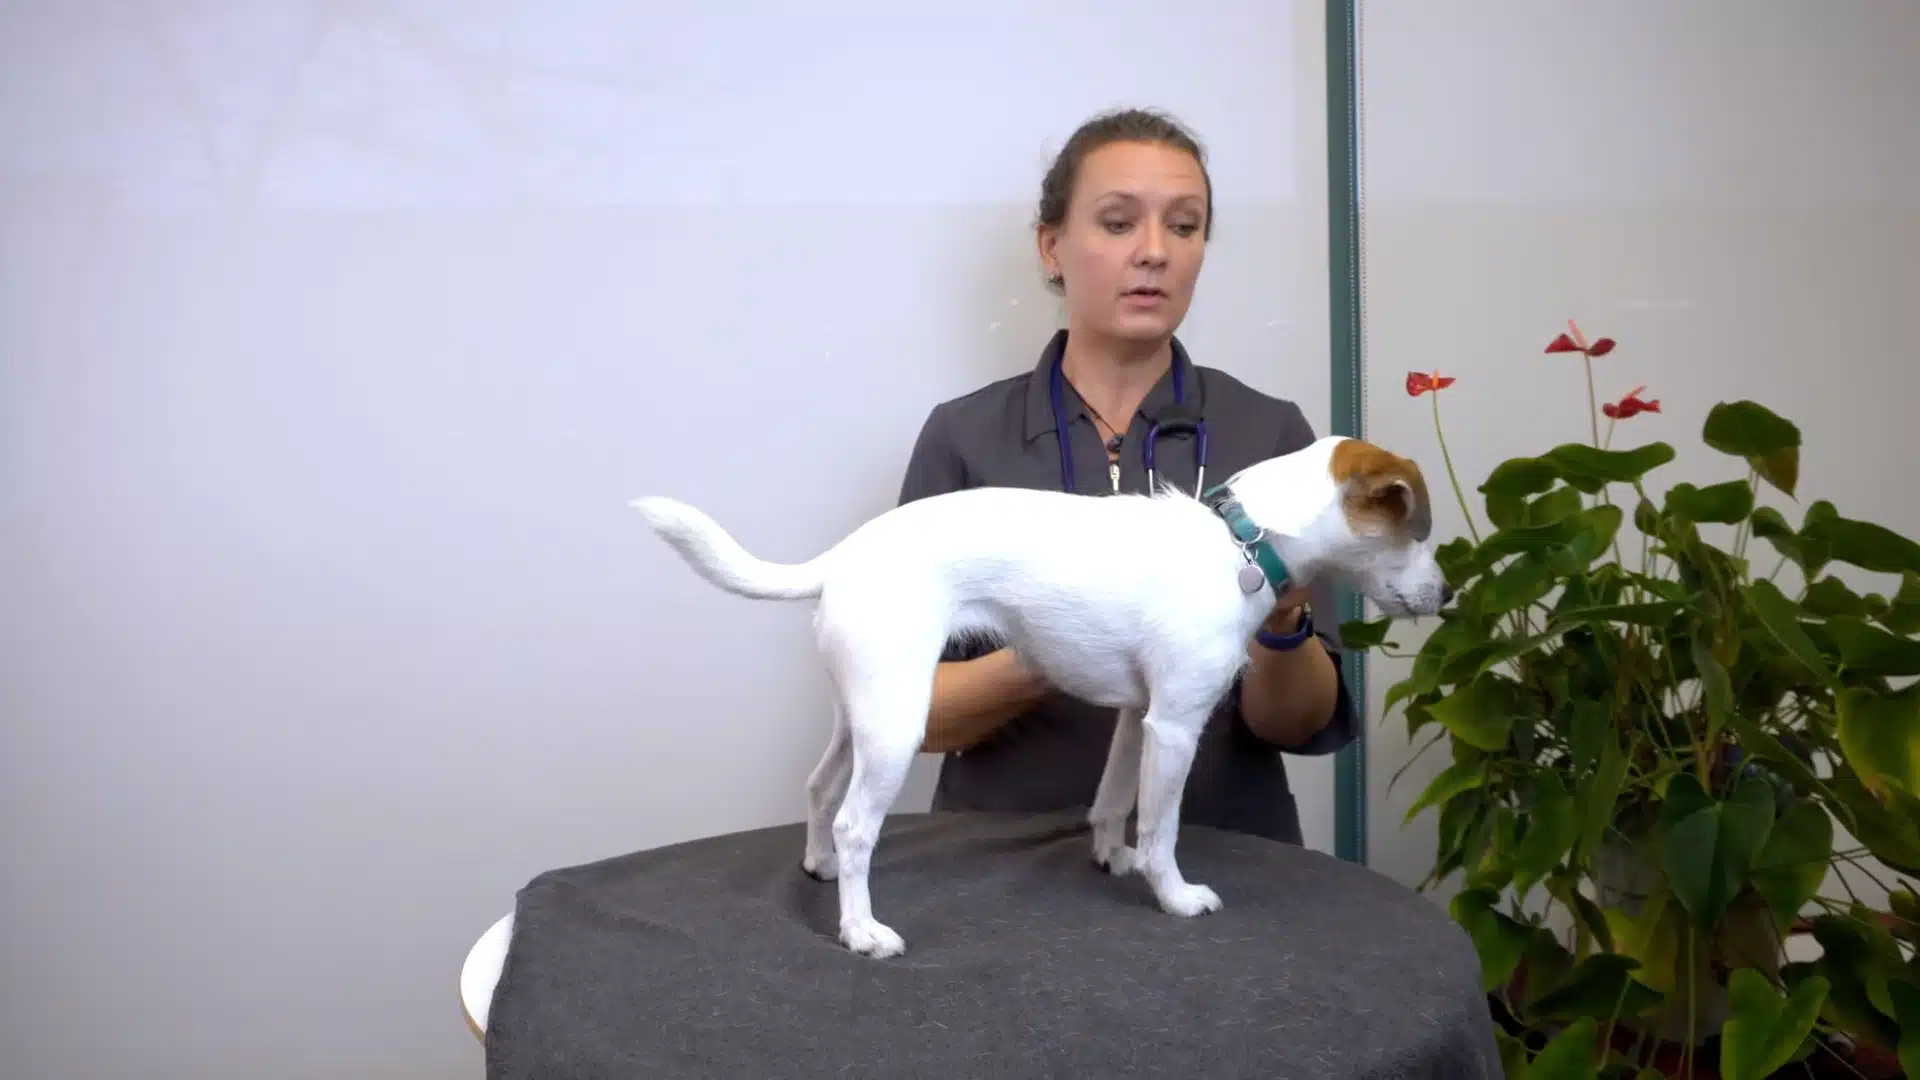
Step 3: Do Abdominal Thrusts
Make a small fist and place it at the rib-end pressure point. Cover the fist with the other hand for stability.
Push inward and upward toward the dog’s mouth in a firm, quick thrust, aiming to force air up the windpipe and dislodge the object.
For small dogs, gentle but deliberate finger pressure may be enough, while larger dogs usually require stronger force. If needed, a bigger dog can be stood up to help position the thrust properly.
Step 4: Try the Side Thrust Method

If the dog cannot remain in position for abdominal thrusts, use an alternative method with the dog lying on its side. Identify the highest point of the ribcage area (where the ribs would peak).
Place your hands over that area and deliver a single, firm thrust, similar to a single compression, to create airflow and help dislodge the blockage.
This can be repeated up to five times, but not in rapid succession.
After each thrust, check the mouth to see if the object has moved or become reachable. This method can be helpful for dogs that resist being held upright or become too distressed.
Step 5: Recheck and Get Help
Success may look like the dog suddenly breathing normally again, calming down, or regaining normal gum color. The object may not fly out dramatically, but it often just loosens and sits in the mouth.
Immediately check the mouth and remove the obstruction if it is visible. Do not keep thrusting for minutes; perform a maximum of five thrust attempts, checking in between.
If there is no improvement, go to a veterinarian or emergency clinic immediately, since lack of oxygen is life-threatening.
You can check out the video by Red Dog Blue Kat for a more visual guide.
When NOT to Perform the Heimlich Maneuver?
Do NOT perform abdominal thrusts if:
- Your dog is still breathing, coughing, or wheezing; they may clear the object on their own.
- You can clearly see and safely reach the object with your fingers; attempt removal first.
- A bone is visibly lodged in the throat; do not attempt to remove it; bones can tear the throat lining. Get to a vet immediately for sedated removal.
- The dog has stopped breathing AND has no pulse, so skip directly to CPR.
When the Heimlich Fails: CPR Transition
If you have performed five rounds of thrusts and back blows and your dog is not breathing and has no pulse, transition immediately to CPR.
- Check for a pulse: Place your fingers on the inside of the thigh (femoral artery) or on the chest behind the left elbow.
- Begin chest compressions: Place both hands over the widest part of the chest (or directly over the heart for barrel-chested breeds). Compress 30 times at a rate of 100–120 per minute.
- Give rescue breaths: For small dogs, cup your hands around the muzzle and gently exhale into the nose until you see the chest rise. For large dogs, seal just the nose and breathe in. Give 2 breaths after every 30 compressions.
- Don’t Stop: Continue until you reach the vet; do not stop CPR in transit.
Note: If possible, have someone call ahead to the emergency clinic so the team is ready when you arrive.
Know Your Dog’s Size Before You Act
The Heimlich technique is the same for all dogs, but the position and force differ by size. Identify your dog’s category now, before an emergency happens.
| Size | Typical Weight | Position | Force Level |
|---|---|---|---|
| Small | Under 20 lbs | Back against your chest, or on your lap, on their back | Gentle: two or three fingers, not a full fist |
| Medium | 20-60 lbs | Standing, you behind them, or lying on your side | Moderate: fist wrapped with the other hand |
| Large | 60 lbs+ | Standing behind them, or hind legs lifted (wheelbarrow) | Firm: full-body force, two hands required |
How to Prevent Future Choking in Dogs?
Learning a few basic pet first-aid skills helps owners respond quickly during emergencies, reduce injury risk, and protect a pet’s health during accidents, illness, or stressful situations.
- Choose the right toy size: Select toys larger than your dog’s throat to prevent accidental swallowing. Avoid small balls, broken toys, or objects that can easily lodge in the airway. Browsing a curated list of size-appropriate chew toys can help you pick options that keep playtime safe while still being fun.
- Supervise chewing sessions: Always monitor dogs while they chew bones, treats, or toys. Supervision allows quick action if pieces break off or become small enough to swallow.
- Use slow-feeder bowls: Fast eaters often gulp food without chewing properly. Slow-feeder bowls help control eating speed and reduce the chance of food pieces blocking the throat.
- Avoid splintering materials: Do not give sticks, brittle bones, or toys that break apart easily. Sharp fragments can become lodged in the throat and cause choking.
- Inspect toys and treats regularly: Replace damaged toys and remove worn chews immediately. Cracked toys and broken treat pieces increase the risk of choking hazards.
Conclusion
Now you have a fair idea about what choking looks like, why it happens, and what to do before seconds turn into a crisis.
Staying calm, checking the mouth safely, finding the rib-end pressure point, and using controlled thrusts can make all the difference.
Knowing how to give a dog Heimlich also means knowing when to stop, recheck breathing and gum color, and rush to emergency care if nothing improves.
Even after the blockage clears, a quick vet visit helps confirm the throat is safe and injury-free.
Keep these steps in mind, practice the positioning mentally, and share this guide with anyone who handles pets.
If this helped, drop a comment below with your biggest takeaway or a safety tip you swear by. I’m reading them all!