


Training a dog can be both fun and challenging, especially when it comes to teaching good manners and recall.
Many dog owners look for tools that make communication clearer and safer.
One option often talked about is the shock collar, also called an e-collar. When used the right way, it can help guide your dog’s behavior gently and effectively.
This blog will explain how to train a dog with a shock collar responsibly.
The goal is to build trust, improve understanding, and make training a positive experience for both you and your dog.
What is a Shock Collar and How Does It Work?
A shock collar, also known as an e-collar or remote training collar, is designed to help owners communicate more clearly with their dogs.
It works by sending a light signal through small contact points on the collar.
Depending on the model, this signal can be a vibration, tone, or mild static pulse.
The feeling is gentle, similar to a light tap on the skin, and is only meant to get the dog’s attention. The goal is not to frighten or punish but to guide and teach.
Modern collars allow you to adjust the intensity so you can find the lowest level your dog can feel comfortable.
This helps you train with precision and fairness while keeping your dog calm, confident, and focused on learning.
When Should You Use a Shock Collar?
A shock collar can be helpful in certain training situations when used with care and understanding.
Dog shock collar training is useful for recall training, off-leash control, and boundary training, where you need your dog to respond even at a distance.
For example, if your dog tends to run off after animals or ignore commands outdoors, a properly fitted collar can help keep them safe while reinforcing your voice commands.
However, it should not be used on very young puppies, dogs that are fearful, anxious, or showing aggression. These dogs need gentle confidence-building first.
Before starting, make sure your dog already understands basic commands like sit, stay, and come.
The collar should be used to strengthen those lessons, not to replace patient, reward-based teaching.
Types of Dog Shock Collars
Different types of shock collars work in unique ways to help with training. Knowing how each one functions can help you choose the best option for your dog’s needs and comfort.
- Static Stimulation Collars: These collars send a mild electric pulse that feels like a gentle tap on the skin, helping your dog notice and respond to your command quickly.
- Vibration Collars: They use steady or pulsing vibrations to get your dog’s attention, making them a good choice for sensitive dogs or those who don’t need static correction.
- Tone Collars: These collars make a short beeping sound that signals your dog to stop or follow a command, teaching them to respond to sound cues over time.
- GPS Collars: They use satellite tracking to show your dog’s exact location and often include training features, making them great for off-leash or outdoor activities.
- Spray Collars: These collars release a gentle mist, often with a scent like citronella, which distracts your dog from unwanted behavior without causing discomfort.
Steps for How to Train Your Dog with a Shock Collar
Training with a shock collar should always be calm, careful, and structured. These steps will help you teach your dog safely and effectively while building understanding, trust, and confidence between you and your pet.
Tools and Materials You’ll Need
| Tool | Purpose |
|---|---|
| Quality e-collar (Dogtra or similar) | Sends gentle signals for communication |
| Remote transmitter | Controls the collar and signal levels |
| Contact points or comfort pad | Ensures proper skin contact |
| Bungee collar strap | Keeps the collar snug and stable |
| Regular leash | Helps guide your dog during training |
| Treats or food rewards | Encourages and rewards correct behavior |
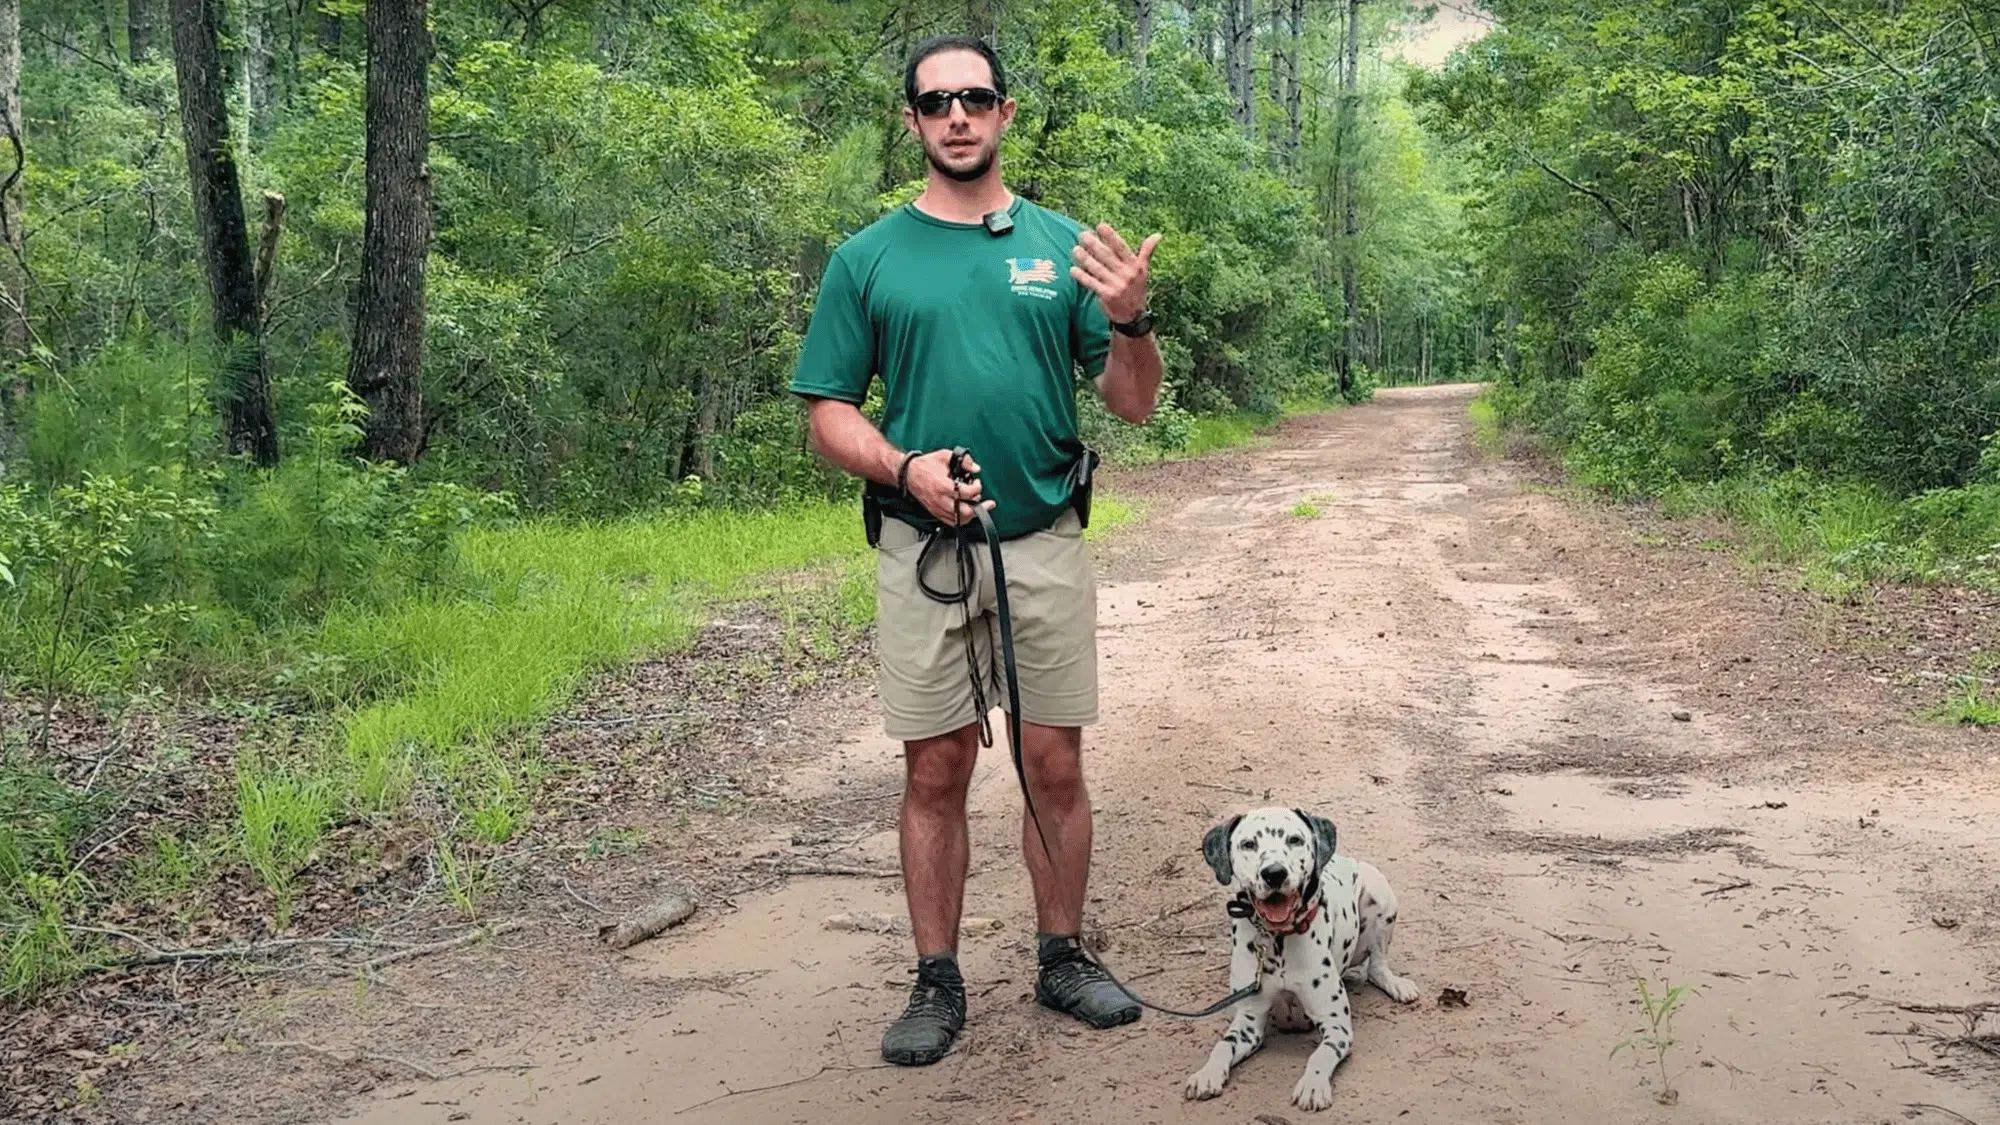
Step 1: Choose the Right Collar and Fit It Properly
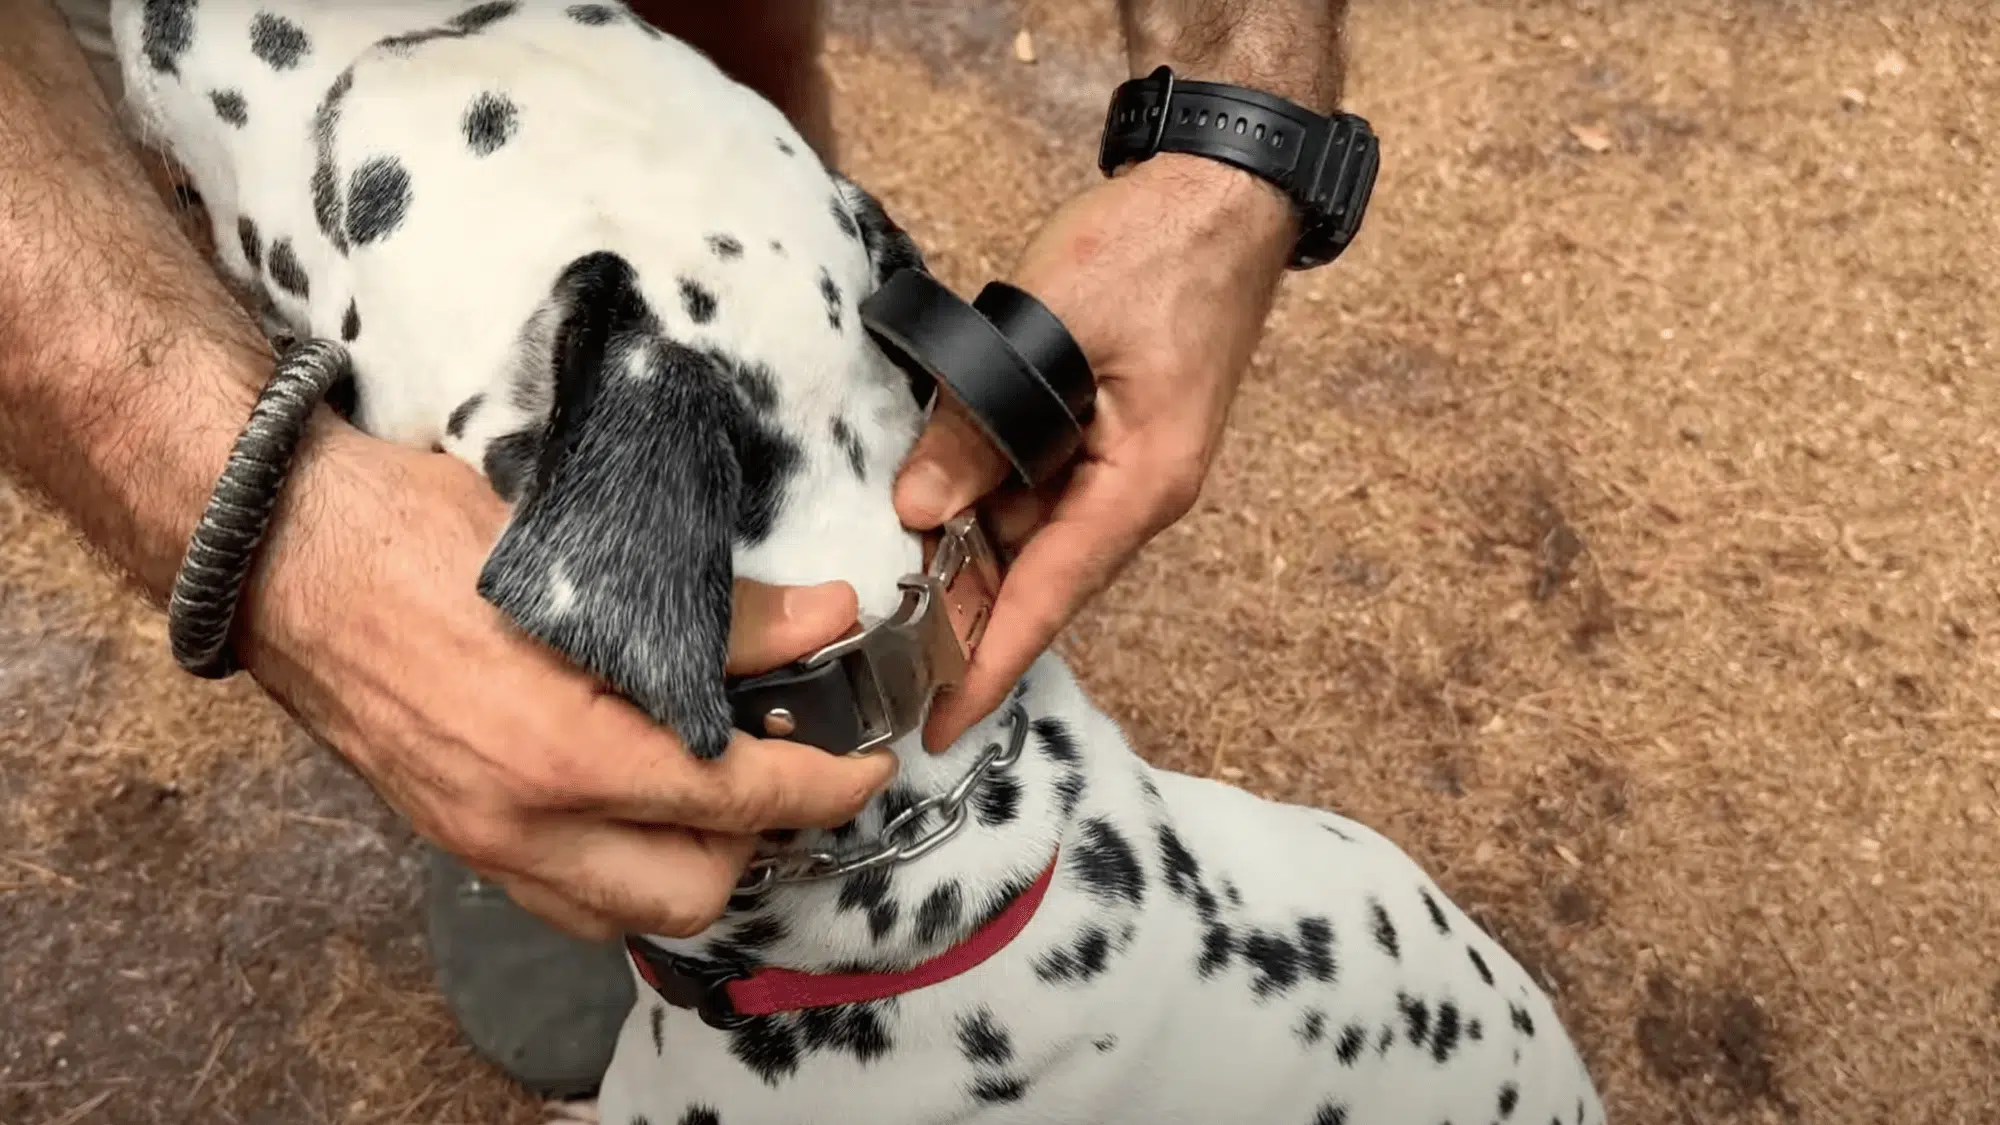
Pick a reliable collar suited to your dog’s size and coat type.
Place the receiver on the side of the neck with contact points touching the skin. It should be snug but not tight; you should fit one finger under the strap.
A good fit ensures the signal works properly, prevents skin irritation, and keeps your dog comfortable during every training session.
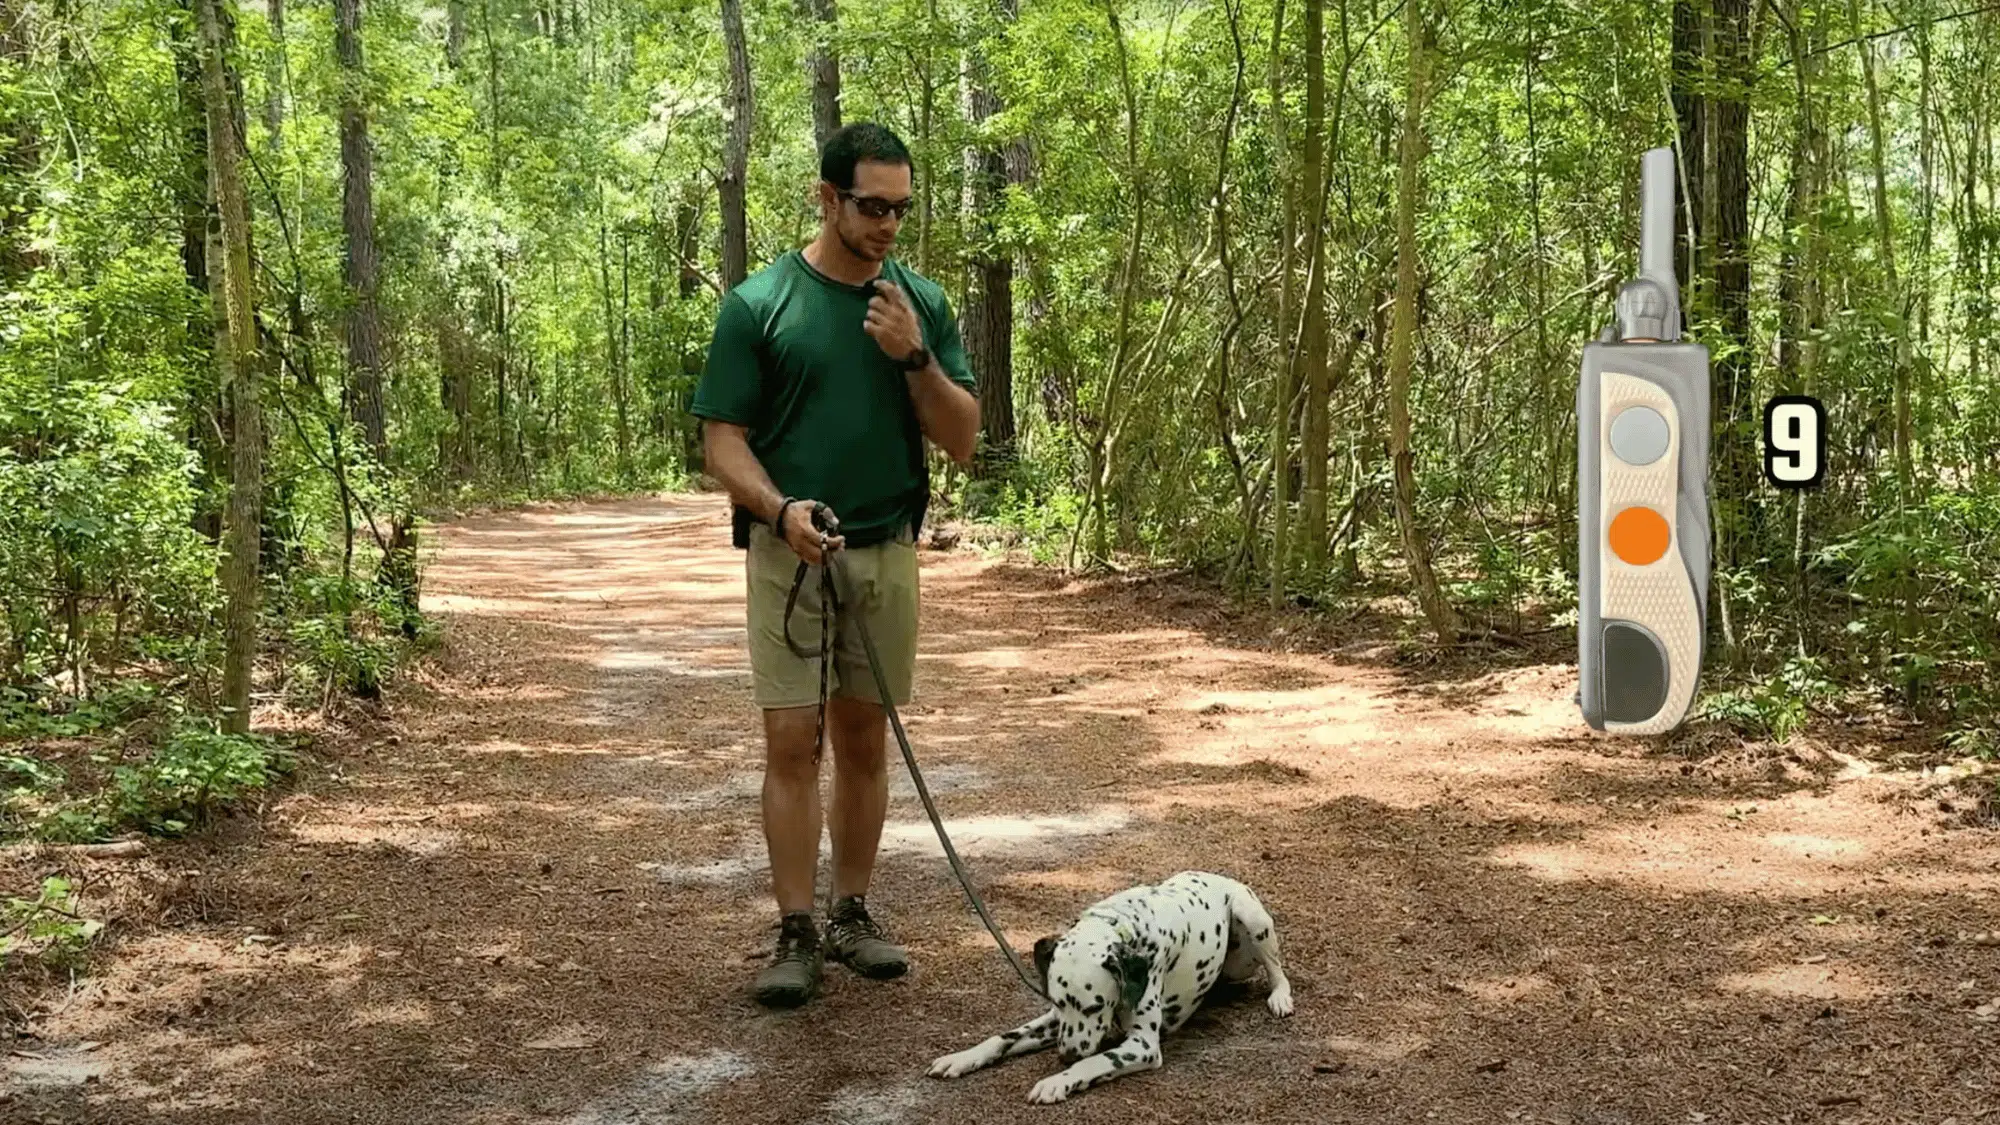
Step 2: Learn the Remote and Marker Words
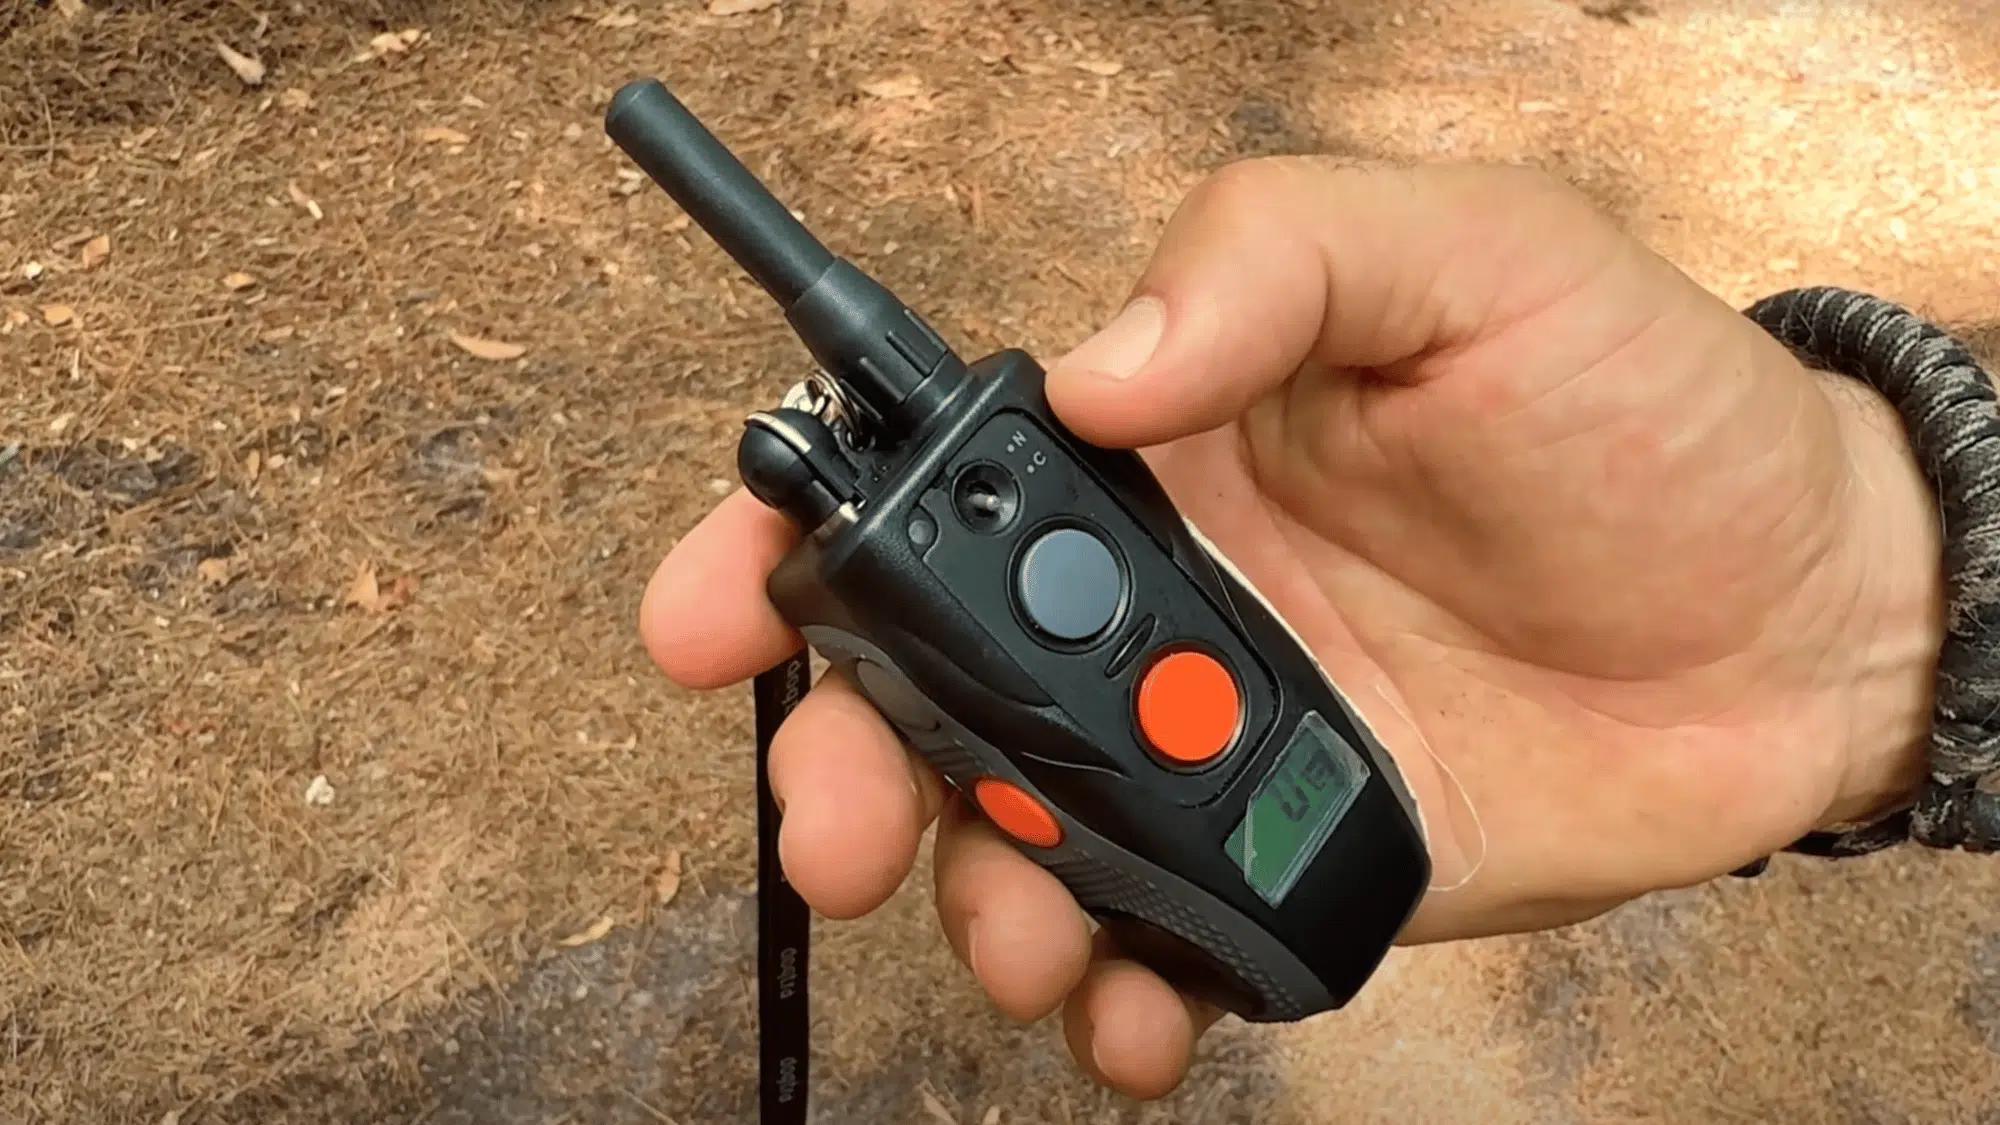
Understand how your remote works before starting.
Identify the main stimulation button and the dial for adjusting levels. Use three verbal markers: “Yes” for correct behavior, “Good” for ongoing effort, and “No” for mistakes.
These words help your dog connect your signals with specific actions. Clear communication makes training smoother and builds your dog’s confidence through consistent feedback.
Step 3: Prepare Your Dog with Basic Training

Before using the collar, make sure your dog knows simple commands like sit, down, come, and heel.
Practice these with treats and praise so your dog understands what each command means.
Having this foundation helps your dog stay confident when learning new cues with the collar. The goal is to build on what they already know, not start from scratch.
Step 4: Find the Right Working Level
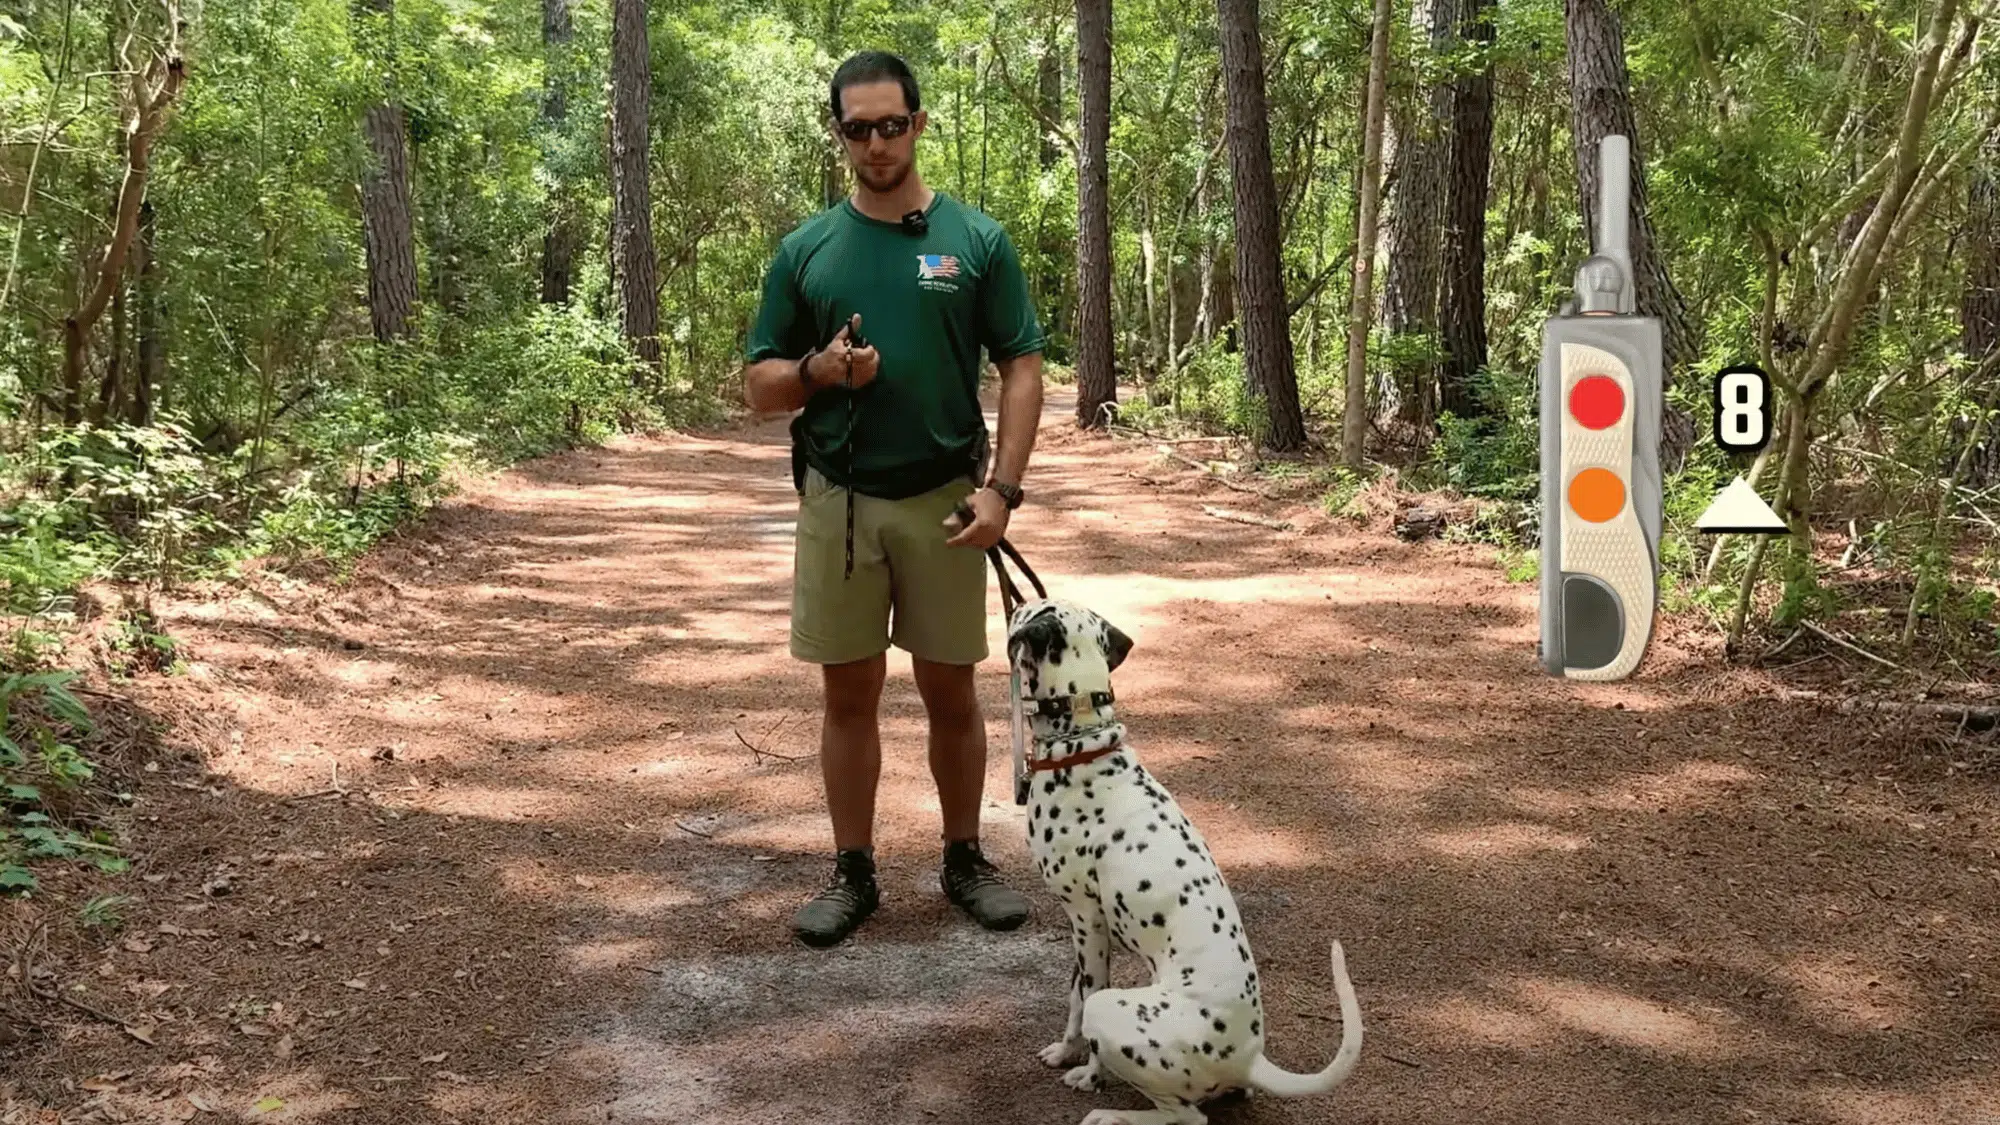
Turn the collar to its lowest setting and press the button briefly.
Watch your dog’s reaction carefully. A small movement, like an ear twitch or head turn, means they feel it. That’s the right level.
If they show no sign, increase slightly and test again. The goal is a mild sensation your dog notices without fear, keeping training gentle and stress-free.
Step 5: Condition the “Come” Command
Let your dog explore freely, then press the button lightly and say “Come.”
As they move toward you, release the button and praise or reward. Repeat several times until your dog connects the signal with moving to you.
This step builds understanding that the feeling means “come closer.” Keep sessions short and positive to help your dog learn quickly and happily.
Step 6: Practice “Sit,” “Down,” and “Heel”
Next, use the collar to reinforce obedience.
For “Sit,” apply the signal and say the command, adding a soft leash tug if needed. For “Down,” guide gently toward the ground while using the cue.
During “Heel,” walk with your dog and correct mild pulling with a light signal and “No.” Praise often. Repetition and patience make responses steady and reliable.
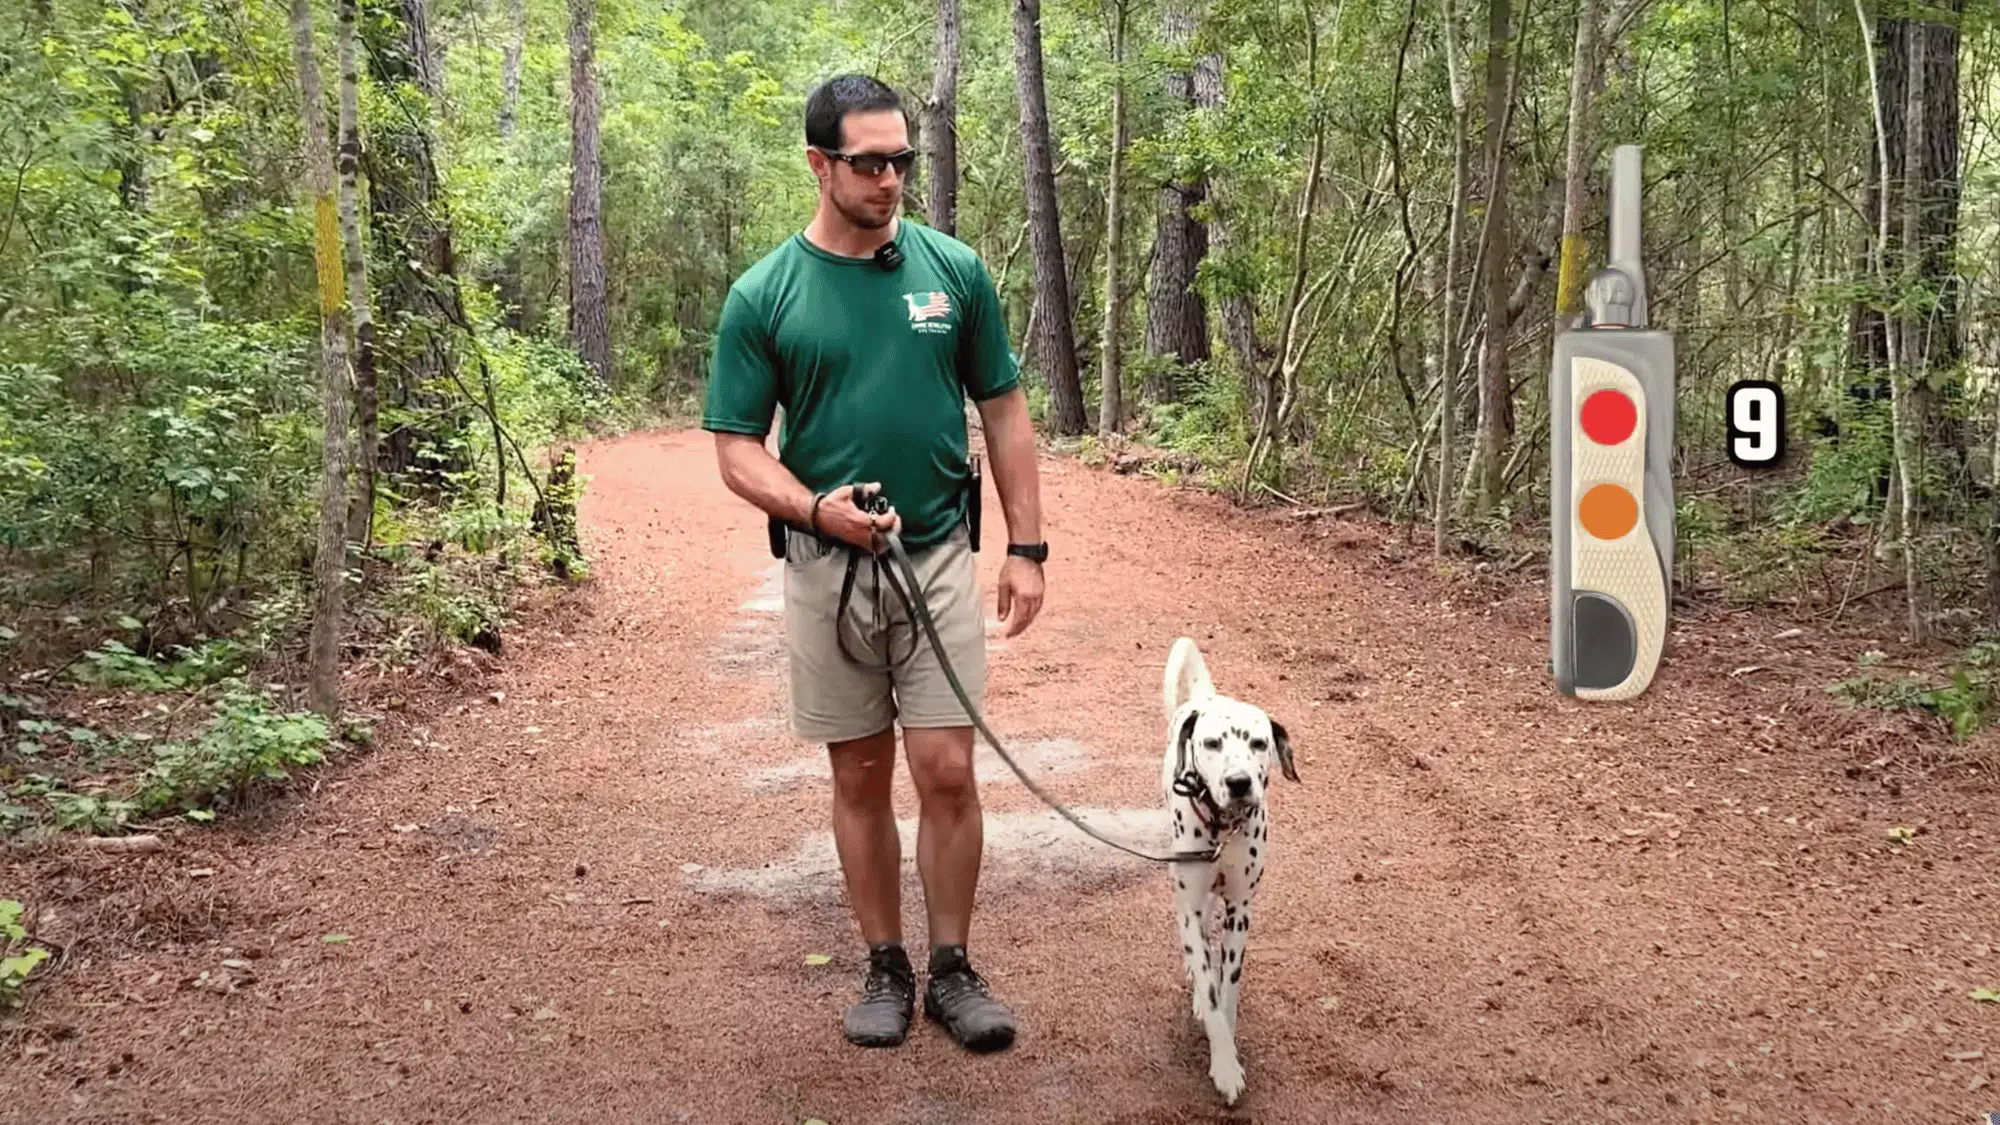
Step 7: Apply the “No → Bump → Tug” Method
When your dog breaks a command, use the sequence “No,” a quick signal (bump), and a gentle leash tug to guide them back.
This method keeps corrections calm and fair.
As your dog improves, remove the leash tug and use only “No” with the signal. Over time, this builds strong obedience, better focus, and safe off-leash control in real-world settings.
For more information, watch the video:
Factors to Consider Before Buying a Shock Collar
Choosing the right shock collar is important for your dog’s comfort and safety. Before you buy one, think about how you’ll use it and what features will work best for your dog’s needs.
- Dog Size and Coat Type: Make sure the collar fits your dog’s size and that the contact points reach through their coat for good contact.
- Range: Choose a collar with enough range for where you plan to train, like a backyard or open field.
- Levels of Adjustment: A collar with many levels lets you find the softest, most comfortable setting for your dog.
- Battery Life: Look for a collar that holds a charge long enough for multiple training sessions.
- Water Resistance: A waterproof collar is safer for outdoor use, especially in rain or near water.
- Warranty and Support: Pick a brand with a good warranty and customer service in case you need help or repairs.
Pros and Cons of Shock Collar Training
Shock collars can be useful tools when used correctly, but they also come with risks if handled the wrong way. Understanding both the benefits and drawbacks helps you decide if this type of training is right for your dog.
| Tool | Purpose |
|---|---|
| Quality e-collar (Dogtra or similar) | Sends gentle signals for communication |
| Remote transmitter | Controls the collar and signal levels |
| Contact points or comfort pad | Ensures proper skin contact |
| Bungee collar strap | Keeps the collar snug and stable |
| Regular leash | Helps guide your dog during training |
| Treats or food rewards | Encourages and rewards correct behavior |
Safety Tips for Using a Shock Collar
Using a shock collar safely keeps your dog comfortable and confident during training. Follow these simple tips to make sure every session is gentle, effective, and positive for your pet.
- Always start with the lowest level that gets your dog’s attention.
- Check your dog’s neck daily for any signs of redness or irritation.
- Do not leave the collar on for more than 12 hours at a time.
- Move the collar’s position every few hours to protect your dog’s skin.
- Stay calm and never use the collar when you’re angry or upset.
- Stop training right away if your dog seems frightened, anxious, or stressed.
Conclusion
Training your dog with a shock collar takes time, patience, and consistency. It’s not about punishment but about building better communication between you and your dog.
Always keep sessions short and positive so your dog feels confident and eager to learn.
Over time, you’ll notice improved focus, safer behavior, and stronger trust. Every dog learns differently, so adjust your approach as needed.
With care and understanding, a shock collar can become a helpful training tool that supports good manners, better recall, and a happy, well-behaved companion.